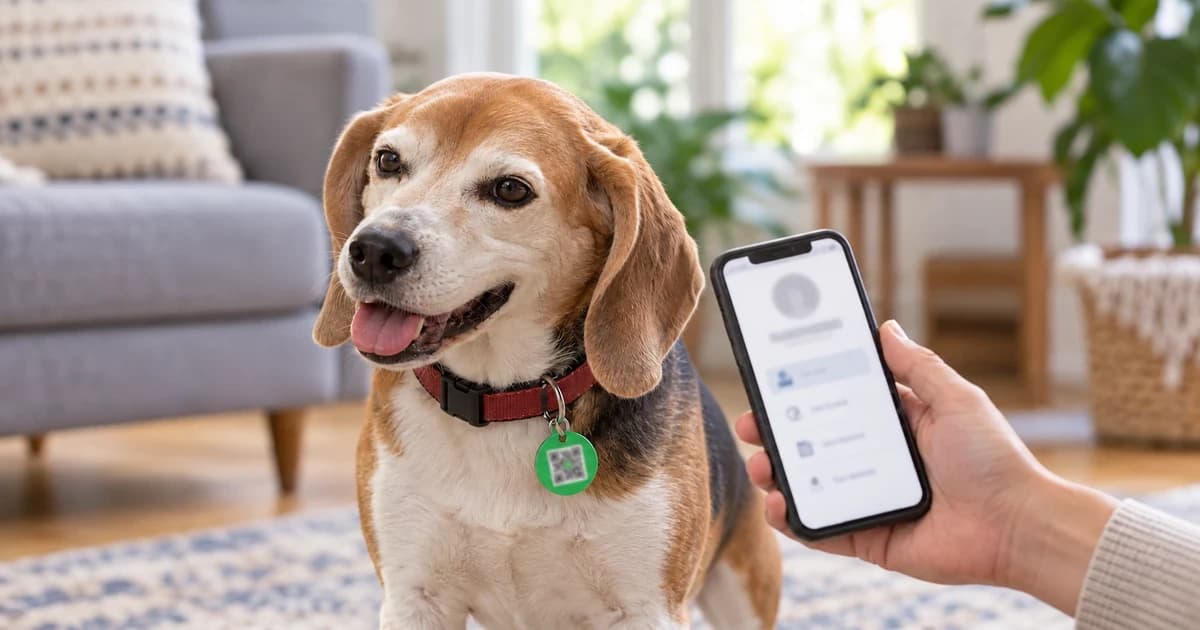
To activate and check a QR pet ID tag profile, follow the issuing service's setup route to link the physical tag to the right pet, save the contact fields you want a finder to see, and then scan the tag with an ordinary phone camera while signed out to inspect the live public page. Seeing an “activated” confirmation does not automatically prove that your privacy toggles saved or that the right contact route appears to a stranger.
Identify the tag's issuing service before entering data
Keep the retail card with each physical tag and open only the official setup URL or app listed by the issuer. In the PetHub FAQ, a guardian creates a pet profile and links one or more physical tags to it—a step that must be completed explicitly for each tag.
Keep a passive QR tag distinct from a live GPS collar: as PetHub documents, scan-location alerts depend on a person physically scanning the code and granting phone location permission rather than continuous satellite tracking.
Separate “tag linked to pet” from “privacy settings saved”
The Ask A Vet QR activation guide outlines four steps inside its app:
- Open the QR-tag activation screen and scan the tag (granting camera permission if prompted).
- Select the pet that will wear the tag (skipped automatically if you started from that pet's profile).
- Choose the public visibility toggles (on a new Ask A Vet tag, email starts enabled while other toggles start disabled).
- Confirm and scan the physical tag to verify the public pet page.
Watch for partial-success alerts: Ask A Vet explicitly distinguishes a tag that linked to the pet successfully from privacy settings that failed to save. If a save error occurs, confirming again re-saves your privacy choices without creating a duplicate pet link. Furthermore, Ask A Vet stores visibility settings per individual tag—so a spare tag linked to the same dog or cat must be configured and checked on its own.
Compare what PetHub and Ask A Vet allow you to hide
| Named service | Documented public visibility & unavoidable fields | What to verify on your own tag |
|---|---|---|
| PetHub (QR privacy guide & privacy controls) | Supports a fully private setting displaying only the pet's name, photo and PetHub's 24/7 hotline while hiding owner name, phone, email and street address. | Confirm your privacy toggle state and verify that the bridged hotline or chosen contact method works on the public page. |
| Ask A Vet (finder-view guide) | Owner's name and the pet's name and photo always appear on the public QR page; phone, email, address and medical notes have individual toggles. | Turning all optional toggles off does not make an Ask A Vet page anonymous (owner name remains visible) and removes direct phone/email contact unless at least one contact route is enabled. |
Scan the physical tag while signed out and log each tag separately
Scan the physical tag using a device that is signed out of your account so you see the exact finder view rather than your owner editing dashboard. Keep real tag serial numbers and phone numbers in your private household file—never post working QR codes in public reviews. The fictional example table below shows how to log two tags worn by the same pet with separate link and privacy-save checks:
| Physical tag label (keep serial ID private) | Issuing service & pet linked | 1. Pet link status | 2. Privacy settings save status | 3. Signed-out finder view checked | Visible fields & active finder contact route |
|---|---|---|---|---|---|
| Everyday collar tag (fictional example: Tag A) | Ask A Vet — linked to “Milo” | Linked OK | Saved OK (verified after toggle update) | Checked signed out on second phone | Owner name + Milo photo/name (always visible) + secondary phone enabled; street address hidden |
| Harness backup tag (fictional example: Tag B) | PetHub — linked to “Milo” | Linked OK | Saved OK (Private mode) | Checked signed out | Milo photo/name + PetHub hotline bridge active; owner phone/email/address hidden |
Re-scan and update your log whenever you change phone numbers or replace a worn tag from digital ID tags.