

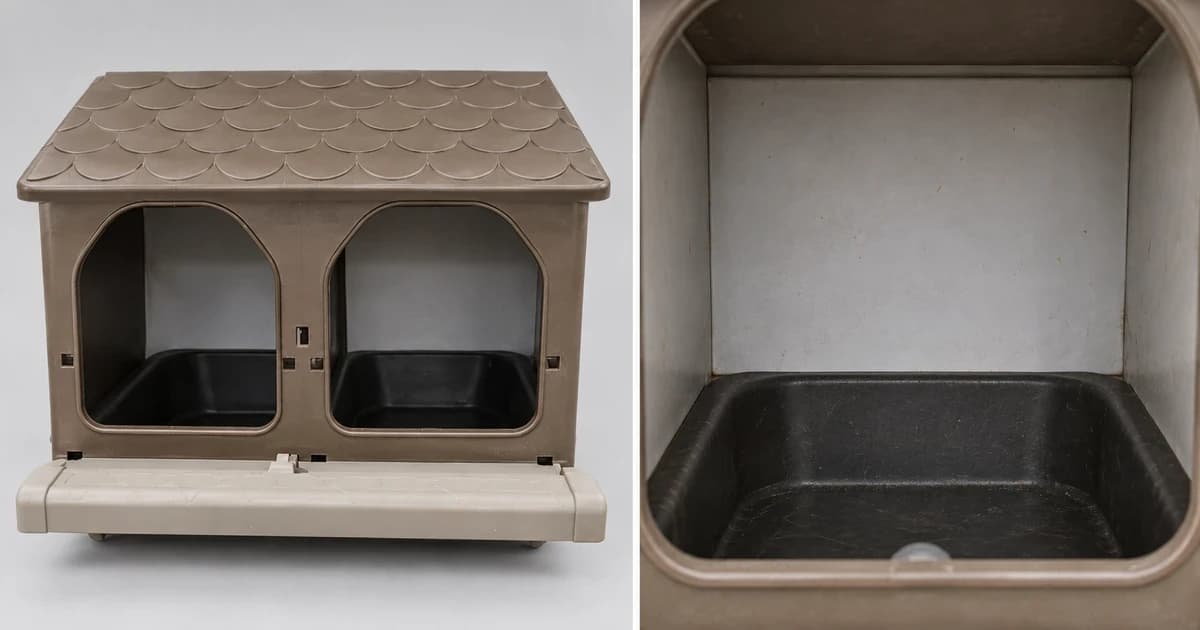
To know how to choose chicken nesting boxes that actually fit both your hens and your daily routine, evaluate five things together: usable interior space inside each individual compartment, the number of boxes your flock requires, hen entrance clearance, your own reach for daily egg collection, and how soiled bedding or roll-out trays are removed for cleaning. An exterior cabinet width that fits between two coop studs can still leave too little room inside the nest for a heavy-breed hen to turn around or block a top collection lid from opening.
Compare the Five Core Nesting-Box Selection Dimensions
Use this comparison table to keep exterior cabinet dimensions separate from internal compartment space, source-specific flock ratios, and human maintenance clearance:
| Selection Dimension | Published Guidance & Source Scope | What to Check Before Buying for Your Coop |
|---|---|---|
| 1. Internal compartment space vs. outside footprint | Omlet's coop selection guide calls for a secluded nesting area large enough for your largest hen to stand and turn around comfortably, kept separate from sleeping roosts. | Check the usable internal width, depth, height, and entrance opening of each single compartment—never divide overall exterior cabinet measurements or whole-coop floor allowances to guess compartment size. |
| 2. Number of nest boxes per flock |
|
Keep each ratio tied to its source rather than inventing a single rule for every breed and management style, and confirm whether a multi-hole unit has divided compartments or one shared trough. |
| 3. Hen entrance & mounting approach | UMN Extension emphasizes choosing a design that provides easy access and suits your setup; Omlet separates nesting areas from higher sleeping perches. | Verify that hens have clear landing and entry space in front of the perches/entrances and that the mounting height and wall framing match the manufacturer's installation instructions. |
| 4. Egg collection access (human side) | Coop layouts may collect eggs from inside a walk-in coop, through an exterior drop-down/lift-up lid, or from a front/rear roll-out tray. | Measure the full swing arc of hinged collection lids or the pull-out distance of trays so adjacent walls, fencing, or feeders do not block your hands. |
| 5. Bedding vs. roll-out cleaning route | UMaine Extension distinguishes traditional bedded nesting boxes (where soiled bedding is replaced regularly) from roll-out designs, and highlights wide service doors or removable panels for cleaning. | Confirm which dividers, pads, or bottom grates detach for washing and whether you have enough doorway clearance to remove trays without tilting debris onto the coop floor. |
Illustrative Coop Floor-Plan Check: Hen Zone vs. Service Zone
Before ordering a nesting box unit, sketch its footprint inside your coop plan using these three distinct spatial zones (this is a layout-planning example rather than a universal coop blueprint):
- Zone A — Cabinet & mounting footprint: The wall stud width or floor stand depth occupied by the box frame itself, including any sloped anti-roosting roof or protruding front landing rail.
- Zone B — Hen approach & entry zone (inside the coop): Unobstructed space in front of the entrance holes and alighting bars so hens can hop up, enter, and exit without colliding with feeders, waterers, or sleeping roosts.
- Zone C — Human egg-collection & cleaning clearance: The standing room and lid/tray travel space required to lift an exterior egg door, slide out a roll-out collection tray, or scoop out soiled nesting material through a service door.
Match Your Final Choice to Your Flock and Coop
Compare candidate units in Pawlivy's nesting boxes and egg collection category against your recorded internal compartment dimensions, flock count, hen entry clearance, and cleaning route before installing the box.