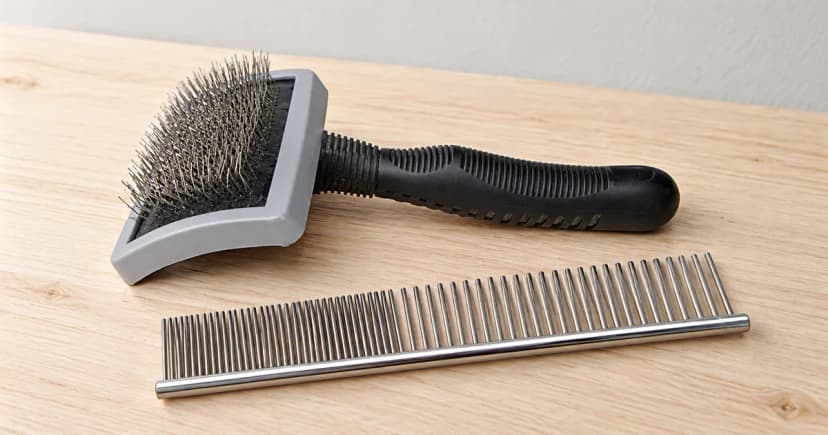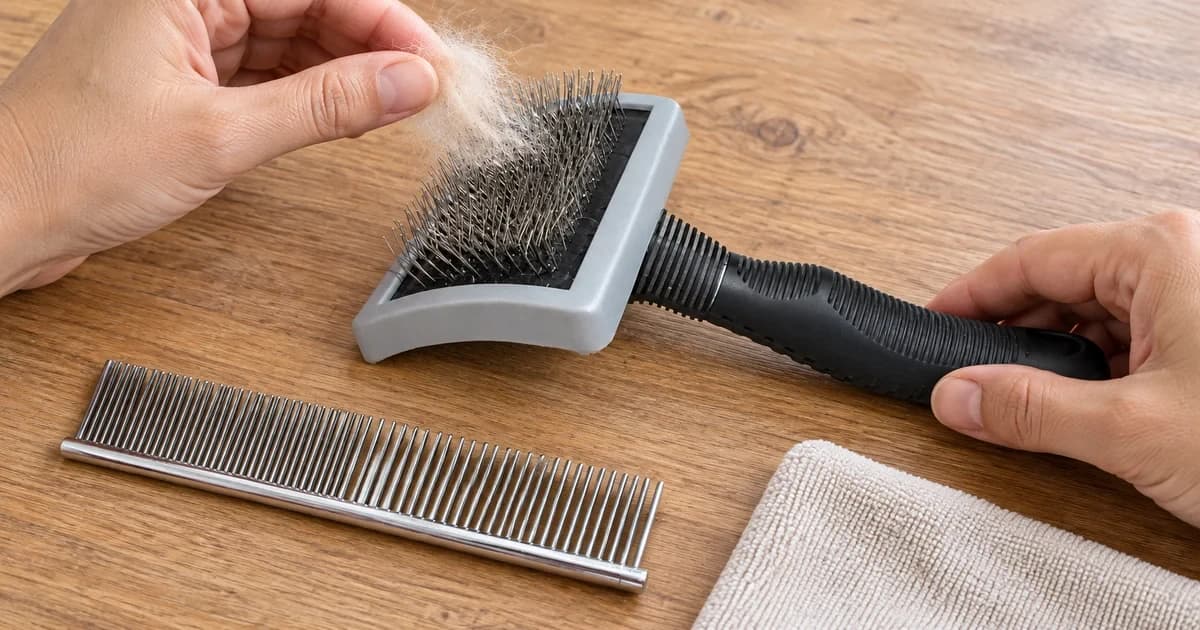
Learning how to clean a dog brush starts with two separate steps: lifting trapped hair from the teeth or pins after each session, and applying wet cleaning only where your tool's construction allows it. A stainless-steel shedding edge, a cushioned pin brush with an air hole, a molded plastic detangler, and a lacquer-coated blade have different water and drying limits, and a self-cleaning hair-release button never means the entire brush can be soaked.
Begin with dry hair removal before introducing water or soap. This guide covers off-dog tool maintenance rather than coat dematting or skin treatment.
Quick Selector: Match Your Brush Type to Its Care Method
Inspect the brush head, handle material, and moving mechanisms before washing. Check whether the teeth are set into a metal edge, anchored in a vented rubber cushion, or molded as one piece of plastic or rubber. Use the selector table below to match your brush construction to verified care instructions and water boundaries:
| Brush Construction & Example | Dry Hair Removal | Permitted Wet Cleaning & Drying | Water & Handling Boundary |
|---|---|---|---|
| Undercoat deShedding edge (FURminator FAQ) | Release trapped fur with the FURejector button and clear remaining strands around the plate | Warm water and mild soap on the metal edge when needed; dry completely before closing the Edge Guard or storing | Edge washing permission does not authorize soaking the handle or internal button mechanism |
| Cushioned pin brush with air vent (Chris Christensen Australia) | Lift woven hair with fingers, then draw a small cleaning brush across the pin pad | Apply lukewarm shampoo lather with a small brush while holding the pad face up, handle raised, and pad sloping down; dry handle up, pad down | Never submerge the cushion or allow water, oils, or spirits into the pad's air hole |
| Molded plastic detangler (Tangle Teezer Dog Brush) | Lift loose hair from between the plastic teeth after grooming | Clean product buildup gently with warm water, mild soap or shampoo, and a clean toothbrush; rinse and air dry naturally | Keep away from heat; check your exact model notes since the page lists conflicting teeth-up vs. bristles-down drying lines |
| Lacquer-coated steel shedding blade (EquiGroomer FAQ) | Wipe or brush dry coat debris from the tiny blade teeth | Keep the hardened, lacquer-coated steel blade dry during routine upkeep | Repeated water exposure can rust the steel blade and shorten tool life |
| Molded rubber bath brush (KONG ZoomGroom guide) | Pull collected coat hair from between the rubber fingers | Can be used wet with dog shampoo during bathing, rinsed, and set in a safe spot to dry | Bath-use permission for this rubber tool does not authorize boiling or dishwashing other brushes |
Step 1: Remove Trapped Hair Without Bending the Pins
Work over a bin or dry surface where loose coat hair can be collected easily. Lift trapped hair upward along the length of the pins rather than dragging sideways against wire bristles or scraping across a fine shedding edge. Where closely packed pins make finger access difficult, draw a dedicated brush cleaner through the rows instead of pressing your fingertips against sharp teeth.
On self-cleaning slicker or deshedding brushes, press the hair-release button only as directed in the manual and clear any hair caught behind the retracting plate. Never pry the plate open or bend wire pins to reach hidden debris, and remember that a mechanical fur-release plate is a dry-clearing feature rather than waterproofing.
Step 2: Apply Only the Wet Cleaning Your Tool Construction Allows
If dry brushing leaves coat oils or shampoo residue on the teeth, follow the wet-cleaning method that matches your specific tool structure:
Metal Shedding Edges vs. Coated Blades
Not all metal grooming blades tolerate water equally. FURminator allows warm water and mild soap on its stainless-steel deShedding edge provided the tool is dried completely before storage and protected from drops that could chip the teeth. By contrast, EquiGroomer's hardened steel blade carries a lacquer finish and its FAQ warns that repeated water contact causes rust, so dry debris removal is the safer baseline unless your specific blade manual states otherwise.
Cushioned Pin Brushes and Slickers
Cushioned brushes feature a small air hole that lets the rubber pad flex under pressure. If water enters that vent, moisture stays trapped behind the cushion and can degrade the pad or wooden body. Following Chris Christensen Australia's authorized pin-brush method, dip a small cleaning brush into lukewarm shampoo lather—not the water below—and brush the pins while holding the grooming brush face up with the handle elevated and the pad angled downward. Rinse using the same angled brush technique, shake off excess droplets, and stand the brush on its end (handle up, pad sloping down) until completely dry.
Molded Plastic Teeth and Rubber Groomers
One-piece plastic detanglers and solid rubber curry brushes handle warm water and mild soap without a vented cushion trap, though Tangle Teezer's product page warns against heat and contains an unresolved discrepancy between drying the brush bristles-down/on its side versus teeth-up. Always air dry molded tools away from radiators or hair dryers.
Step 3: Dry, Inspect, and Store the Brush
Wait until the pins, cushion seams, and any moving release plate are completely dry before putting the brush into a drawer or grooming bag. Before the next grooming session, run a quick condition check across three points:
- Teeth and pins: Look for bent wire bristles, missing pin tips, or rust spots on metal edges. Retire heads with bent or snagged pins rather than trying to straighten sharp wire by hand.
- Pad and handle joints: Check for split rubber cushions, trapped moisture inside air vents, or loosened handle seams.
- Moving plates and guards: Confirm that hair-release plates slide smoothly and edge guards lock securely without sticking.
Powered vacuum-grooming attachments and motorized tools require their own electrical isolation instructions and are not covered by manual brush-washing steps. When comparing replacement tools in our deshedding tools and combs and dematting tools categories, check each model's construction and care notes first. See our editorial policy for how we cite manufacturer care documentation.