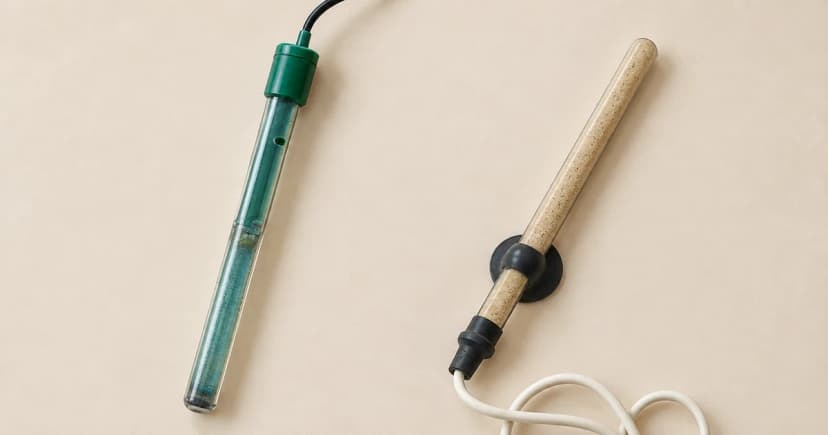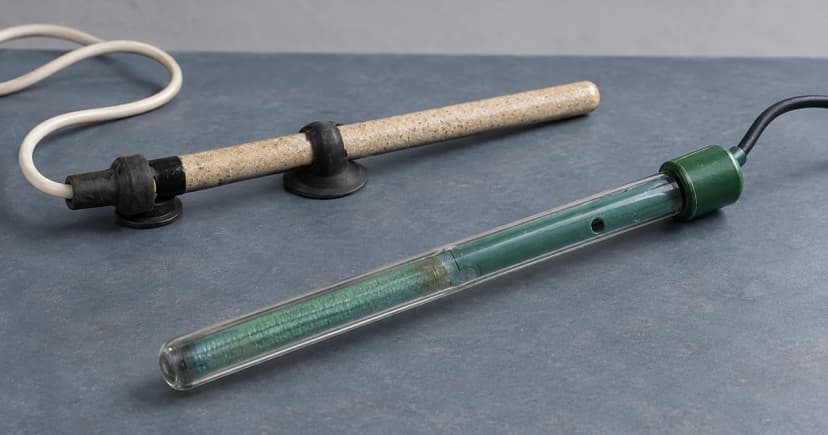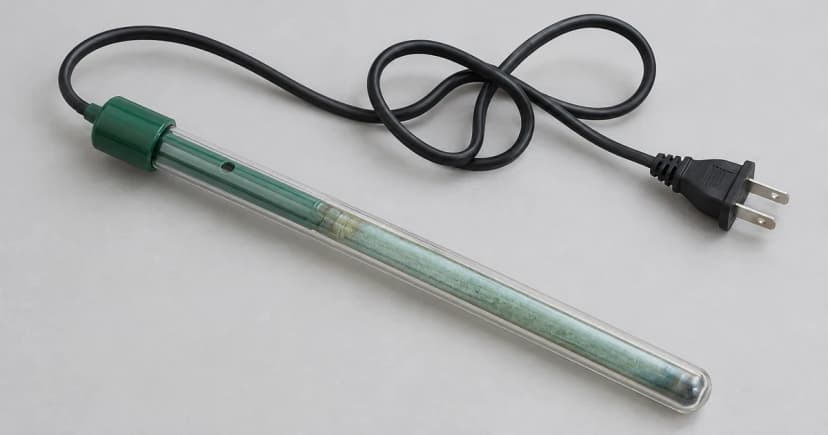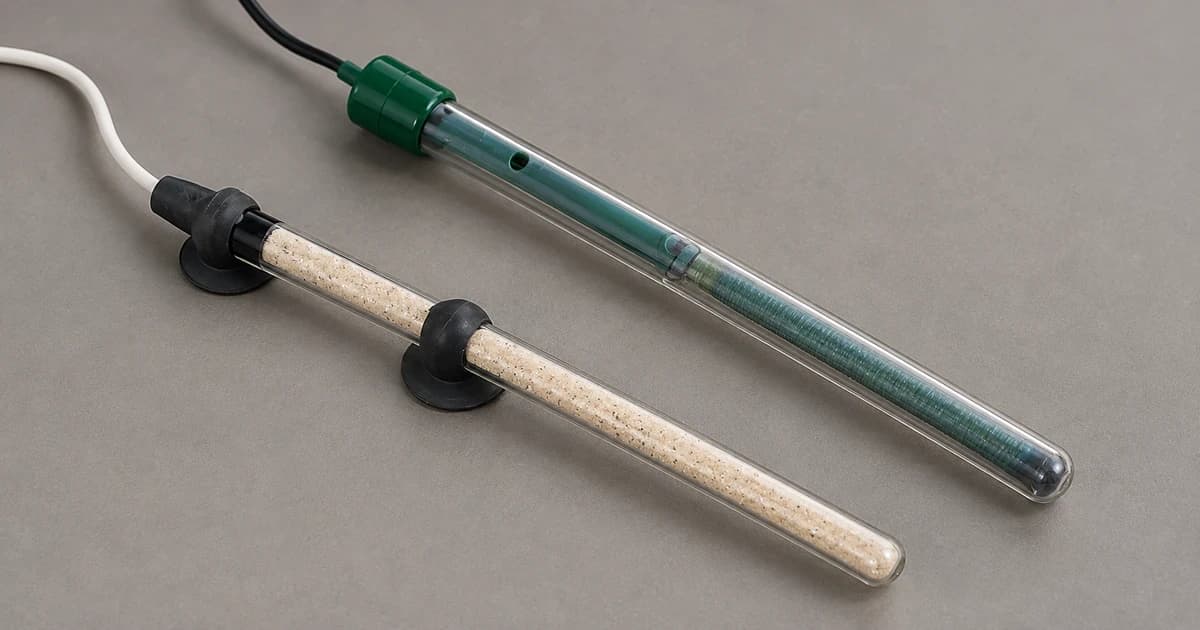
To work out how to clean an aquarium heater safely, match the exact model and regional instruction manual on your unit, then follow that document from unplugging and cooling through external cleaning and return to the tank. A cleaning method written for one heater line does not fill in missing steps for another. Check what your manual permits—and what it forbids—before touching the plug or lifting the tube from the water.
Identify the heater model and its full manual
Read the model code, wattage, and voltage/region markings printed on your heater and match them to the complete operating manual. Keep the entire PDF or booklet open—including the electrical safety warnings and initial installation diagrams—rather than relying on a short cleaning snippet. Locating your unit's shutdown, cooling, cleaning, and re-immersion rules is a separate task from choosing heater capacity or comparing heater controls and housings.
Separate ordinary maintenance from an electrical or physical fault
Disconnect all aquarium electrical appliances in the tank before putting your hands in the water or starting maintenance. Cracked or damaged glass, frayed cords, damaged plugs, water inside the tube, or a wet electrical connection immediately end a cleaning routine: follow the manual's fault disposal or service rules instead. Never power an aquarium heater out of water or attempt to open or repair a sealed unit.
Heavy mineral scale or algae does not justify scraping with metal tools, using household chemical cleaners, or running an unverified test. Never grab a wet plug or wet socket to perform a normal shutdown.
Compare pre-removal cooling, external care, and restart rules by model
The three manuals below show why you cannot copy a vinegar soak or waiting time from one brand to another. Each row applies only to the named model series and regional manual:
| Heater model & manual version | Pre-removal shutdown & cooling rule | Permitted external cleaning & exclusions | Return-to-use & power-on sequence |
|---|---|---|---|
| Aqueon Submersible AP50W–AP250W (2011 manual R49903) | Instructs unplugging before removing scale, but does not state a pre-removal cooling time. | Mentions wiping away scale accumulation periodically; does not specify a cleaning liquid, tool, or soak method. | Wait 30 minutes after submerging in aquarium water before plugging in (this 30-minute rule is for startup acclimation, not pre-removal cooling). Does not cover Pro 300 models. |
| EHEIM thermocontrol e 25–400 (USA/English manual) | Disconnect power and allow the heater to cool in the aquarium water for at least 30 minutes before removal. | Clean only under running water; strictly excludes dishwashers, hard or sharp objects, and aggressive cleaners. Grants no vinegar method. | Mount vertically in strong water flow using the original holder (keeping the holder off the heating zone and control light), verify minimum water level and maximum immersion depth, then reconnect. |
| Fluval T-Series 14880–14884 (North American manual, May 2021) | Unplug and leave in water to cool for at least 30 minutes before taking out of the tank. | Excludes chemical cleaners; permits soaking mineral deposits in vinegar followed by rinsing with fresh water, while leaving vinegar strength and soak duration unspecified. | Freshwater use only; reinstall with its mounting bracket and suction cups away from substrate/decor obstructions, meet immersion marks, and wait 30 minutes in aquarium water before restoring power. |
Aqueon AP50W–AP250W: keep startup acclimation separate from removal cooling
The 2011 Aqueon AP50W–AP250W manual notes that mineral scale can build up on the tube and should be removed after unplugging the unit, but it neither prints a minute-count for cooling before removal nor specifies a descaling liquid or pad. Its 30-minute waiting period appears in the installation steps before turning power on, not as a pre-removal cooldown timer. Keep those missing maintenance fields marked unstated rather than borrowing an acid soak or scrubbing tool from another brand, and note that this 2011 AP sheet does not cover metal Aqueon Pro 300 heaters.
EHEIM thermocontrol e: running water only
The EHEIM thermocontrol e operating manual sets a complete, closed routine: unplug all tank devices, let the heater cool in the aquarium water for at least 30 minutes, remove it, and clean the exterior under running water. It explicitly forbids hard objects, aggressive cleaning agents, and dishwashers, and it provides no vinegar soaking option. When returning the unit, clip the original suction-cup holder outside the heating zone and indicator ring, position the tube vertically in a well-circulated spot, and confirm the minimum water level mark before plugging it back in. Do not mix these steps with manuals for older mechanical EHEIM thermocontrol models.
Fluval T, North American manual: limited vinegar soak with unstated ratio and time
The Fluval T-Series North American manual (items 14880–14884) instructs unplugging the heater and letting it cool in the tank for at least 30 minutes before removal. Under maintenance, it forbids chemical cleaners, states that mineral deposits on the tube may be soaked in vinegar, and requires rinsing thoroughly with fresh water afterward—while leaving the vinegar dilution ratio and soaking duration unstated. Do not invent a concentration or soak timer, and never transfer this Fluval T clause to EHEIM or Aqueon heaters. For reinstallation in freshwater tanks, secure the bracket and suction cups, keep the tube clear of gravel and decorations, check immersion lines, and wait 30 minutes in aquarium water before reconnecting power.
Inspect the cleaned tube and complete the return sequence
Once external cleaning and rinsing are finished, inspect the glass sleeve, top seal, cord, and suction bracket in good light. Stubborn scale that remains after the manual's permitted method is not a license to scrape the glass with a razor blade or escalate to harsh descalers.
Follow the manual's installation sequence all the way through—holder position, flow clearance, water line check, and the required in-tank waiting period before plugging the cord into the drip-loop outlet. For choosing where the bracket sits relative to filter flow, use our heater placement guide alongside your model's manual.
End with a clear keep-or-replace decision
Ready for the return sequence: you followed the matching manual's external cleaning steps, the physical inspection shows intact glass, seals, and cord, and the unit has completed its required in-water acclimation before power-on.
Keep out of service: you see any glass crack, moisture inside the tube, cord damage, or thermostat malfunction, or your unit's model and permitted cleaning method cannot be verified. If the heater must be retired, compare verified model specifications in our aquarium heater category before selecting a replacement.