

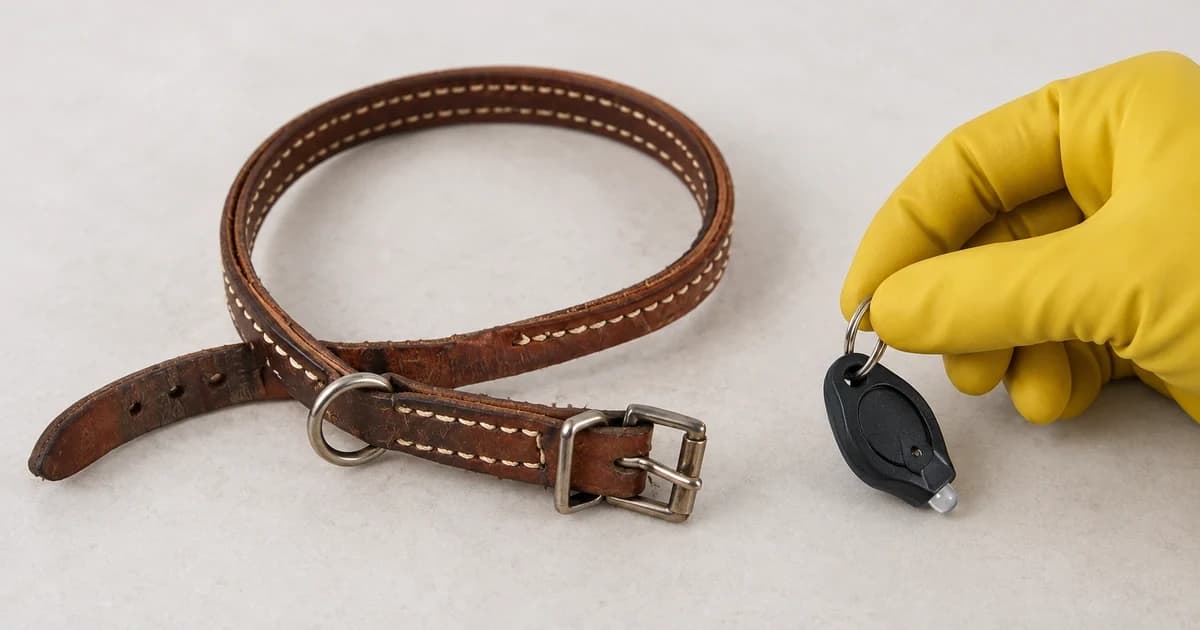
To understand how to set up a dog collar light, start with the collar off your dog first. Identify the exact light model, its clip or strap attachment, and its power source (rechargeable Micro-USB vs. replaceable coin cells), then test that model's button sequence before mounting it. A hanging carabiner light, a strap-threaded light, and a clip-on beacon can look similar in a store listing while requiring completely different setup steps.
The goal is a lamp you can switch on and off reliably and an attachment you can inspect on the flat collar. Seeing a light glow on a tabletop does not establish road-traffic visibility, collar-fit security, or guaranteed runtime.
Identify the light before choosing a cable or battery
Keep the packaging, model number and instructions beside the light. Look for a charging port, an identified battery compartment and the actual attachment supplied. Do not pry an unfamiliar housing open just because another version takes replaceable cells.
Three named rechargeable examples show why model distinctions matter:
| Documented rechargeable example | Attachment to identify | Power instructions to keep with that model |
|---|---|---|
| Nite Ize SpotLit Rechargeable Collar Light | Stainless-steel carabiner clip | Micro-USB charging; its product page notes the charging cable is not included |
| Nite Ize NiteDog Rechargeable Pet Light, Disc-O Tech | Slide mount that threads onto a strap | Micro-USB charging; its page also notes the charging cable is not included |
| Ruffwear The Beacon | Top Quick Ring or rear Quick Clip, per its information sheet | Micro-USB charging with an included USB cable |
These examples come from the current SpotLit Rechargeable page, NiteDog page and Beacon information sheet. A similar product name—including an XL or replaceable-battery SpotLit version—is not enough to transfer power or mounting rules.
Resolve an unclear battery specification before opening the compartment
Rechargeable and replaceable-cell versions follow separate rules. The official SpotLit Disc-O Select manual, revision B from 2024, illustrates a genuine documentation conflict: its diagrams and English battery-access text identify 2 × CR2016 cells, whereas the French, German and Spanish paragraphs on the same sheet identify 2 × CR2032 cells.
Because a single instruction sheet states two different coin-cell thicknesses across its language panels, pause battery replacement for any unit covered by that document and verify the cell code through Nite Ize's official support channels (linked from the Nite Ize SpotLit product and customer service portal) using the checklist below:
| Verification item for Nite Ize support | What to record and submit | Why it prevents battery guesswork |
|---|---|---|
| Exact product name & manual revision | SpotLit Disc-O Select Collar Light / Carabiner Light and manual code (e.g., REV-B2024). | Separates replaceable-cell units from SpotLit Rechargeable models. |
| Housing & compartment markings | Clear photographs of the back cap, battery tray, and any stamped cell code on your physical unit. | Identifies the exact production batch and physical battery holder depth. |
| Conflicting manual sections | Note that REV-B2024 English text and diagram state 2 × CR2016 while FR/DE/ES text states 2 × CR2032. | Flags the exact discrepancy so support can confirm which cell specification applies. |
| Pre-confirmation rule | Keep the battery compartment closed and do not force either cell size while waiting for verification. | CR2016 (1.6 mm) and CR2032 (3.2 mm) differ in thickness; forcing the wrong cell can bend contacts or prevent sealing. |
Do not choose whichever battery code appears most often on the sheet or assume a thicker coin cell is interchangeable. Once the cell code is confirmed for your unit, follow the matching compartment, polarity and closure steps. Keep loose new and used coin cells strictly out of reach of children and pets. A cap that will not close flush is a reason to retire the light rather than taping it shut.
Charge a rechargeable model by its own instructions
Match the actual port and specified cable; the word USB does not tell you which plug fits. The three rechargeable examples above use Micro-USB, so a USB-C connector is not a direct match. Keep the light off your dog during charging, and stop if the port or charger does not match the manual.
Check the model's charging indicator rather than treating any glow as proof of a full charge. SpotLit Rechargeable describes a red indicator turning green when charged. The Beacon sheet likewise describes red while charging and green when complete. Those rules belong to those named units, not every LED collar light. If a rechargeable unit fails to show the expected charging light, check the official troubleshooting guide rather than forcing a plug or prying open a sealed housing.
Record what your model's manual says the indicator means. Runtime and charge-time figures in a listing are laboratory claims under specific mode settings; they do not guarantee how long your light will stay lit on a cold night walk.
Match the attachment to the actual collar
With the collar laid flat, identify the clip or mounting route in the instructions. A carabiner needs an appropriate D-ring or dedicated accessory loop; a threaded slide mount needs the intended flat strap path. Do not improvise by hooking a carabiner through plastic buckle prongs or wedging a clip into a slide adjuster.
NiteDog's page describes attachment to most collars, harnesses and leashes up to 1 inch wide. Width alone does not establish that every padded or double-layer strap thickness fits. For The Beacon, Ruffwear's product page notes compatibility with its own collar and apparel light loops, and its sheet distinguishes the top Quick Ring from the rear Quick Clip.
After mounting according to the matched manual, inspect the connection to ensure the light does not block the collar buckle, adjustment slider or leash ring. If the mounting clip will not seat cleanly or shows damage, leave the light off the collar and discontinue use.
Learn the button sequence while the light is off your dog
Practice the button sequence once in a well-lit room where you can see the switch and the LED clearly. Write down how to power the unit off before cycling through flash or color modes.
- SpotLit Rechargeable: its page describes push-button on/off and glow or flash modes. Check the sheet for your exact version rather than borrowing another light's press count.
- NiteDog Disc-O Tech: its page describes pressing once for Disc-O color-changing mode, then holding and releasing to lock a single color; pressing again within three seconds selects flash, with memory for the last chosen setting.
- The Beacon: its sheet says to hold the power button for one second for on/off, then press briefly to cycle colors and modes (always on, slow flash and fast flash).
A long press that selects a color on one model can switch another model off. If the light responds differently than expected, recheck the exact model version before repeating random button presses.
Make a short use check and know when to remove it
Before a walk, confirm that the light switches on in your chosen mode, its clip or strap mount remains seated, and its casing is intact. Once the collar is fitted on your dog, watch whether the lamp snags on nearby gear or whether your dog tries to reach and chew it. Any chewing attempt is a reason to remove the light immediately.
Nite Ize specifies supervised use, no chewing, no use during crating or containment, and retiring damaged units. Follow your light's safety warnings and remove it when the walk ends. A collar light does not replace normal collar fit checks, leash control, or an ID tag, and it provides no GPS location tracking. The broader pet identification category covers contact tags and identification gear; when comparing lights, verify the exact model version, mounting mechanism and battery or charging specification first. See our editorial policy for how we review published equipment manuals rather than claiming field-trial test scores or accident-prevention guarantees.