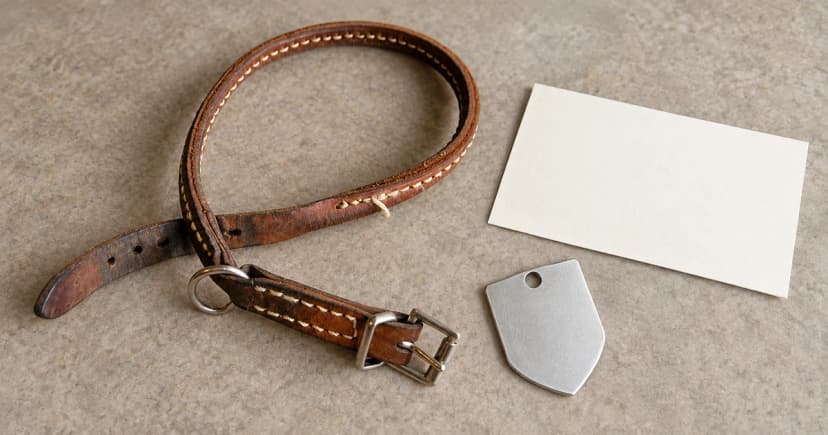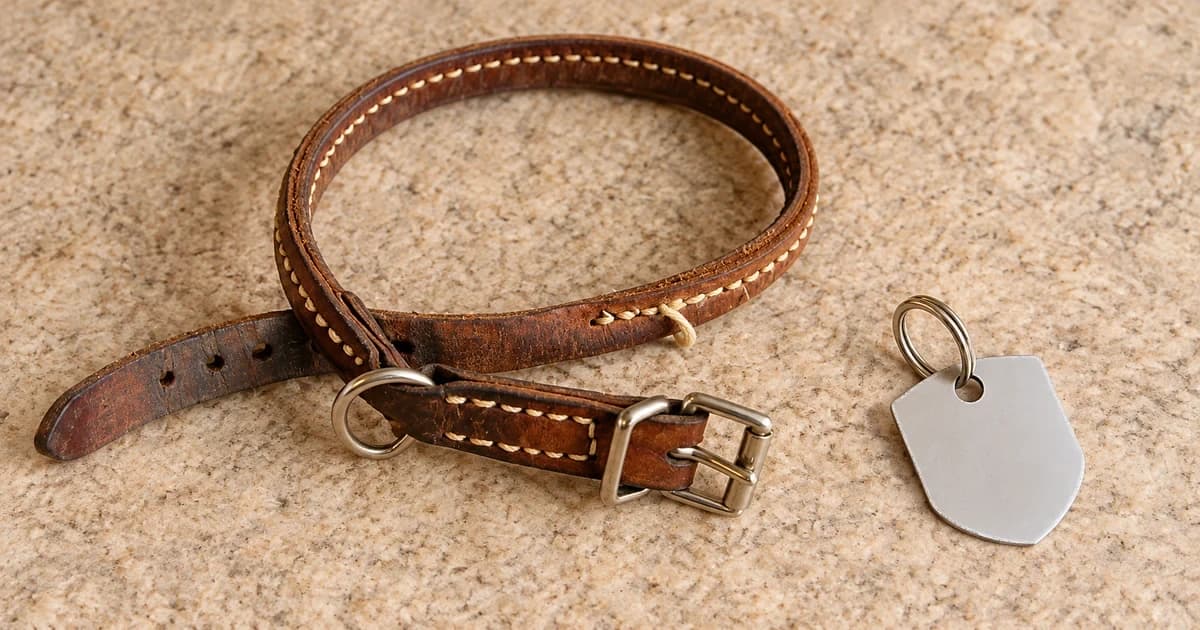
Knowing how to attach a pet id tag reliably starts with taking the collar off your pet, identifying the connector supplied with the tag, and matching it to the collar loop designed to carry identification. In a step-by-step how to attach a pet ID tag to a collar check, a spiral split ring, a gated clip, a rigid notched slide-on plate, and a flexible band attach in completely different ways—and every setup finishes with checking closure, swing clearance, and readable text before the collar goes back on.
Separate the leash D-ring from the dedicated ID attachment point
Before threading any ring, lay the collar flat and distinguish four hardware pieces: the main buckle, the length-adjustment slider, the load-bearing leash D-ring, and any dedicated ID tag ring or loop. They often sit an inch apart while serving completely different jobs.
For example, the Ruffwear Confluence Waterproof Dog Collar specifies an aluminum V-ring/D-ring for leash attachment alongside a separate identification tag attachment point. Keeping the tag on the dedicated ID loop prevents a leash snap from accidentally clipping onto a thin tag ring. When comparing dog collars, check the product diagram to see where the manufacturer places the tag loop versus the leash ring.
Match the connector type—and keep every boundary explicit
Compare the hardware in your hands against the five connector types below. Every cell in the right-hand column states a self-contained negative rule so no row can be misread out of context as a compatibility promise:
| Connector Type in Front of You | What to Verify Before Attaching | Important Boundary — What Not to Assume |
|---|---|---|
| 1. Spiral split ring + hanging tag | Which dedicated collar ID loop accepts the ring, and whether the tag hole and collar wire travel smoothly around the spiral without prying the coils apart. | Do not assume a spiral split ring is a single-cut craft jump ring, and never clip a walking leash to a split ring. |
| 2. Gated clip joined to a small ring | How the tag hangs from the small ring, how the spring gate opens, and which collar loop fits inside the clip throat. | Do not assume a gated tag clip (such as LuckyPet's Klippy) eliminates the small split ring between the clip and the tag hole—both joints still need inspection. |
| 3. Rigid notched or closed slide-on plate | Exact collar strap width and thickness, and whether an open strap end or buckle must pass through the plate slots. | Do not assume a rigid slide-on plate designed for an open-ended prong buckle collar will fit over a wide plastic side-release snap buckle. |
| 4. Slide-on plate with flexible silicone/elastic loops | The exact loop stretch limits and the manufacturer's stated collar-width range for that specific flexible version. | Do not assume that flexible loop tags and rigid stainless-steel slide-on plates with similar product names share the same installation limits or collar-width tolerances. |
| 5. S-shaped metal hook | The tag brand's exact crimping instructions and required pliers for closing both ends of the hook evenly. | Do not assume an open or half-pressed S-hook is ready for wear merely because the tag hangs on it loosely on the table. |
Published brand instructions illustrate why rows 3 and 4 must stay separate: dogIDs' installation guide notes that its rigid slide-on nameplate is built for open-ended collars and will not pass over a bulky snap buckle, while GoTags' slide-on stainless tag listing separates flexible silicone/elastic mounts from rigid notched stainless plates whose fit depends on exact strap width and thickness.
Three-step spiral split-ring method (without stretching the coil)
Before using a split ring, inspect the metal coil and the tag's eyelet for sharp burrs, bent gaps, or worn-thin metal. Then follow the three-step spiral threading sequence described in the DogTag.ie attachment guide:
- Step 1 — Lift only the outer tip of the coil: Use a fingernail or split-ring tool to raise the outer wire end just wide enough to slip the tag eyelet (or collar ID loop) onto the single wire—never pry the entire ring wide open like a C-clamp.
- Step 2 — Rotate the part around the full spiral: Slide and turn the tag or collar fitting continuously along the coiled track until it exits cleanly into the center of the double loop.
- Step 3 — Verify flat coil closure: Check that both layers of the spiral snap back flush against each other all the way around; if a ring stays sprung open or warped after threading, discard and replace it rather than squeezing it shut with pliers.
Keep gated clips and S-hooks on their own rules
In LuckyPet's collar attachment guide, the Klippy quick-clip still relies on a small split ring linking the tag to the clip body—so swapping the clip to a new collar still requires checking both the spring gate and that small ring. Regarding S-hooks, LuckyPet's blog article warns that improperly squeezed S-hooks can let tags fall off and notes discontinuing them as standard, whereas its FAQ page mentions S-hooks remain available upon request and dogIDs supplies S-hooks with crimping directions. Always follow the exact closure rule for the hardware packed with your tag.
Finish with three off-pet inspection checks
- 1. Closure check: Confirm that split-ring coils lie completely flat, clip gates snap fully shut, or slide-on plates sit securely on the strap—keeping the collar's main leash ring completely separate from the tag ring.
- 2. Travel and clearance check: Tilt and shake the unfastened collar to verify the tag swings freely without jamming inside a snap buckle housing or wedging under a strap slider.
- 3. Readability and QR profile check: Confirm that stacked rabies or license tags do not scratch or obscure engraved phone numbers; if your tag includes a scannable code, follow our QR pet ID profile-checking guide to test the live profile before putting the collar back on your pet.
You can compare attachment styles across our engraved pet ID tags category, and read our editorial policy on how we cite manufacturer hardware guides.