

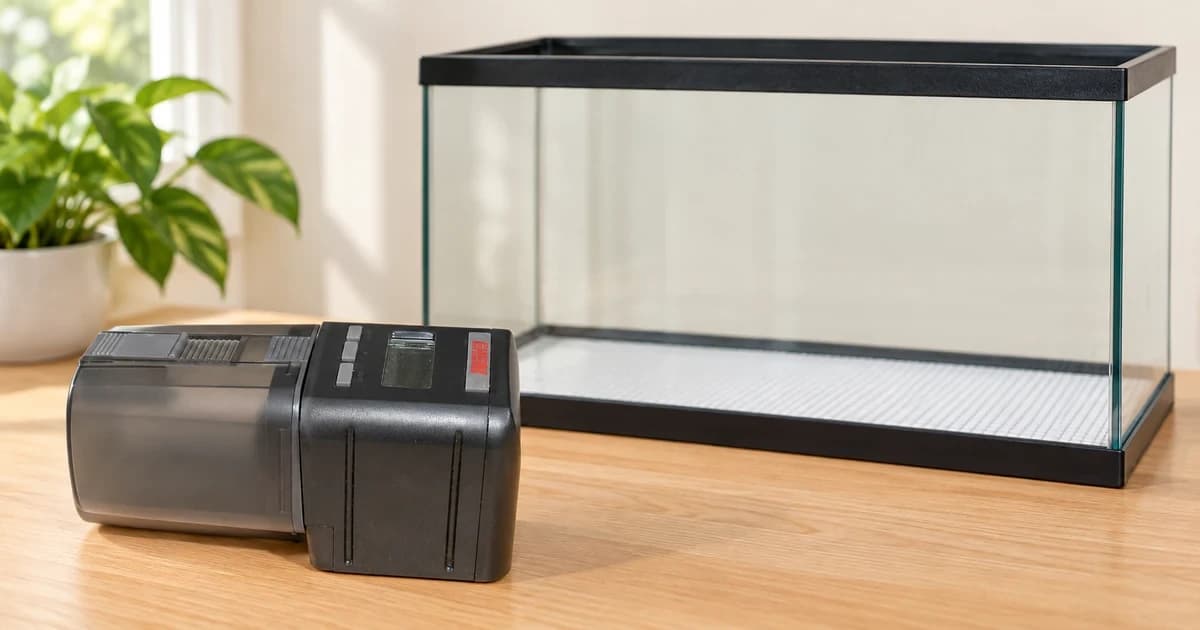
A reliable automatic fish feeder setup and test before you leave home requires confirming three separate states in order: (1) the clock or interval time is saved, (2) the scheduled feeding entry is actively enabled, and (3) an actual dry food drop has been observed falling cleanly through the tank opening. A spinning drum during a button press does not prove that tomorrow's timer will fire, that the outlet clears the aquarium hood, or that the slider aperture matches your fish's normal ration.
Use this four-stage verification workflow—drawn from published operating manuals for EHEIM, JUWEL, and Fluval feeders—to test your unit over at least one full daily cycle when working out how to test an automatic aquarium fish feeder before vacation.
Compare how named feeder manuals separate saved times from active feeds
Different feeders use completely different logic to arm a daily schedule. Check your exact model's manual before pressing programming buttons:
| Feeder model & manual | How schedule timing is saved & enabled | Manual test button vs. battery-change behavior |
|---|---|---|
| EHEIM autofeeder 3581 Operating Manual | Stores up to 4 feeding times on the digital clock, but a saved time with no arrow displayed produces zero rotation. One arrow = 1 drum turn; two arrows = 2 turns spaced 1 minute apart. | Manual button triggers an immediate rotation; manual states batteries must be swapped within 1 minute to retain programmed times. |
| JUWEL EasyFeed Automatic Feeder Manual | Has no wall-clock display: pressing On triggers an immediate first feed and starts a 24-hour cycle from that exact moment; activating the second LED adds a second feed 6 hours after the first. | Requires full reprogramming at the desired start time whenever the unit is switched off or batteries are replaced. |
| Fluval PF2 Programmable Fish Feeder Instructions | Has no clock screen: you lock in P1 (first daily feed) or P2 (second feed) by holding the programming button at the actual time of day you want that meal to occur. | The M button runs a single manual rotation without altering P1/P2; removing batteries erases saved P1/P2 times. |
Four-stage setup and pre-vacation verification workflow
Work through these four stages in sequence at least 24 to 48 hours before any planned trip so you can catch mounting, moisture, or portion problems while you are still home:
Stage 1: Mount the unit and verify an unobstructed dry drop path
Match your feeder's supplied bracket, clamp, or adhesive base to your aquarium hood or rim. Trace the vertical line from the drum outlet straight down to the water surface to confirm that glass cross-braces, LED light bars, or flap edges cannot catch falling pellets. In the EHEIM 3581 manual, the drive unit's rear air intake must remain uncovered and outside humid hood air, and the unit must never be immersed. On the Fluval PF2, standard flat-cover mounting differs from the dedicated Fluval FLEX port adapter, while JUWEL EasyFeed uses a matching hood opening and holding jacket.
Stage 2: Fill with permitted dry food and run a deliberate manual drop over paper
Load only the food types your manual permits—for example, EHEIM specifies dry flakes or granulates only (never live or frozen food) in a bone-dry drum, and JUWEL warns against packing or compressing food inside the container. Remember that hoppers hold multi-day storage volume, not a single meal size. Before positioning the drum over the tank water, hold a clean sheet of paper or a small dish underneath the outlet, press the manual release button once, and compare the dispensed pinch against the small ration you normally feed by hand. Adjust the slider aperture and re-test until a single rotation drops a conservative portion.
Stage 3: Arm the schedule and observe an actual timed release
Enter your chosen feeding time and verify the activation indicator (such as the rotation arrow on EHEIM 3581 or the illuminated program LED on JUWEL EasyFeed and Fluval PF2). Because a manual test button bypasses the timer circuit, do not treat Stage 2 as proof that the timer works: watch the feeder at its scheduled hour to confirm that the drum turns automatically, food clears the chute without clumping from tank humidity, and every extra manual test drop is counted in today's feeding total.
Stage 4: Install fresh batteries first and re-verify after any power change
If you plan to install fresh batteries before a trip, put the new batteries in before programming your schedule. On JUWEL EasyFeed and Fluval PF2, pulling the batteries wipes the saved interval, and on EHEIM 3581 taking longer than one minute resets the clock and arrows. Any time you refill the drum, slide the portion door, or touch the battery compartment, repeat your schedule and outlet check.
Fillable feeder setup & pre-departure log
- Feeder model, manual version & mounting method used:
- Drop path & ventilation check: (Outlet clears rim/lid; air intake unobstructed)
- Dry food type loaded & slider aperture position:
- Battery installation date & post-battery schedule check:
- Programmed times & active indicators (arrows/LEDs) verified:
- Manual drop observed (on paper/dish) vs. live timed drop observed (date/time):
When cleaning the feeder between uses, follow your manual's separation rules—such as EHEIM's instruction to rinse and thoroughly dry the detached food drum while wiping the motorized drive unit only with a dry cloth. Keep feeder setup separate from glass maintenance (covered in our magnetic glass cleaner guide), and see our editorial policy for how we cite manufacturer manuals.