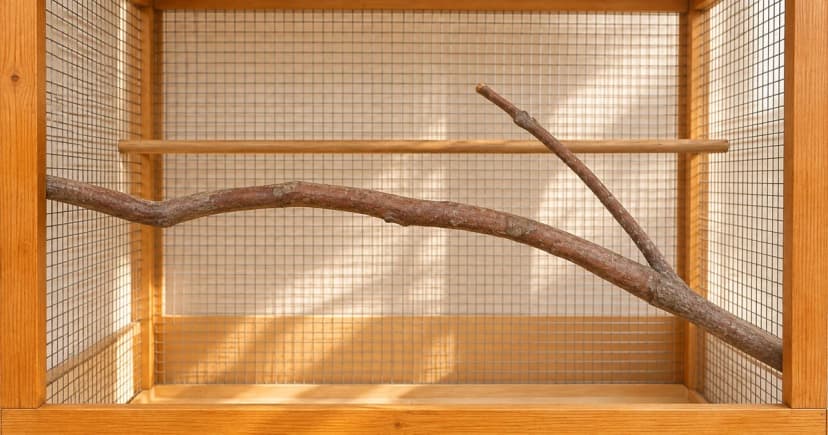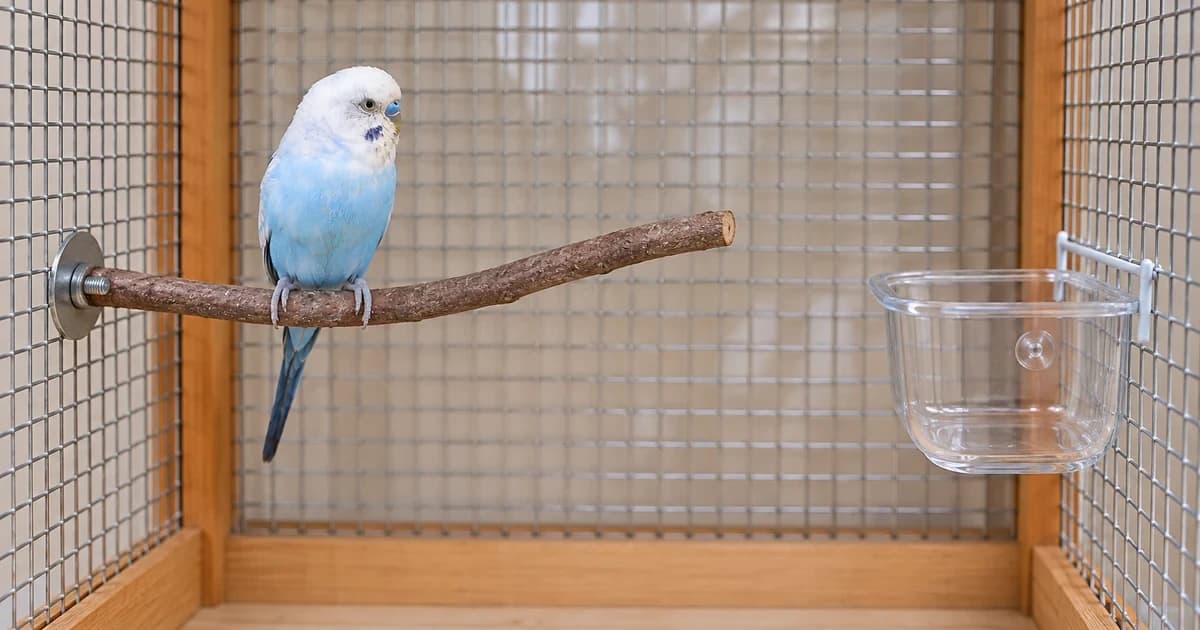
Learning how to arrange bird perches in a cage comes down to checking three spatial conditions together: unobstructed room for ordinary movement and tail clearance, clean drop zones so bird perch placement around food bowls never puts a resting spot above a dish, and a clear removal path for daily bowl cleaning. A perch that looks neatly spaced from the front can still overhang a water cup in the top view or block a dish from lifting out through the door.
Start with the compatible perches and dishes already in the enclosure. Map the layout from both above and the front, move one fitting at a time, and observe how your bird actually uses the space. If the enclosure itself leaves no room to separate resting perches from feeding dishes without cramping wing or tail movement, review bird cage dimensions before adding more accessories.
Map the cage from above and the front before adding perches
The RSPCA's bird-environment guidance recommends providing perches at different angles while keeping the enclosure uncluttered enough for natural movement. The RSPCA Australia enclosure guide specifically calls for enough clearance for a bird to turn around without its tail striking the cage bars or furnishings. Those welfare checks guide where perches go rather than prescribing a fixed perch count for every cage.
Check the drop zone beneath every resting position
Both RSPCA guides warn against letting droppings contaminate food and water, and the UK guidance also cautions against placing perches where droppings fall onto lower perches or other birds. Omlet's parakeet feeding-dish guide reinforces the same practical rule: never mount feeding bowls directly beneath a perch.
In your front and top sketches, trace the vertical zone beneath the section of each perch where your bird actually sits or sleeps (Zone A in the diagram). Compare that drop zone with every dish rim and lower perch. Then verify the real cage during daily use, because a bird may favor one end of a branch that looked clear on paper.
When a bowl sits underneath a favored perch, relocate either the compatible dish holder or the perch rather than burying the bowl behind hanging toys. Moving a cup out of a droppings path only works if the bird can still step up to eat comfortably and your hand can still reach the cup.
Match each perch role to its diagram zone and post-check
Every piece of cage furniture serves a specific function. Use the table below alongside the two-view diagram to verify resting spots, dish access, movement corridors, and cleaning routes before tightening hardware:
| Furniture role & diagram zone | Placement question before mounting | What to check during actual use and cleaning |
|---|---|---|
| High resting perch (Zone A) | What lies directly beneath the section the bird sits on most often? | Confirm droppings fall clear of food bowls, water dishes, lower perches, and cage mates. |
| Open movement corridor (Zone B) | Does this perch connect two areas without slicing across the main flight or turning space? | Watch the bird turn 360 degrees and stretch its wings without its tail brushing bars or toys. |
| Dish-access perch (Zone C) | Is the perch offset horizontally at dish level so the bird reaches the rim without standing over it? | Verify the bird eats comfortably while no upper perch overhangs the cup opening. |
| Bowl & fastener removal route (Zone D) | Can the dish lift out through the door and can washers be reached without dismantling neighbor perches? | Test removing and refitting the bowl through the normal service opening before adding food or water. |
| Platform or hanging accessory | How far does the entire surface or swing arc project into the interior? | Measure the full footprint in the top view, not just the bolt attachment point on the wire wall. |
Check the mounting method and daily removal route
Follow the attachment instructions for the exact perch or dish hardware, including washer orientation and bar-spacing fit. Our natural-perches collection includes branching fork perches and straight bolt-on dowels that project differently into the cage, while platform perches occupy a wider horizontal footprint that must be checked against both nearby bowls and the door opening.
Test your maintenance route at the same time (Zone D). Omlet's parakeet dish guidance highlights bowls that lock securely during use yet lift out easily for washing. Confirm you can detach and return each cup without unbolting adjacent perches.
Recheck the layout during ordinary use
After moving a single item, watch how your bird approaches the dishes and travels between perches on its own. Never hold a bird against a perch or pull its wings open to test clearance. Also inspect the condition of the furniture itself: RSPCA Australia advises removing fiber or rope perches as soon as fraying or damage appears, so check items from the rope-perches category regularly rather than simply shifting a worn perch to a new corner.
Common questions about bird perch placement
Use these checks to resolve common layout questions when arranging perches and bowls for your bird's specific enclosure and mobility needs.
How many perches should I put in a bird cage?
Published welfare guides do not set one universal perch number for all cages. Balance the size of the enclosure, the number of birds, and the footprint of each accessory so the bird has varied perching angles while retaining open space for turning and wing movement.
Can I put a food bowl below a perch?
No—avoid placing food or water bowls where droppings from an upper resting perch can fall into the dish. Offset the bowl horizontally into a clear zone and use a dedicated side access perch positioned at dish level.
Does a platform perch replace every other perch?
A platform perch provides a flat resting surface rather than replacing varied branch angles and diameters. Account for its full horizontal projection in your top-view sketch, and consult an avian veterinarian if your bird has foot or mobility limitations that require specialized low-height placement.