Planning how to install a cat door starts with matching four essentials before making any permanent opening: the exact unit and serial range, the mounting material (wood, PVC, metal-cored panel, glass, or wall), the complete manual section for that combination, and the right professional glazier or builder where required. A wood-door template cannot automatically be applied to tempered glass, a metal-cored door, or masonry.
Use these cat door installation model and material checks to choose the right documented fitting route and prepare a complete briefing record for your installer. The examples below come from named SureFlap and PetSafe manuals; their cut-out dimensions, adapters, and procedures are not interchangeable, and this planning guide does not provide a universal DIY cutting recipe.
Identify the unit before choosing an installation guide
Write down the product name, model and serial number, then locate the matching manufacturer's manual. A similar-looking frame or a generic product category is not enough to select instructions.
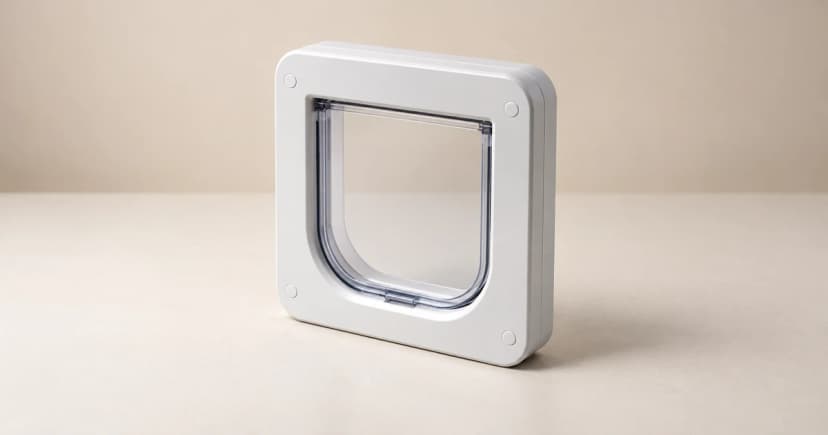
For example, the older SureFlap Microchip Cat Flap manual used here is supplied for serial numbers 1–1999999. Its English section separates door, glass, metal-door and wall installations. Do not assume its steps or accessories apply to a newer SureFlap unit or another brand.
Use the manufacturer's checks that apply before fitting. PetSafe's glass-installation instructions, for its named Microchip Cat Door, tell the owner to program and check the cat's chip before installation. That is a pre-installation condition for that unit, not a general rule that all equipment uses the same learning process. Keep detailed enrollment and access-mode instructions in the matching manual.
Confirm the mounting material
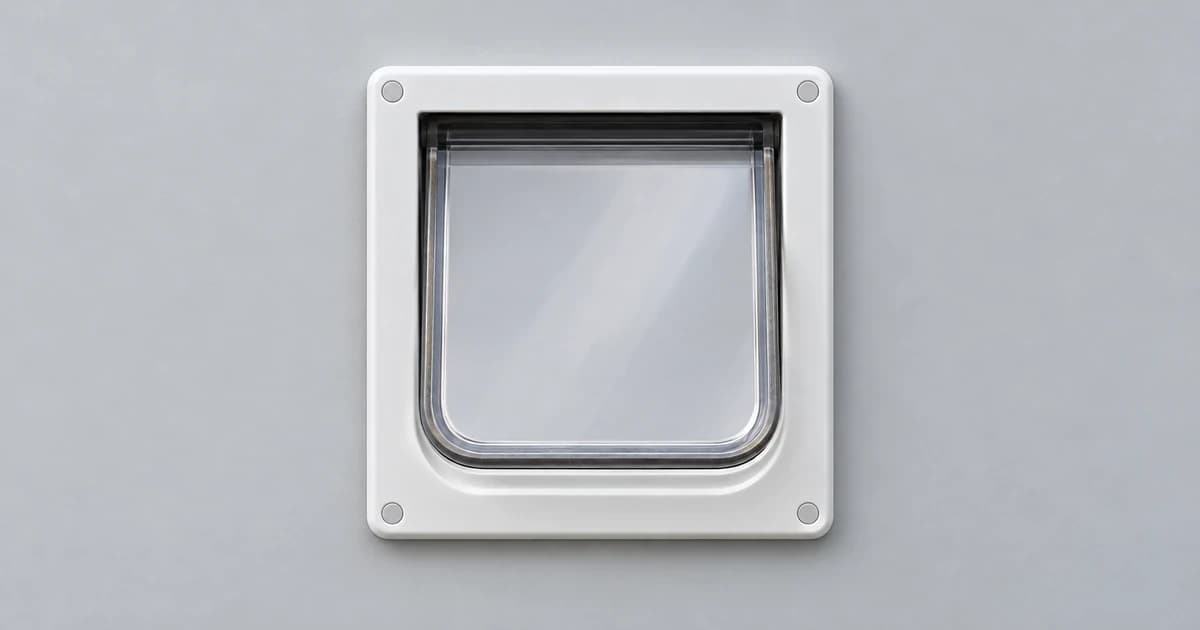
Describe the complete mounting surface, including anything you do not know. A panel that looks like wood may have a different core; a glass unit may be single-pane, tempered or double-glazed. Do not choose a cutting method from the visible finish alone. If the panel material or required route is unclear, share the model details and photographs of the proposed mounting spot with a qualified installer before any cutting begins.
| Material question | Why it changes the route | What to verify before fitting |
|---|---|---|
| Wood, PVC or uPVC? | PetSafe publishes a separate named-model route for these door materials. | The panel's internal construction and whether a metal core changes the required instructions. |
| Metal or metal-cored panel? | The named manuals give material-specific provisions rather than a generic wood-door method. | The exact model's adapter requirements and the applicable complete manual section. |
| Glass? | The named glass routes call for a qualified glazier and distinguish glazing types. | Glass construction, the matching installation adapter and what must be prepared by the glazier. |
| Wall? | The older SureFlap manual gives a separate wall route with model-specific extension requirements. | The wall construction and the complete documented installation plan with a builder. |
The purpose is to resolve what you have, not to borrow a generic hole size from an unrelated guide.
Keep orientation and parts tied to the named model
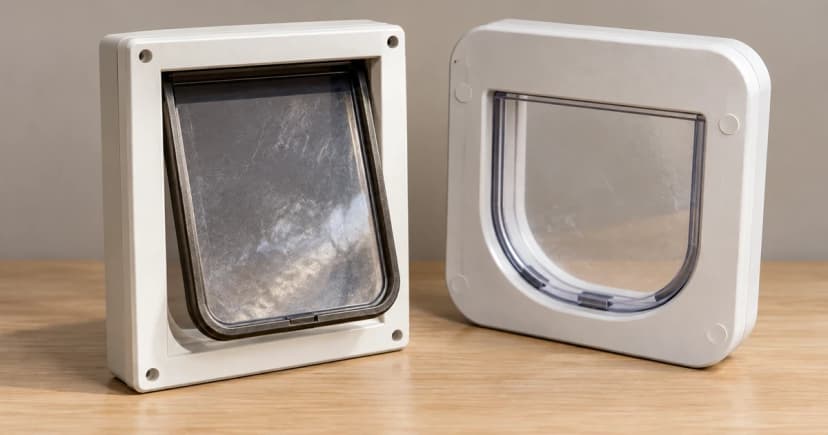
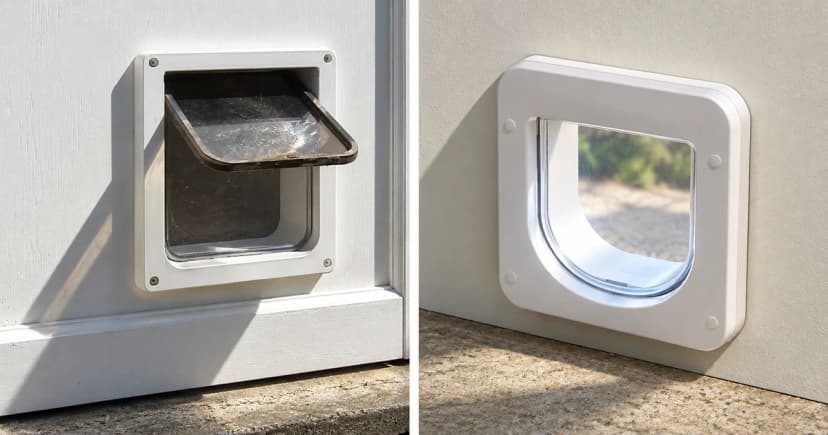
PetSafe's wood, PVC and uPVC instructions distinguish the interior flap assembly from the exterior frame, address a metal core separately and tell the owner to retain the cardboard template. Those distinctions belong to the specified Microchip Cat Door.
Before fitting your own unit, identify its inside and outside assemblies, the permitted fixings and the template or adapter that belongs to it. Do not borrow another model's screw lengths, accessory names or assembly sequence because the fronts look similar.
The older SureFlap manual also distinguishes its inside assembly from its exterior frame. It specifically prohibits cutting or drilling the reader tunnel. That restriction is a reason to use the prescribed material route and accessories, rather than to shorten the tunnel to make an unfamiliar opening work.
Use the glass route with a qualified glazier
PetSafe's glass instructions distinguish single-pane glass from tempered and double-pane glass. They place the latter preparation at manufacture and call for a professional glazier. For the named unit, the installation adapter is required with double-pane glass and recommended with single-pane glass.
The page contains conflicting-looking cut-size units, so this guide does not reproduce either cut-size procedure or silently change a unit. Have PetSafe and the glazier confirm the specification for the exact unit and glazing before proceeding. A nearby number in another model's manual cannot resolve that discrepancy.
Discuss the complete glass configuration with the glazier. This article gives no DIY glass-cutting method and makes no claim that a finished opening preserves glazing performance, security or weather resistance.
Treat a wall installation as its own job
For the older SureFlap unit, the wall section tells the owner to consult a qualified builder and describes its own tunnel-extension arrangement. A wall is not simply a thicker door. The relevant wall instructions, actual construction and access for the unit need to be considered together.
Give the installer the complete matching manual. Keep the intended route, model and proposed parts in one written plan. This guide supplies no wall opening dimensions, structural fixings, fire-door approval or sealing-performance specification.
Take one complete information record to the installer
Write the following together before requesting an installation quote or choosing parts. Any unverified item should remain flagged for the professional supplying or fitting the equipment.
- Unit: exact product name, model, serial number and matching manual version.
- Mounting surface: confirmed construction, including a metal core or glazing type, plus any unverified core details.
- Material route: the complete relevant manual section, required adapter or tunnel extension, and the unit's inside/outside orientation.
- Pre-fitting checks: the exact microchip programming and function checks specified in the manual, with results recorded.
- Unstated or conflicting specifications: any cut-size or unit discrepancy that must be verified against official model documentation before cutting.
- Installer scope: who will prepare the opening and verify the specified parts and mounting arrangement.
The older SureFlap manual expressly says not to install its flap in a fire door and says its catch and manual lock are not security devices. Do not treat a successful fitting as approval for a security or fire-rated location.
Keep fitting and the cat's learning separate
A fitted frame is not evidence that a cat will voluntarily use the flap or that every access mode works as intended. Once the documented fitting and equipment checks are complete, use a separate approach for helping a cat learn to use a cat flap without rushing.
When comparing smart pet doors, use your model-and-material record to verify mounting routes and required adapters before ordering. A category name or a similar frame cannot confirm mounting compatibility; resolve the model and material checks first, then follow the complete matching manual with the appropriate installer.