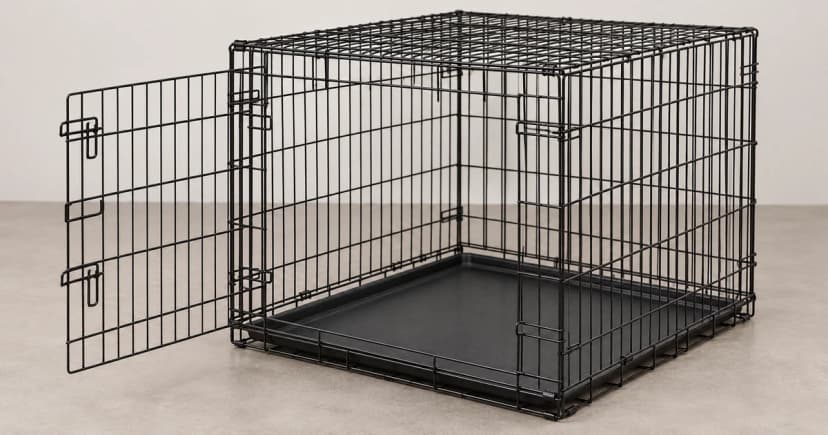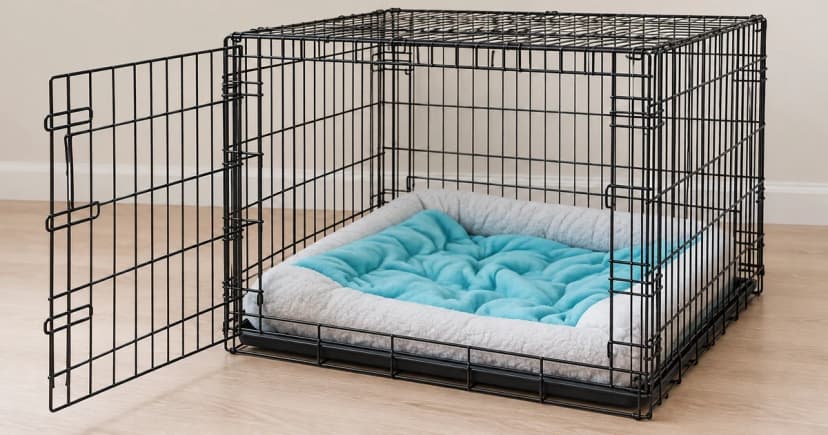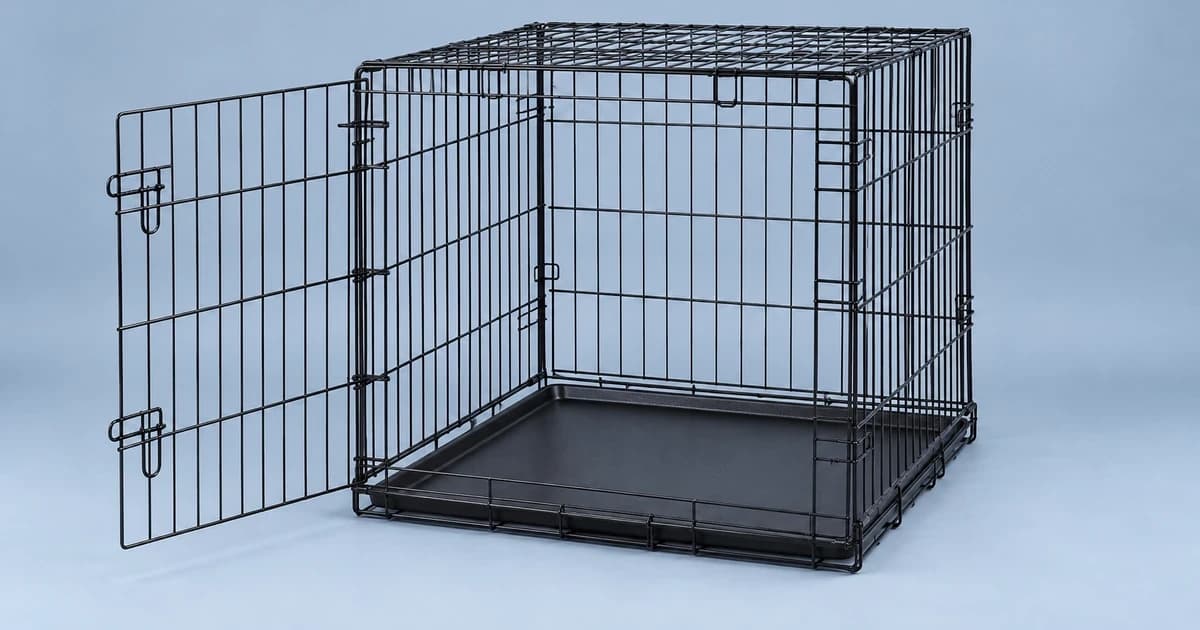
Knowing how to check dog crate door latches before putting a crate into service means matching the physical handle or slide bolt on your empty crate to the exact operating step or final locked position in its manual. A door that swings shut is not proof that every latch is engaged, and a wire dog crate door latch check must always separate the moving door latch from structural panel clips, divider hooks, and bottom pan stops.
Separate door latches from structural clips and pan locks
Before moving any lever on an empty wire crate, identify the exact brand, model number, and door location (front vs. side). If the wire walls themselves are bowed or misaligned, step back to our wire crate setup guide rather than forcing a door bolt into a crooked frame. Use the color-coded schematic below to keep door-operating latches (blue), structural panel/divider connections (amber), and pan-retaining latches (green) distinct across the three manuals compared here:
Compare documented door movements and end positions by manual
Review the exact scope of each manufacturer's PDF before operating the door latches on your unit:
MidWest Solutions SL54: verify the reinforcing hook sits behind the vertical wire
In the MidWest Solutions Model SL54 assembly instructions, the front door uses three U-shaped slide-bolt latches. Its final assembly checkpoint specifies sliding each bolt all the way across so that, when the handle is flipped down, the reinforcing hook rests behind the vertical frame wire. Notice that this SL54 sheet documents the finished locked position rather than a step-by-step opening sequence—do not invent or extrapolate an opening rule for other crate models from that end-position note.
Frisco Multi-Stage 3-Door (247915, 247916, 247917): 90-degree lift and divider rule
For printed models 247915, 247916, and 247917 in Frisco's All-in-1 Multi-Stage 3-Door manual (hosted under catalog URL 247914), Step 10 instructs you to lift the door lock handles approximately 90 degrees and slide them to open the door, or slide them into the lock to close it. Keep those door lock handles separate from the structural panel clips and the floor pan-locking latch. In addition, the manual explicitly notes that the side door will not operate while the internal divider panel is hooked to that side door's vertical wire—always check the divider hooks before touching the side door.
Petmate PET9958 (2016 manual): documented opening step vs. unstated closing sequence
In Petmate's PET9958 Wire Crate manual (2016 copyright; current retail SKU match unconfirmed), English instruction A6 states that to open the door, you raise the latch mechanism all the way and push over. While the caution list requires the door to be properly secured whenever a pet is inside and forbids using the crate with missing, broken, or modified parts, the 2016 document does not print a separate step-by-step closing sequence. Keep its collapsed-frame lock wire, panel hooks, and pan-locking device separate from the A6 door latch.
Record one instruction sheet per crate door
When inspecting your own crate or comparing wire crate listings, log each door on its own five-row card and leave any unstated opening or closing direction blank rather than improvising with carabiners, bungee cords, or wire bending:
| Field | What to record for your exact crate door |
|---|---|
| 1. Door identity | Brand, exact model code, and which door (front, side, or top) is being checked: ____ |
| 2. Manual & step reference | Official PDF link/edition date and exact step number or diagram label: ____ |
| 3. Documented operating movement | Only the opening or closing movement explicitly stated in the manual (leave blank if unstated): ____ |
| 4. Documented locked reference point | Named bolt, 90° handle slot, or reinforcing hook behind vertical wire: ____ |
| 5. Divider, clip, or part check | Confirm divider hooks, structural panel clips, and pan stops are clear and undamaged: ____ |