To learn how to assemble a wire dog crate safely, match the exact model number on your box or label to its official instruction sheet, verify every supplied part on the floor first, and follow that model's drawings all the way through the final panel hooks and pan stops. Wire crates do not all start the same way: separate loose panels joined by four long corner rods require a completely different procedure from a one-piece frame that unfolds like a book or unlocks with a side lock wire.
This guide compares three documented wire crate manuals so you can identify which starting structure you have before lifting a panel. Keep your dog in another room until the empty crate is fully assembled and checked.
Match the document before moving the panels
Locate the manufacturer name and model code printed on your carton or pan label and compare them against the model numbers printed inside the instruction PDF, then lay out the physical parts against the page-one drawing. A black wire finish, a rectangular shape, or the same number of doors never proves that two crates share the same latches or folding joints.
When browsing wire crate listings, check for the model's downloadable manual rather than relying on a store photo. Clear enough floor space for the panels to lie flat and check whether your manual specifies a two-person setup—not every wire crate is a one-person, quick-fold design.
Recognize the assembly system you actually have
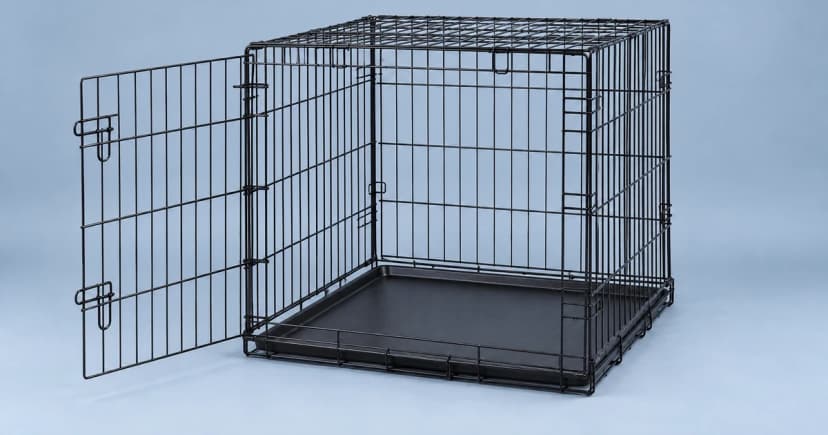
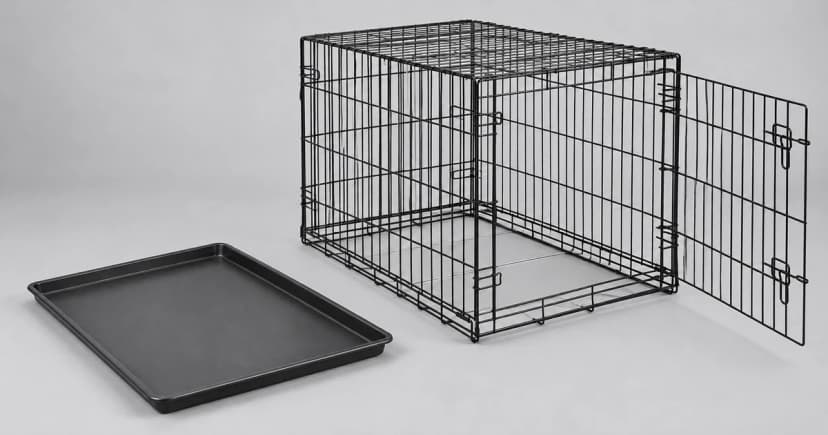
Because the generic empty-crate illustration at the top of this article does not show model-specific corner rods, floor grids, or lock wires, use the three-manual starting-structure index below to identify your crate's mechanism before moving any panels:
| Printed document model & source PDF | Page-1 parts to identify before starting | Starting mechanism (knock-down vs. fold) | People required & documented scope notes |
|---|---|---|---|
| MidWest Solutions Single Door Crate Model SL54 (MidWest INST_SL54-195 PDF) | Separate wire panels (labeled by letter in manual), four corner rods, and a plastic pan (front identified by the pan-stop end of the bottom panel). | Knock-down panel build: align side-panel hooks with the bottom panel, pass the 4 corner rods downward through aligned corner loops, and secure top-panel hooks and L-wires. | Requires two people and a large workspace; PDF provides assembly steps without an express reverse-folding procedure. |
| Frisco All-in-1 Multi-Stage 3-Door models 247915, 247916, 247917 (Frisco manual PDF) | One-piece folded crate frame, pan, divider panel, and a separate floor grid. | Book-fold frame: set the loose floor grid aside first, unfold the connected frame like a book, lift the top panel up, and engage the illustrated panel clips and floor grid. | Single/household setup; note that parts list calls the pan plastic while a caution box calls the tray metal (unresolved document conflict; URL string `247914` differs from printed `247915–247917` scope). |
| Petmate Wire Crate PET9958 (Petmate PET9958 PDF, 2016 copyright) | Collapsed, locked one-piece wire frame with plastic pan installed and a side lock wire. | Lock-wire fold-out: position with the lock wire facing upward, release the lock wire downward, fold out the top, lift and swing the overhanging panel into the main frame, and secure end panels and pan retainer. | 2016 copyright document; current retail SKU match is unconfirmed and the PDF does not state a reverse-folding sequence. |
MidWest Solutions SL54: separate panels and four corner rods
The MidWest Solutions SL54 assembly manual explicitly calls for two people and a large floor area. Its parts list consists of separate wire panels, four long corner rods, and a plastic pan, using the pan-stop end of the bottom panel to orient the front of the crate. The drawings show how side wires and hooks engage, how the four corner rods slide downward through aligned corner loops, and how the top panel's hooks and L-wires lock the roof in place. Never treat a carton of loose SL54 panels as a one-piece folding crate.
Count all four corner rods and match each panel's lettered orientation to the diagram before standing the walls up; an upright rectangle can still hide an upside-down side panel if you skip the hook and loop check.
Frisco multi-stage models (247915, 247916, 247917): floor grid, book-fold frame, and clips
The Frisco instruction manual for models 247915, 247916, and 247917 lists a folded crate body, pan, divider, and separate floor grid. Setup begins by setting the loose floor grid aside, opening the folded frame like a book, pulling the top section upward, and securing the illustrated panel connections and clips before fitting the floor grid and divider. Note that the manual's parts list and steps describe a plastic pan whereas its warning section refers to a metal tray—keep that discrepancy in mind and rely only on the printed model scope (`247915`, `247916`, `247917`) rather than the `247914` filename in the web link.
Petmate PET9958: collapsed frame with an upward-facing lock wire
The English section of Petmate's PET9958 manual (copyright 2016) starts with a collapsed crate that already holds its plastic pan and is held shut by a side lock wire. You start with the lock wire facing upward, unhook it downward, fold the top section open, lift and swing the overhanging panel into the main box shape, and engage the end-panel hooks and pan-retaining latch.
That side lock wire is unique to this style of folding frame; do not confuse it with MidWest's removable corner rods or Frisco's removable floor grid.
Keep a parts-to-drawing record
Log what you see on your physical crate alongside the manual page you are following so any missing clip or mismatched panel is easy to identify:
| Check | Record from your unit and its document | Detail to verify |
|---|---|---|
| Identity | Brand, exact model number, and PDF title/version | Does the printed model list inside the PDF cover your exact crate? |
| Supplied parts | Loose panels, 4 corner rods, pan, floor grid, or divider listed in the manual | Are all parts present, straight, and undamaged before lifting panels? |
| Starting arrangement | Page-1 drawing (separate panels + rods vs. book-fold + floor grid vs. lock-wire frame) | Does the physical hinge/rod layout match the first drawing? |
| Completion | Top-panel hooks, L-wires, corner rods, clips, door latches, and pan stop | Is every required hook, rod, and pan retainer seated at the final step? |
Use the model's completion checks
Finish every connection shown in the final drawing—never stop simply because the four walls stand upright. On the MidWest SL54, for example, the corner rods and top L-wires are essential structural locks even after the walls form a rectangle. Never use a crate with missing rods, broken welds, or makeshift wire ties.
Once the empty crate is completely assembled and checked, use our crate-size guide to verify that the interior dimensions give your dog room to stand, turn around, and lie down comfortably. The header illustration depicts a generic empty wire crate rather than one of the three named models above; see our editorial policy for how we compare manufacturer manuals.