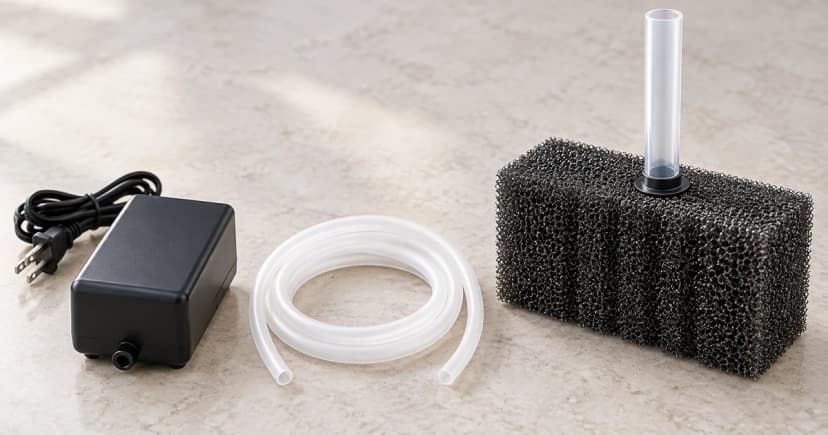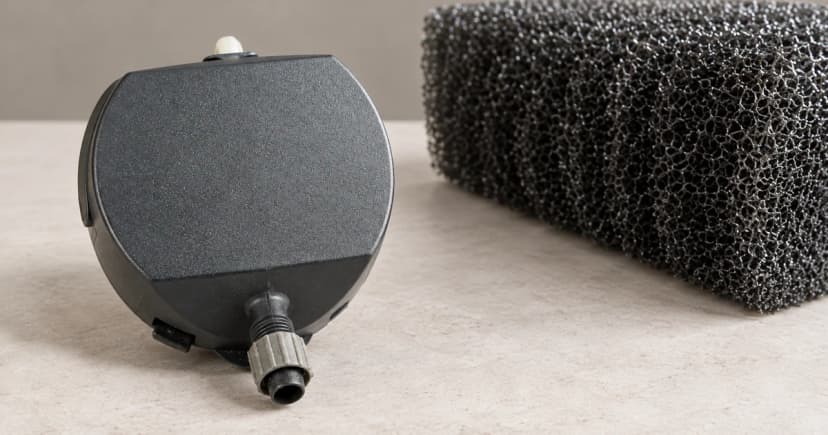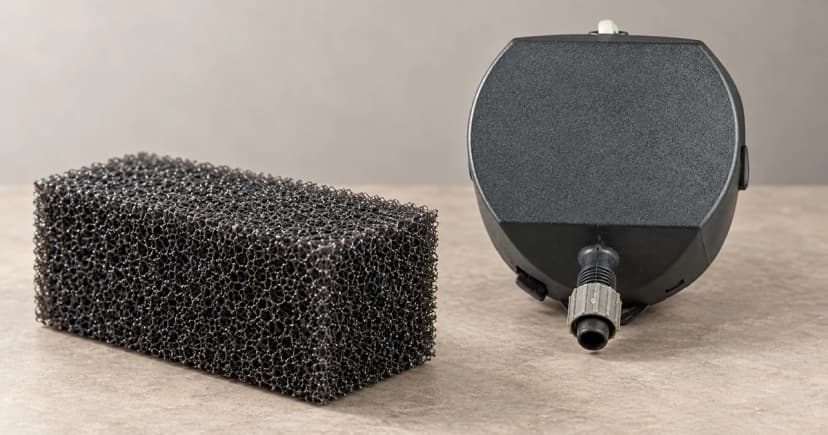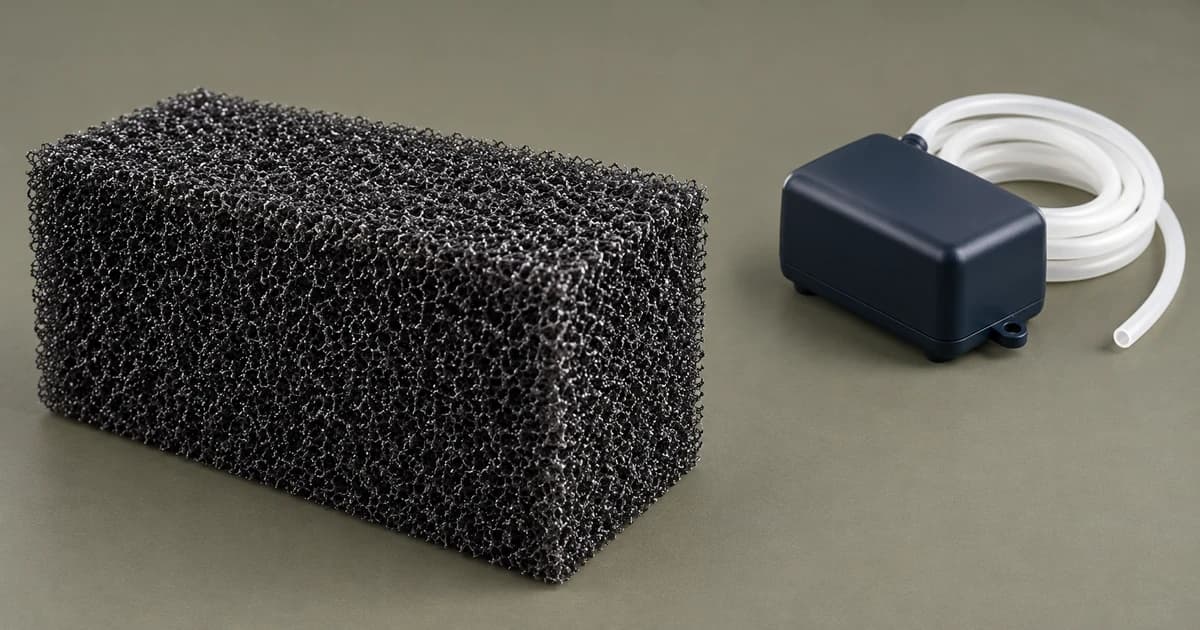
To clean a sponge filter safely, first separate the submerged foam assembly from the external electrical air pump, then follow the exact water-source and disassembly rules published for your specific sponge filter aquarium model. Squeezing a foam cylinder in the wrong water—or pulling apart internal collars on a filter that is not built like the example you read—can damage beneficial media or hardware, and an external air pump must never be moved into the rinsing bucket.
Identify the Parts and the Permitted Stopping Procedure
Write down the exact aquarium filter brand and model, the external air pump model, and any airline check valves or air stones before unplugging or lifting anything. Check your manual for the required power-off sequence before disconnecting airline tubing, and remember that new-equipment installation belongs to our separate air-driven sponge filter setup guide.
Describe the Actual Condition Before Choosing a Method
Note what you actually see: brown detritus clogging the foam pores, reduced bubble output at the lift tube, algae around an intake slot, or the date of the last rinse. Aquarium Co-Op's sponge-filter guide suggests cleaning monthly or whenever bubble output drops—keep that interval attributed to Aquarium Co-Op rather than treating it as a rule for every brand.
Keep the Named Foam-Cleaning Methods Separate
Compare how Hikari and Aquarium Co-Op specify water sources, bag capture, and replacement timing for their own products:
1. Hikari Bacto-Surge Sponge Filters (Foam Block Scope): Hikari instructs owners to rinse the sponge block using water taken from the aquarium and expressly prohibits tap water or hot faucet water. To reinstall, submerge the block in aquarium water and gently squeeze out trapped air. Hikari's page also contains two separate replacement notes—a six-month interval and a later note to replace as needed based on aquarium load and fish stocked—so do not invent a single universal expiration date.
2. Aquarium Co-Op Filter-Cleaning Guide (Coarse Sponge Scope): Aquarium Co-Op describes sliding a plastic bag around the coarse sponge underwater to catch loose debris, lifting the bagged filter into a bucket, detaching its separable strainer and base, and squeezing the foam repeatedly in aquarium water (dumping and refilling with tank water until brown detritus clears). Never place the external electrical air pump into the cleaning bucket alongside the sponge.
Clean Accessible Components Without Inventing a Teardown
For its own coarse sponge filter design, Aquarium Co-Op describes removing the air collar and bullseye from the strainer to release the foam, clearing any debris or algae blocking the tiny air-collar holes, and reassembling the unit (`Figure 1` below). Those named parts (`air collar`, `bullseye`, `strainer`) belong specifically to Aquarium Co-Op's coarse sponge filter—never try to pry a Hikari Bacto-Surge or an unfamiliar one-piece riser apart looking for them:
Always use the component names and release steps shown in your own filter's manual, and never drill holes, cut lift tubes, or force a glued collar apart.
Note also that while Aquarium Co-Op's article mentions its founder rinsing sponges under low-chlorine tap water in specific personal conditions, that anecdotal example never overrides Hikari's explicit prohibition against tap or hot faucet water.
Reassemble, Resume as Instructed, and Keep a Service Record
Reassemble only the permitted underwater parts, submerge the filter, and restart airflow according to your manual. Compare the restored bubble stream against your pre-clean notes—while remembering that seeing rising bubbles confirms airflow only and does not verify water parameters, ammonia/nitrite conversion, or biological filtration readiness.
Log the filter model, service date, water source used, parts cleaned, and post-clean bubble observation. When you need a matching replacement foam block or complete unit, check the exact model code in sponge and internal filters.