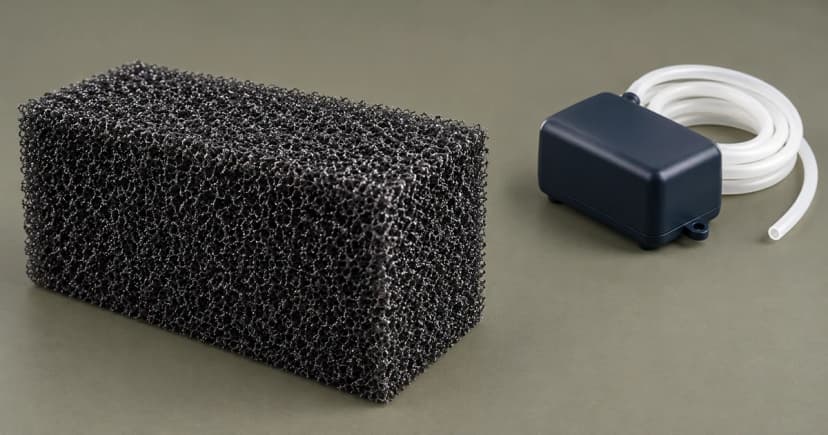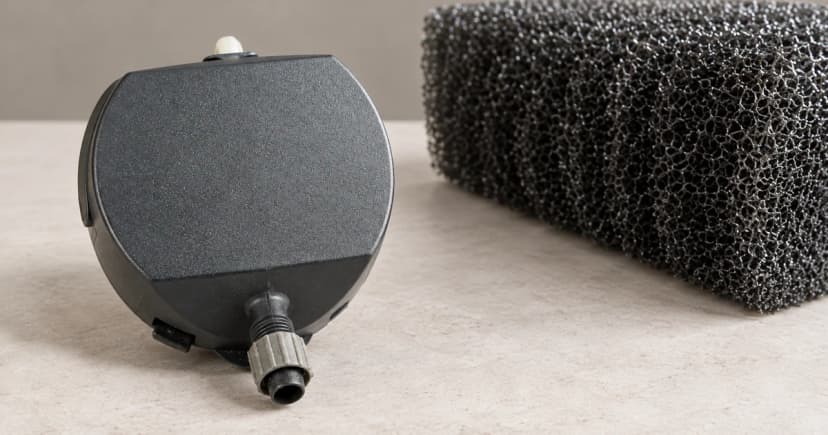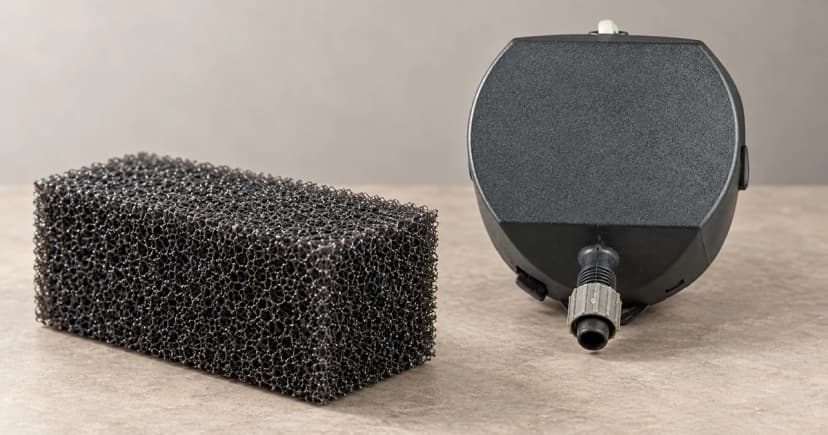
To understand how to set up a sponge filter—specifically how to set up an air-driven sponge filter—first separate the submerged filter assembly inside the tank from the dry external air-supply equipment outside it. Assemble the named sponge filter as its manual directs, prepare the foam using only its permitted method (such as Hikari Bacto-Surge's 5-minute soak in aquarium water), connect compatible airline tubing and a directional check valve from the dry air pump to the filter's air inlet, and switch on the pump according to its electrical instructions. Visible bubbles confirm airflow through the lift tube, not that the aquarium is biologically cycled.
The distinction between an external air pump, an air stone and a sponge filter matters. They are related pieces of aquarium equipment, but they are not interchangeable. This guide provides a component checklist, an air-path topology map, and named Hikari and Tetra examples; it does not certify mixed third-party parts or establish a tank-cycling or fish-stocking timetable.
Lay out the equipment before connecting it
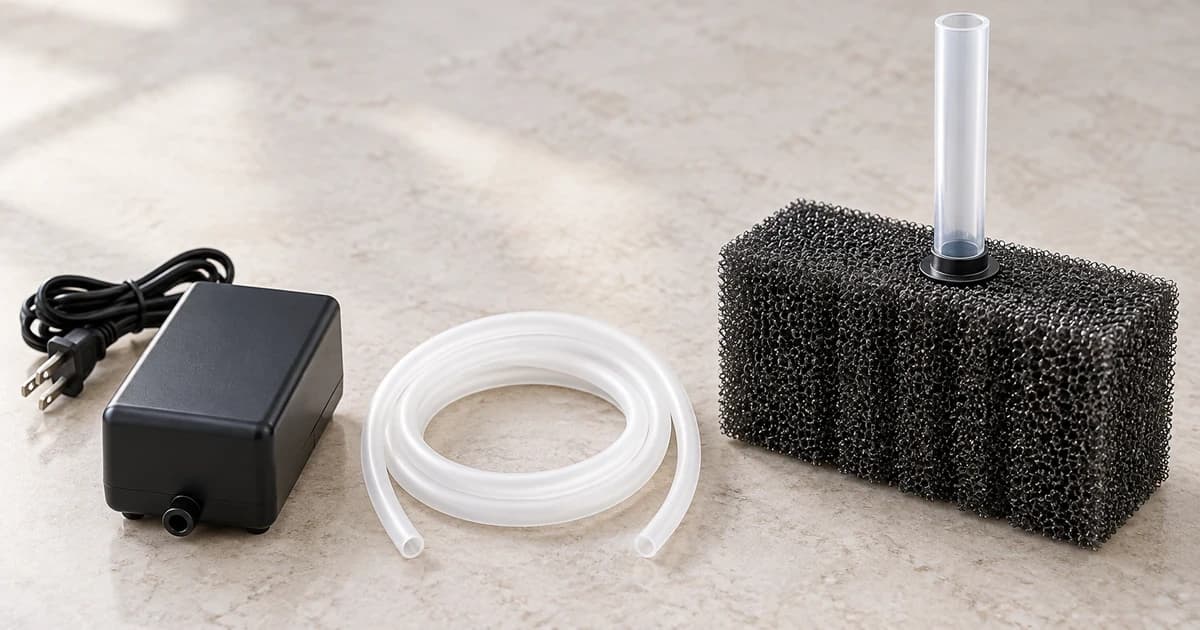
Keep the filter’s model name and instructions beside the parts. An air-driven sponge unit combines a foam block, weighted base or suction mount, and an air-lift tube, while a separate dry air pump supplies air through flexible tubing. The Hikari Bacto-Surge product directions explicitly identify that filter as air-driven and state that the air pump is sold separately. An unmarked foam block on its own is not a complete air-driven filter.
| Piece | Check before setup | A common mix-up |
|---|---|---|
| Sponge-filter assembly | Exact model, supplied lift tube/base parts, air inlet barb and installation directions. | A loose replacement foam pad is mistaken for a complete air-driven filter. |
| External air pump | Exact manual for dry placement, electrical safety and supported outlet connections. | A dry external air pump is confused with a submersible water pump. |
| Airline tubing | Specified internal diameter and matching barb dimensions. | Tubing is chosen solely because it looks close in size. |
| Check valve and airflow control | Required valve type, airflow arrow direction and placement along the dry airline. | A manual airflow control tap is mistaken for a one-way backflow check valve. |
An air stone releases bubbles but is not, by itself, a sponge filter. Some sponge filter designs incorporate their own internal diffuser. Do not force an aftermarket air stone into a filter unless its manual specifies one. Start with the complete assembly details when comparing sponge filters.
Prepare the sponge using its own directions
Inspect the supplied instructions for any foam preparation step before placing the filter in the tank. For the named Bacto-Surge series specifically, Hikari directs users to soak the sponge block in aquarium water for at least five minutes before installation, and to submerge and gently squeeze the sponge when reinstalling it so trapped air escapes.
Those five-minute soaking steps belong specifically to Hikari Bacto-Surge filters, not every foam material or every brand. If your filter uses another design, follow that product’s preparation and assembly sequence. Never apply a sponge's water-soaking step to the electric air pump, power cord or electrical connections.
Hikari also specifies rinsing its sponge in aquarium water during routine maintenance and excludes untreated tap or hot faucet water. Keep initial preparation, routine squeezing in tank water, and part replacement instructions separate. A rinsing rule does not establish a universal replacement interval or authorize household soaps or disinfectants.
Check the air path and accessory identity
Read the pump, check-valve and filter manuals together before pushing tubing onto any barb. Record and trace the complete air route from the dry pump outlet to the submerged filter inlet using the topology map below:
| Air-path sequence (from dry source to tank) | Environment (Dry vs. Submerged) | Named example & directional rule |
|---|---|---|
| 1. External Air Pump → Outlet Barb | Strictly Dry (Outside Tank): Placed on a dry surface according to the pump manual's height, ventilation and drip-loop rules. | Tetra APS Air Pump includes an airflow control tap; never submerge an external electric air pump. |
| 2. Airline Segment → One-Way Check Valve → Airline Segment | Dry Airline Path (Outside Water): Positioned along the airline between the dry air pump and the aquarium water surface per the valve manual. | Tetra CV4 CheckValve requires 4 mm ID conventional airline tubing, pushed firmly onto both barbs with the printed arrow pointing from the air pump → toward the aquarium. |
| 3. Filter Air Inlet → Submerged Sponge & Lift Tube | Submerged (Inside Aquarium): Positioned underwater at the depth and orientation shown in the filter manual. | Hikari Bacto-Surge Sponge Filter (after its 5-minute aquarium-water soak): air travels down the airline into the filter inlet and rises up the lift tube to draw water through the foam. |
Use only the designated hose barbs; an assembly that requires heating tubing, modifying a fitting, or guessing where a hose belongs indicates mismatched parts that should not be forced together. A check valve is also not permission to ignore the air pump’s electrical or placement instructions: its presence does not mean an external pump can be submerged or that every below-water shelf placement is approved by your pump manual.
The Tetra APS Air Pump page lists its included airflow tap alongside optional CV4 check valve, AH airline hose and AS air stone accessories. That accessory list applies to the Tetra APS air-supply line; it does not make the AS air stone a required insert inside every sponge filter.
Use a short startup checklist
- Confirm the models. Identify the exact filter, dry air pump, airline internal diameter and check valve before cutting tubing.
- Prepare and assemble the filter. Follow the filter's stated soaking and assembly steps while keeping the dry electric air pump completely away from water.
- Place the components. Position the sponge filter inside the aquarium and the air pump on its dry exterior surface as their respective manuals direct.
- Connect the directional air route. Push the matching airline onto the pump outlet, check valve (arrow pointing toward the aquarium) and filter inlet.
- Start according to the pump manual. Plug in and switch on the air pump using only its intended controls. If startup behavior differs from the manual, switch the pump off and recheck the model's troubleshooting sheet rather than guessing or opening the pump housing.
- Record the result. Note the exact equipment models, check-valve orientation and visible airflow through the lift tube.
This checklist organizes the setup sequence without replacing the model-dependent placement, airflow adjustment and electrical safety rules in your manuals.
What bubbles can and cannot tell you
Visible bubbles rising from the lift tube show that air is reaching the submerged assembly. They do not measure water turnover rate, dissolved oxygen levels, nitrifying bacteria colonization, or readiness for fish. A bubbling startup is not proof that a newly filled aquarium is cycled.
Hikari’s Bacto-Surge page separates physical installation from biological colonization, which depends on tank conditions and seeding. Do not turn a product claim into a universal cycling countdown. This equipment guide does not prescribe bacterial additives, water-test thresholds or stocking loads.
When comparing aquarium filtration equipment, verify the exact part specifications and manuals rather than relying on a generic phrase such as “bio sponge.” See our editorial policy for how we organize published manufacturer directions without claiming physical flow, backflow or biological performance tests.