Knowing how to connect a pet bath sprayer to a compatible fixture starts with matching your exact sprayer kit, the water-supply outlet, and the mating parts required at each individual joint. Identify whether your supply is an indoor shower arm, an existing handheld shower bracket, an indoor sink faucet with removable aerator, or an outdoor garden hose before touching a wrench. Visually similar hose nuts do not establish thread compatibility or a watertight seal.
The three manufacturer manuals compared below illustrate distinct water paths rather than a single universal plumbing sequence, and Pawlivy has not pressure-tested or cross-assembled these kits.
Identify the kit and supply path before selecting an adapter
Keep the sprayer's exact model number, manual revision code, and supplied connectors together. If a replacement hose or adapter came from a separate purchase, log its identity separately rather than assuming a “universal bathroom adapter” fits your sprayer wand.
Describe your water outlet clearly—fixed overhead shower pipe, handheld shower bracket outlet, threaded sink spout, or outdoor garden hose bibb—and match it only to a configuration documented in your kit's manual. This guide does not supply thread pitch standards, water-pressure ratings, or improvised adapter stacks for undocumented fixtures.
Keep these three documented water paths separate
Review the specific instruction sheet that matches your sprayer model and revision before assembling any joints:
1. Waterpik Pet Wand PRO PPR-252 (2017 Guide)
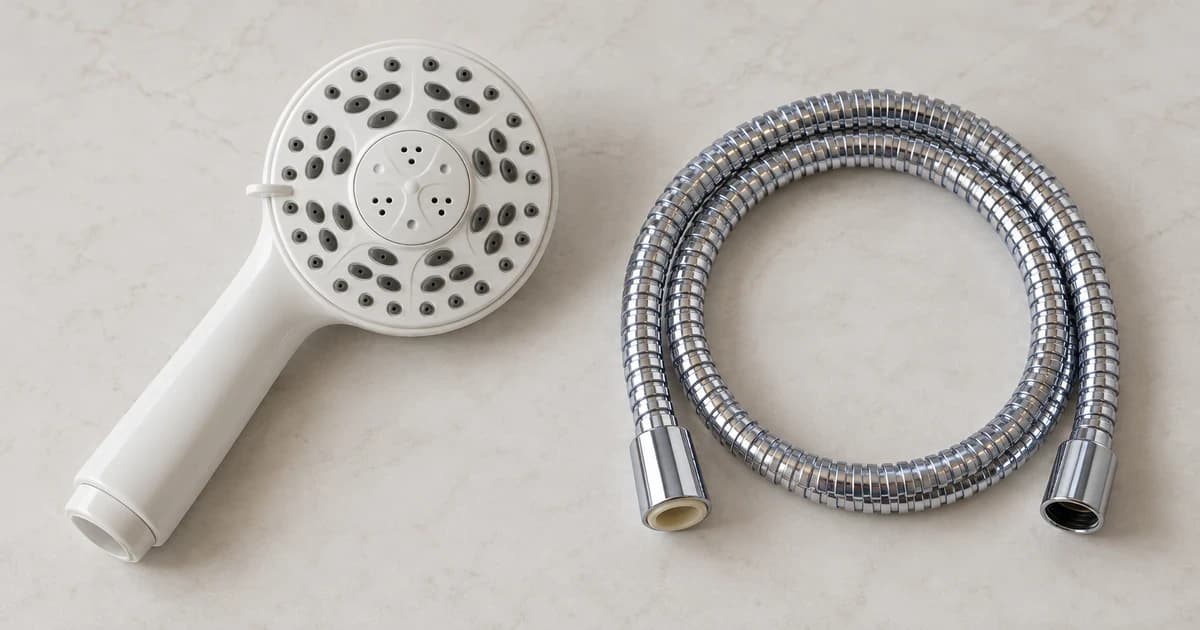
The 2017 Waterpik Pet Wand PRO PPR-252 guide documents two distinct routes: an indoor shower-pipe diverter path and an outdoor garden-hose adapter path. Indoors, the diverter threads onto the shower pipe before the existing showerhead reattaches, and the supplied flexible hose connects from the diverter outlet to the wand with the yellow-tagged hose end assigned to the wand.
Its troubleshooting table inspects joints individually: it checks rubber washers at the diverter and hose couplings, while its pipe-tape instruction applies specifically to the metal showerhead connector joint—not blanket permission to wrap tape on plastic hose nuts. Tool permissions also differ by joint.
2. Waterpik Pet Wand PRO Deluxe Edition PPR-255E (2022 Guide)
The 2022 Pet Wand PRO Deluxe Edition PPR-255E guide covers a separate model and revision. It assigns the yellow-tagged hose end to the wand and adds a directional requirement when a vacuum breaker is supplied: the labelled vacuum-breaker end must attach at the shower bracket, because reversed orientation can block water flow.
Never remove a backflow component or substitute an older manual's diagram for an unfamiliar hose assembly. The PPR-255E manual also notes that its pause setting reduces flow to a trickle—meaning pause is a temporary flow-control position, not confirmation that the main water supply is turned off.
3. Rinse Ace K6011 Faucet and Shower Interface Sheet (2014)
The Rinse Ace K6011 instruction sheet (Ginsey Home Solutions, 2014) separates sink-faucet and shower installations into independent modules. In the faucet module, the aerator adapter distinguishes male (outside) and female (inside) faucet threads to assign different supplied washers, and the sprayer hose attaches via matching alignment tabs and notches with a twist-lock motion.
In the shower module, a dedicated shower connector installs at the shower arm, and the quick-connect sprayer hose must be detached when finished so water can resume flowing through the fixed showerhead. Do not mix parts between the faucet and shower modules or substitute a look-alike quick coupler from another brand.
Joint-by-joint path map across the three manuals
| Manual & Configuration | Joint 1 (Supply to Diverter/Adapter) | Joint 2 (Adapter/Bracket to Hose End) | Joint 3 (Hose End to Wand & Shutoff Rule) |
|---|---|---|---|
| Waterpik PPR-252 (Indoor Diverter or Outdoor Adapter) | Indoor: Shower pipe to diverter (plus existing showerhead on diverter; pipe tape noted only for metal showerhead connector in troubleshooting). Outdoor: Garden hose bibb/hose to outdoor adapter. | Diverter outlet or outdoor adapter to non-tagged sprayer hose nut (verify rubber washer seat). | Yellow-tagged hose end to PPR-252 wand; turn off fixture supply before disconnecting. |
| Waterpik PPR-255E (Deluxe Shower Bracket) | Shower supply pipe to shower bracket assembly per 2022 revision steps. | If vacuum breaker is supplied, attach labelled vacuum-breaker end at the shower bracket (reversing blocks flow). | Yellow-tagged hose end to PPR-255E wand; trickle pause mode is not supply shutoff—close fixture valves after use. |
| Rinse Ace K6011 — Faucet Module | Remove existing aerator; thread faucet adapter using the washer specified for outside vs. inside faucet threads. | Align hose connector tabs and notches with the faucet adapter and engage the locking turn. | Factory hose-to-sprayer path; shut off faucet handles and detach hose per module rules. |
| Rinse Ace K6011 — Shower Module | Thread shower module connector between shower arm and fixed showerhead using module-specified seal. | Insert quick-connect hose end into the shower module port until engaged. | Must detach the sprayer hose to restore flow to the fixed showerhead and close shower valves when finished. |
Make a record for every connection
Before turning on water, map each numbered joint in your setup from Joint 1 at the wall or spout to Joint 3 at the wand handle. Give every mating pair its own line on your checklist, even when two threaded nuts look identical.
| Record field | What to identify for Joint 1, Joint 2, and Joint 3 | Keep unresolved when missing |
|---|---|---|
| Parts meeting here | Exact supply outlet, supplied diverter or aerator adapter, hose end tag, or wand inlet. | Unidentified model number, manual revision, or third-party replacement part. |
| Matching instruction | Document code and the specific module diagram for that single joint. | Generic listing copy that omits joint-level assembly diagrams. |
| Seal and assembly conditions | Assigned washer thickness/type, hand-tightening vs. tool rule, and joint-specific sealant note. | Unverified washer stacking, wrench force, or pipe tape applied outside its stated joint. |
| Direction and controls | Yellow wand-end tag, vacuum-breaker bracket orientation, and fixture valve shutoff step. | Guessed hose orientation or a wand pause button treated as a closed supply valve. |
Keep every seal rule tied to its specific joint rather than copying a note like “apply pipe tape” across plastic couplings, and never combine adapters from separate brands into an improvised stack.
Verify complete assembly before running water
Check that every washer and directional tag matches the manual diagram before opening the valve. If threads do not engage smoothly as described in the manual, stop rather than forcing a cross-threaded joint.
Run your initial water-flow check before bringing a pet into the bathing area. Observe each numbered joint separately so any drip is traced to its exact coupling rather than treated with random wrench force or extra washers.
Keep disconnection and storage in the same record
Review the manual's shutoff and detachment sequence before relying on a wand switch. A spray-mode selector, diverter lever, or trickle pause button does not isolate household water pressure—always shut off the main faucet or shower valve first, and detach quick-connect hoses where required (such as the Rinse Ace shower module).
Leave yellow directional tags and required washers attached when storing the hose, and re-verify your joint checklist whenever you move the sprayer to a different sink or shower. You can compare bathing equipment in our bath tubs and sprayer attachments category, and review our editorial policy on how we distinguish published manual rules from hands-on testing.