Learning how to grind dog nails safely rests on two separate prerequisites before the tool ever touches a paw: confirming the exact attachment and operating rules for your grinder model, and knowing where to stop on your dog's actual nails through a veterinary demonstration. Once your dog accepts paw handling and the sound of the running grinder, remove only small amounts of nail at a time, pause between brief contacts to check friction heat and remaining margin, and stop immediately if comfort or the stopping point becomes uncertain.
| Pre-grinding check | What must be confirmed before nail contact | Action if anything is unclear |
|---|---|---|
| 1. Tool model and attachment check | Locate the current operating manual for your exact grinder, verify which sanding band or grit applies, and inspect the attachment for wear or damage. | Pause tool selection if manual panels conflict (such as Wahl's 120-grit vs. 100-grit fine-band entries) until the exact model's specification is verified and recorded. |
| 2. Individual nail stopping point | Identify what to leave untouched on your dog's actual nails through an in-person lesson from a veterinarian or veterinary technician. | Arrange a veterinary demonstration before grinding; do not rely on a universal millimeter distance, dark-nail diagram, or fixed angle. |
Separate the tool check from the nail check
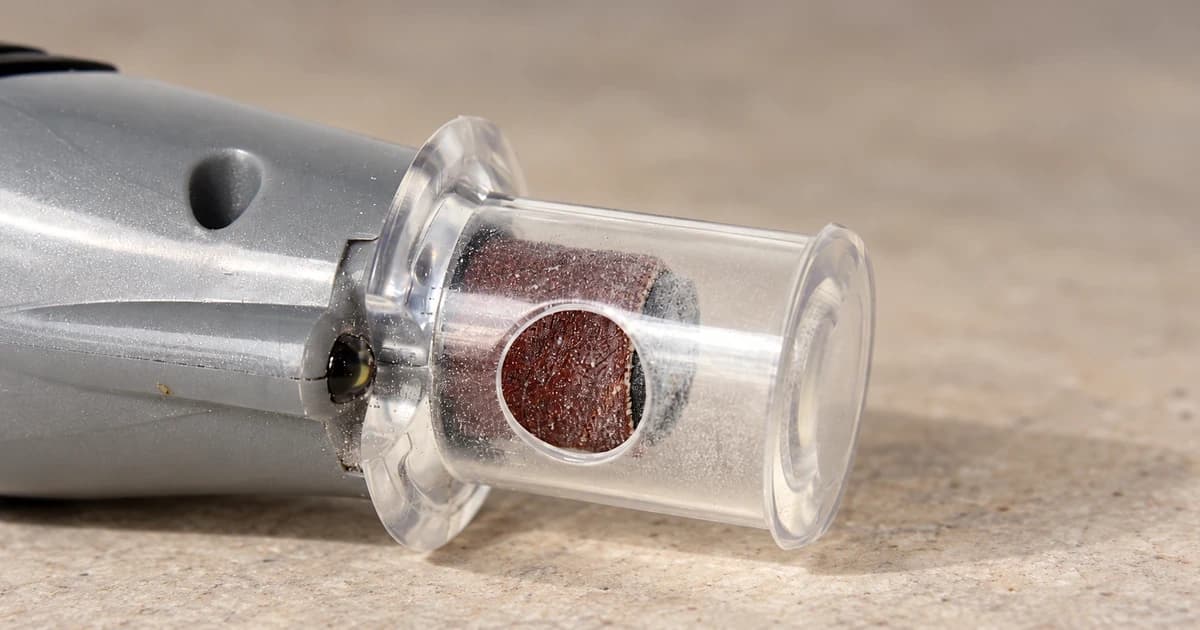
Find your grinder's current instructions and identify its attachments before use. Wahl's operating sheet requires secure attachments and warns against using a damaged tool. Its own fine-band instructions differ: the quick-start panel says 120 grit, while another panel says 100. When a manual contains conflicting grit numbers, pause use of that attachment until the exact specification for your unit is verified through Wahl's official model documentation and saved with your notes; do not resolve the discrepancy by guessing or borrowing settings from another grinder.
The AKC's nail-care guide recommends a lesson from a veterinarian or veterinary technician for an inexperienced owner. Establish the stopping point on your dog's actual nail before proceeding. If it is unclear, arrange that demonstration rather than applying a universal distance, dark-nail mark or drawn angle.
Get your dog used to the nail grinder without rushing contact
Dremel's guide separates comfortable paw handling, investigation of the inactive tool and hearing it run before grinding. Treat these as stages your dog can leave, not a timed test. Do not add nail contact while handling or the sound is still difficult.
Grind a little, then reassess
With a dog-specific tool, support one toe gently and grind a small part of the nail. AKC describes working across the bottom, then in from the tip to smooth edges. Keep hair clear. Use your model's grip, attachment and setting instructions.
Pause between contacts and inspect the nail again. Dremel explains that grinding creates friction heat, making breaks important. Use the pause to check your remaining stopping margin and your dog's participation, rather than continuing until the nail matches a photograph.
Finish the session and reset the equipment
Wahl specifies removing debris with a soft brush and checking attachments for wear. Use your own grinder's care directions; do not assume it can be immersed or washed like another grooming tool.
When comparing pet nail grinders, verify that each model provides clear operating instructions and replacement-band details; a category label is a browsing starting point, not a match between your unit and the Wahl or Dremel examples above. Keep a brief log for next time covering the tool identified, handling stage accepted, nails worked on, and stopping reason. If ordinary mud is a separate problem, use the muddy-paw cleaning guide for that task; washing a paw does not establish that its nails need grinding.
Stop for pain, bleeding or a concerning nail and contact your veterinarian; this guide supplies no treatment or waiting recipe.