When checking how tight should a dog collar be, a regular flat dog collar should sit comfortably around the neck, with room for the finger check specified by its maker, while avoiding a setting loose enough to slip off over the head. Humane World for Animals describes two fingers sliding comfortably underneath a standard flat collar as a rule of thumb; Ruffwear also uses a two-finger check in its flat-collar guidance. Treat that two-finger check as an on-dog verification after choosing the right size range from your raw neck measurement, rather than a fixed number of inches to add to every tape reading.
The useful sequence is to measure your dog, read the instructions for the particular collar, adjust its actual closure, and check it again on your dog. This guide covers ordinary flat collars with belt-style buckles or side-release snaps. A tightening loop, tactical hook-and-loop system or other design needs its own instructions.
Record the neck measurement before adding an allowance
Use a soft measuring tape around the neck where the collar will sit, following the maker's indicated measuring position. Let the tape follow the neck rather than pulling it hard into the coat. Write down the reading and its unit before changing it to account for any maker-specified allowance. Keeping the original measurement makes it easier to understand why one size chart gives a different answer from another.
The American Kennel Club advises using your dog's measurements rather than guessing from small, medium or large labels. Those labels are not interchangeable between brands. A familiar size name, breed description or the length of an old collar should not replace the current neck reading.
A harness chart is a separate task. If you are also choosing walking gear, our harness measuring guide explains the neck and chest measurements involved. Do not enter a harness girth measurement into a collar chart.
Keep each maker's sizing rule attached to that maker
LupinePet's FAQ describes measuring around the neck and adding 5% for comfort as its general sizing rule. It also recommends the smallest available size range that fits the pet's actual measurement, notes possible variation in its handmade gear, and offers help with uncertain sizing. Those statements belong together as LupinePet guidance. They are not permission to add the same 5% LupinePet allowance to every collar.
Ruffwear's Front Range Collar chart instead presents neck measurement ranges. The reviewed chart lists 11–14, 14–20 and 20–26 inches, with a width alongside each range. That chart does not print an additional percentage or two-inch allowance. Use the instructions accompanying the exact model instead of importing LupinePet's 5% rule into it.
| Source | What it tells you | What to keep separate |
|---|---|---|
| LupinePet FAQ | Neck measurement, LupinePet's 5% comfort rule and fitting size-range guidance. | Do not transfer that 5% LupinePet allowance to a different maker's chart. |
| Ruffwear Front Range Collar and Ruffwear Collar Safety Tips | Around-neck measurement, named model ranges (11–14, 14–20, 20–26 inches), two-finger fit check and recheck triggers. | The listed ranges are not authenticated sizes for another collar. |
| Humane World flat-collar guidance | Comfortable fit and a two-finger rule of thumb for standard flat collars. | The two-finger check on a regular flat collar is not a universal tape-measure conversion. |
Combining a percentage, an extra length and a finger allowance can turn three separate instructions into an unsupported sizing formula.
Adjust the closure your collar actually has
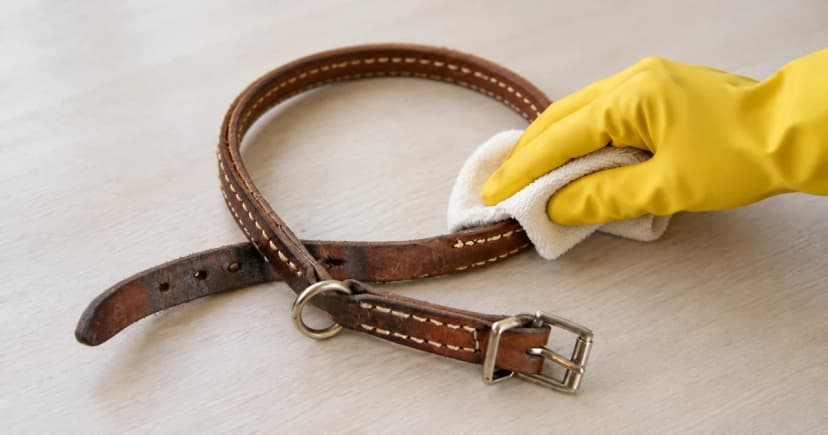
Check the physical design before changing the setting. A belt-style collar uses a buckle pin and holes; an adjustable woven collar may use a slider as well as a side-release buckle. Follow the exact model's instructions for opening, adjusting and fastening it. The visible hardware does not establish a universal route for threading webbing through every slider:
| Collar hardware component | How adjustment or fastening works | Boundary to verify before checking fit on your dog |
|---|---|---|
| Belt-buckle pin and pre-punched holes | The metal pin passes through a fixed hole at discrete intervals | Use only the factory holes with the pin fully seated; never punch an improvised hole or tie a knot if the fit falls between two holes |
| Webbing slider (tri-glide) and side-release buckle | Webbing slides through the adjuster to lengthen or shorten the loop, then snaps shut at the side-release buckle | Adjust in small steps with the collar off your dog, keep the webbing flat and untwisted, and confirm both buckle prongs click fully shut |
| Leash V-ring versus ID tag attachment point | Dedicated load-bearing ring (such as Ruffwear's aluminum V-ring) kept distinct from a smaller ID tag ring or silence loop | Clip the leash only to the designated leash ring identified in the model instructions, never to a thin tag ring or adjustment slider |
With the collar off your dog, identify the current hole or adjustment setting. Change it in a small step within the intended range, then put the collar back on and close it according to its instructions. Keep the band untwisted. Confirm that the closure is fully engaged before assessing the fit; a partly fastened buckle is not a valid fit check.
For a belt buckle, use the intended holes and fasten the pin correctly. If one hole leaves the band too tight and the next leaves it too loose, that collar may not provide the adjustment you need. Do not treat an improvised hole or extra knot as a substitute for a suitable size or different adjustment range.
Also distinguish adjustment hardware from attachment hardware. Ruffwear's Front Range example has an aluminum leash V-ring and a separate ID attachment point. That distinction illustrates why each part must be identified from the model instructions; a small tag fitting is not automatically the intended leash point.
Check on the dog without turning it into a pull test
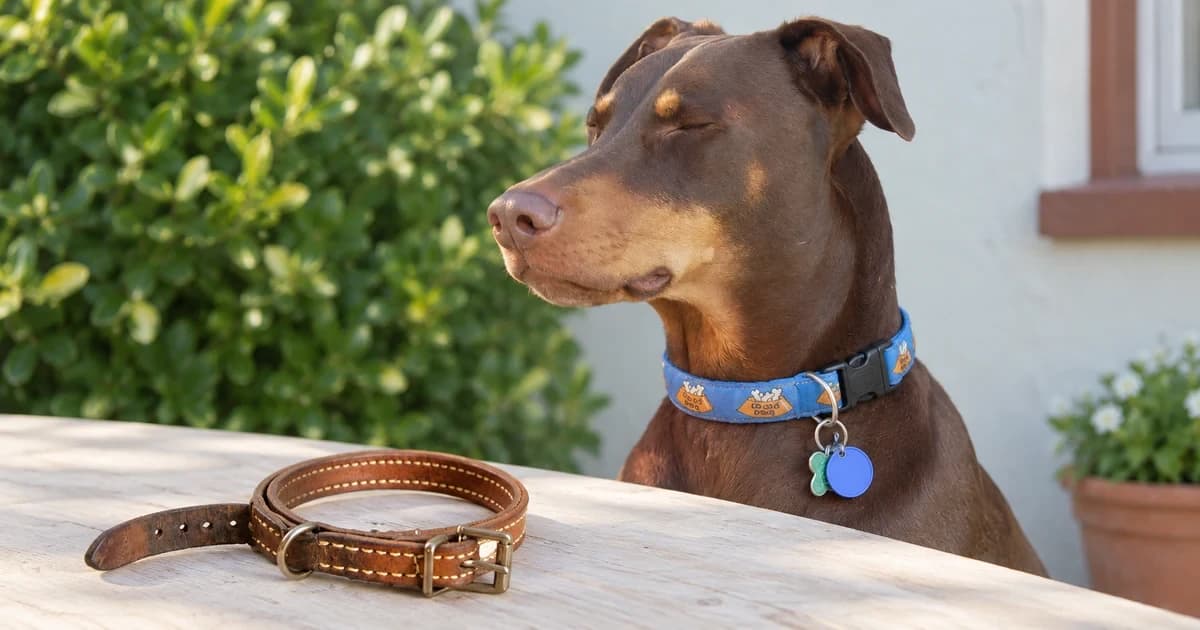
After fastening, gently try the specified finger check between the flat band and the neck. Humane World's guidance calls for two fingers to fit comfortably underneath a regular flat collar. Ruffwear's collar page likewise advises a two-finger check. If you have to force your fingers into the gap or press the band hard into the neck, undo the collar and reassess its setting.
Finger sizes and the way a coat lies vary. These sources do not define a standard finger thickness in millimeters, so the check cannot certify an exact gap. Keep it alongside the measured size and the maker's guidance, rather than using a ruler to invent a universal two-finger distance.
Too loose also matters: Humane World cautions against a flat collar being loose enough for the dog to slip out. This is a reason to reassess an unsuitable setting, not an invitation to pull the collar hard over the head or tighten it until escape seems impossible. A forced tug or loaded leash test does not establish a correct fit.
If your dog will not remain settled for the check, pause rather than rushing or restraining the dog to finish. If the required comfortable fit is unavailable anywhere in the adjustment range, return to the maker's sizing chart. This article does not certify a collar as escape-proof or resolve an unsuitable design through extra tightening.
Save a short fit record and recheck after changes
A simple owner record separates the measurement from the later observations. Fill in the following fields for your actual collar; the table is a blank organizing aid, not a tested fit rating.
| Record | Your entry |
|---|---|
| Collar maker, model and closure type | Identify the exact instructions used. |
| Raw neck reading and unit | Keep this separate from an allowance. |
| Maker's allowance and chosen range | Record only what that maker specifies (e.g., LupinePet's 5% comfort rule or Ruffwear's printed neck range). |
| Hole or adjustment setting | Note the setting checked on your dog. |
| Fit observation and recheck date | Describe the comfortable two-finger check on a flat collar and any changed setting. |
Ruffwear recommends checking collar fit when a dog grows, loses weight or develops thicker winter fur. The AKC also points out that a rapidly growing puppy can outgrow a collar quickly. Recheck after those changes and after altering the setting; the sources do not establish one calendar interval that fits every dog.
Correct sizing does not remove every collar risk. Ruffwear advises removing collars before play with other dogs, before crating and when leaving a dog unattended. Do not interpret passing a finger check as permission to ignore those use limits.
When comparing Pawlivy's collar category, examine the particular closure and documented adjustment range. The named maker examples above explain how instructions differ; they do not identify or approve a photographed collar or catalog item. Our editorial policy describes how source-based guidance is reviewed.
Sources
- LupinePet: FAQs & Guides — neck measurement, allowance and size-range guidance.
- Ruffwear: Front Range Collar — named chart, side-release buckle and attachment hardware.
- Ruffwear: Dog Collar Safety Tips — fit checks, rechecks and use limits.
- Humane World for Animals: Dog collars — standard flat-collar fit and the finger rule of thumb.
- American Kennel Club: Choosing the Right Collar for Your Dog — actual measurements and growing-puppy sizing.