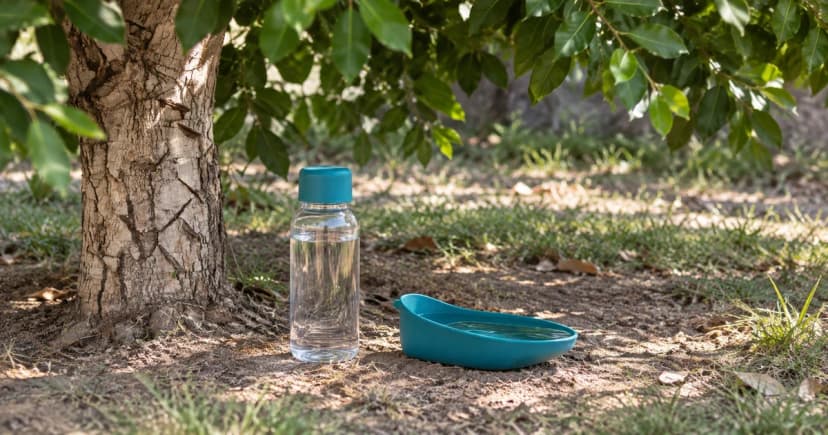
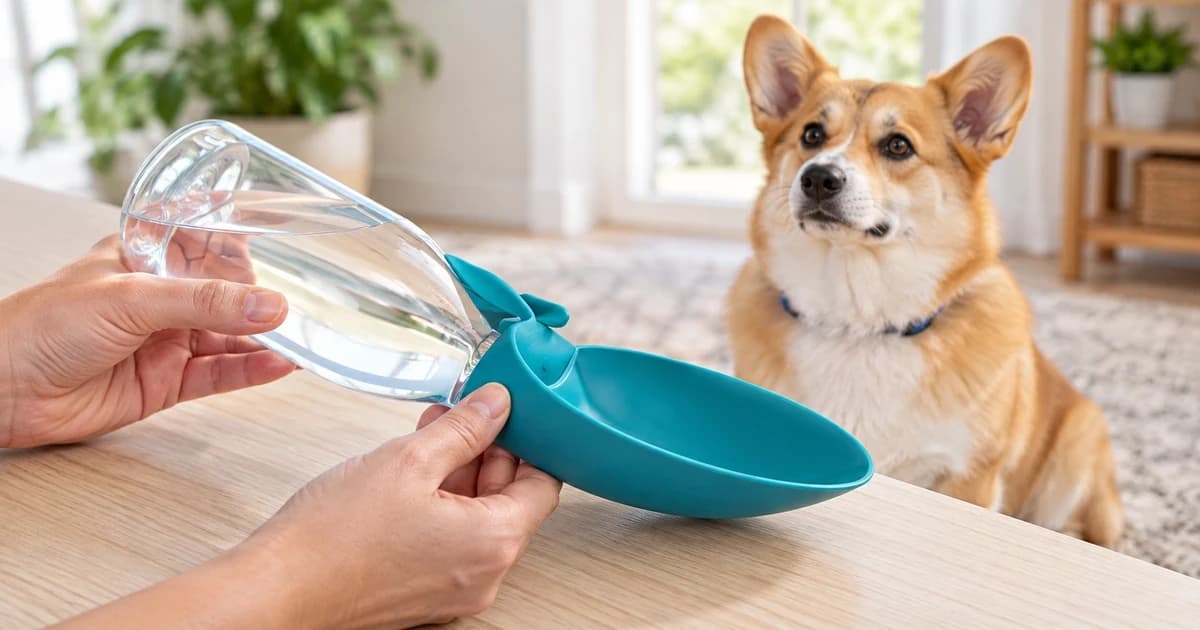
A travel bottle can have a separate cup, an attached squeeze bowl or a folding trough. Before filling it, identify which pieces your model is designed to remove, how its drinking outlet works and how it closes for carrying. A bowl that looks similar to another model does not establish the same assembly or washing instructions.
Use the maker's instructions for your bottle alongside this checklist.
Start with the bottle's name and parts
Find the model on its packaging, label or purchase record. Keep the relevant instructions available before taking anything apart. Identify the reservoir, drinking cup or trough, filling opening and any control the maker labels for drinking or transport. Photograph the assembled bottle for your own reference if a connection will be difficult to remember.
Distinguish a cup that snaps onto the bottle for storage from a top bowl that forms part of the water path. A strap or carabiner is a carrying attachment, not evidence that the drinking outlet is closed. If the instructions do not identify a removable component, leave it attached rather than pulling at a small valve or seal.
| Documented example | Drinking arrangement | Assembly boundary |
|---|---|---|
| Kurgo Gourd Water Bottle & Bowl | A sliding top and a separate snap-on lower bowl | The lower cup and drinking top have different jobs; do not treat it as an integrated squeeze bowl. |
| Highwave Original AutoDogMug | Squeezing fills the attached bowl; releasing returns excess water to the reservoir | That operating description does not authorize removing internal valve parts. |
| Springland 15oz Original | A squeeze-to-fill attached bowl with return flow on release | Its care instructions specifically allow unscrewing the top bowl and detaching the straw. |
These distinctions come from the Kurgo Gourd page, Highwave Original AutoDogMug page and Springland 15oz Original page. Springland was formerly Springer; an older Mini URL now opens the current 15oz Original page. Match the actual model and version, including a separate Flip design, rather than relying on an old link name.
Clean only the parts the maker permits
Before first use or reassembly, follow the bottle's supplied care instructions. Put permitted removable pieces together on a clear surface so that a bowl, straw or closure does not get mixed with a different bottle. Look for visible cracks, distortion or a missing component; do not use extra force to make a damaged or mismatched piece fit.
For the named Springland 15oz Original, the product page says to unscrew the top bowl and detach the straw. It permits gentle dish-soap hand washing or the dishwasher's top rack. Highwave permits hand washing or the top rack for its Original AutoDogMug, and Kurgo specifies top-rack dishwasher cleaning for the Gourd. These permissions belong to those products. They do not establish that an unidentified folding-trough bottle, its strap or every loose part can go into a dishwasher.
Springland's bottle-care FAQ also calls for complete drying before storage and lists replacement bowls and straws. Check replacement compatibility for your model; a similar-looking spare is not a confirmed fit. This guide does not extend the FAQ's additional deep-cleaning recipes to other bottles.
Reassemble before adding water
- Use the original component arrangement. Refit only the pieces that the model's instructions allow you to remove.
- Inspect the visible join. Where a bowl or cap screws onto the reservoir, check that it sits evenly. If it immediately binds or sits crooked, stop and realign it instead of tightening harder.
- Confirm the transport setting. Follow the actual closure, cap or lock instructions. A button, slider and twist lock are not interchangeable mechanisms. The cited Springland page mentions a lock but does not establish its direction or a turn count; we therefore give neither here.
- Keep carrying hardware separate. Check that a removable strap or clip is attached as directed, while also checking the water closure. One connection cannot confirm the other.
A close photograph and the model name are more useful than guessing from another bottle's tutorial.
Observe operation somewhere a spill can be managed
With the bottle assembled, fill it according to its instructions and try the documented drinking control over a sink or suitable surface. Watch the reservoir-to-bowl join as well as the outlet. For the Original AutoDogMug and Springland's named squeeze design, the published sequence is squeeze to fill the bowl, then release to return excess water. That describes the mechanism; it does not establish the hygiene of returned water or a rule for every situation.
Close the bottle for carrying using the maker's setting, then observe the joins and outlet during ordinary handling before putting it beside belongings. If water appears around a connection, stop and recheck the model's assembly instructions. Do not compensate with extra force, tape, a swapped valve or an unidentified seal. A quick home observation is not a pressure, durability or leak-proof certification.
Do not force the dog's muzzle into a trough to demonstrate it. Keep the bottle supported and allow voluntary drinking. If the dog does not use it, a separate suitable travel bowl may be more practical than trying to make an unfamiliar outlet work during the walk.
Keep a small model-specific record
Save the model name, instruction link, permitted removable pieces, carrying setting and replacement-part reference together. After washing, follow the maker's drying and storage directions. Update the record when a component is replaced; check the assembly again rather than assuming a new bowl or straw behaves identically.
Pawlivy's travel bowls and bottles category includes both equipment types. Check an item's actual description and maker instructions before choosing it for this task. Our editorial policy explains the source-based approach; the guide does not verify a catalog item's inventory, compatibility or carrying performance.