Knowing how to set up a pet mouse cage follows four steps before your mice arrive: first, verify a well-ventilated enclosure with a solid floor, multiple levels, and bar gaps no wider than 6 mm (PDSA mouse care guide) placed in a quiet, draught-free room; second, arrange climbing routes and multi-exit shelters so accessories never block pathways; third, separate absorbent floor base bedding from soft nest-building material on your shopping list while excluding thin-stranded cotton-like fluff; and fourth, mount water bottles where you can reach the nozzles every morning and evening to check for blockages or pushed-up bedding.
1. Check the enclosure structure, 6 mm bar spacing, and room location
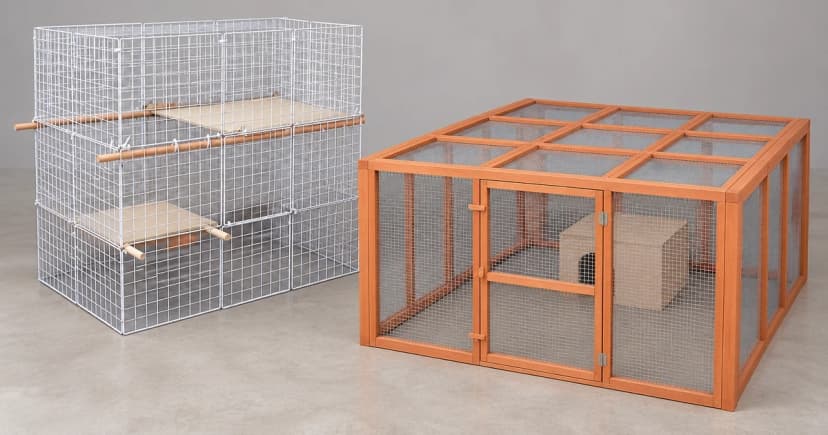
In its mouse care guide, PDSA recommends a barred cage with gaps no wider than 6 mm (for standard pet mice), solid flooring rather than wire mesh, multiple levels, and good airflow. Measure actual bar gaps, door corners, and latch clearances rather than relying on a “small rodent” box label, and confirm every shelf bracket and door catch is secure according to the cage manual before adding animals.
Following RSPCA mouse environment guidance, place the cage indoors in a quiet, ventilated spot out of draughts, radiators, and direct window sunlight.
2. Arrange climbing routes and multi-exit retreats
The RSPCA mouse behaviour guide recommends dividing the space both horizontally and vertically using shelves, ropes, and climbing branches, alongside deep bedding where mice can burrow into darkness while still allowing you to check on them daily.
Choose nest boxes and shelters with multiple entry/exit holes and enough interior room for mice to turn around comfortably (RSPCA environment & behaviour guides). Sketch or test-fit your layout before clipping accessories down so no ladder or tube blocks a shelter exit or prevents you from reaching inside to maintain the cage.
3. Separate floor base bedding from nest materials on your shopping list
Both PDSA and the RSPCA distinguish the absorbent substrate covering the cage floor from the soft material mice pull inside their shelters to build nests. Keep those two roles on separate lines of your shopping list so you verify the exact package contents rather than buying a single bag or using unsafe fluffy fibres (note: this guide covers general pet mouse setups, not newborn or breeding litters):
| Shopping-List Line & Role | Recommended Material Examples (PDSA & RSPCA) | Package Verification & Materials to Exclude |
|---|---|---|
| Line 1: Cage floor base substrate (covers the solid tray for absorption and burrowing) | Dust-free paper-based or cardboard-based floor bedding (PDSA & RSPCA). | Read the package ingredient label to confirm dust-free paper/cardboard; do not assume a wood-shaving substrate used for another species is suitable. |
| Line 2: Nest-building material (placed in and around shelters for shredding and lining beds) | Shredded plain paper, plain unscented tissue paper, or soft hay (PDSA & RSPCA). | Never use thin-stranded cotton-wool or “fluffy” bedding that separates into fine threads, which can wrap around limbs or cause internal blockages. |
4. Mount water bottles for morning and evening nozzle checks
The RSPCA environment guide advises checking water bottle nozzles every morning and evening for airlocks, leaks, or blockage—especially because burrowing mice frequently kick or pack bedding up against a low spout, draining the bottle or blocking water flow.
Mount water bottles at a height where mice can drink comfortably without bedding touching the metal tip, and where your hand can reach the spout twice daily without dismantling shelves. Use our small-pet bottle flow and leak guide to test every bottle before your mice arrive, and check with the adoption centre or breeder about the familiar food and bedding your mice are currently using.