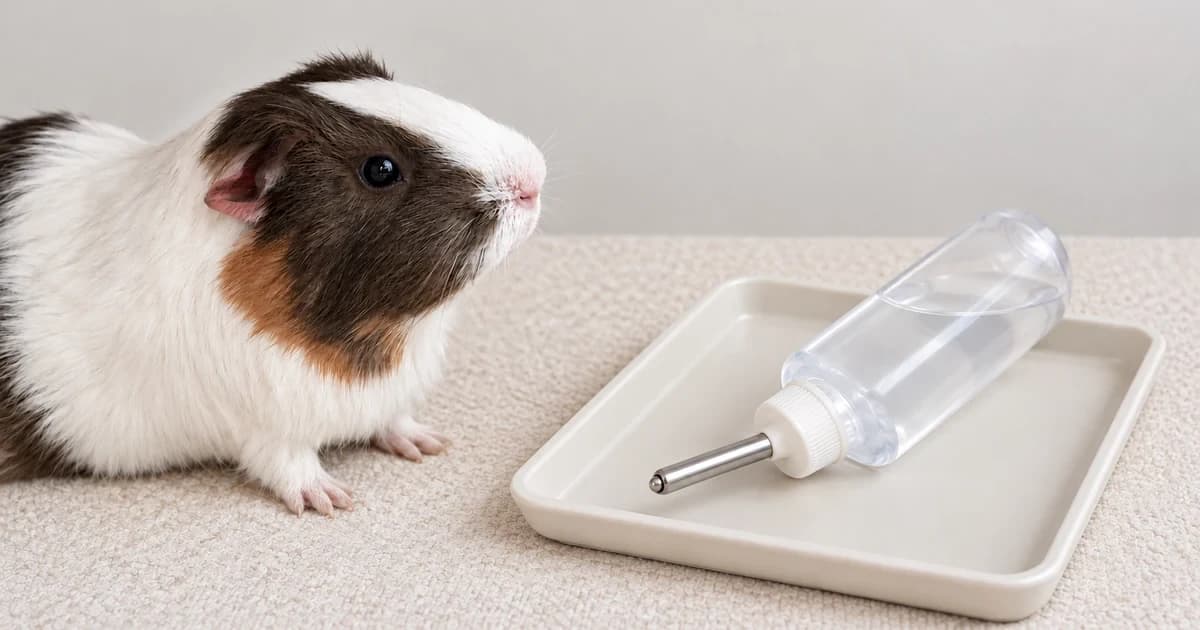
Troubleshooting a small pet water bottle leaking or dispensing no flow starts with identifying how that specific bottle controls water: an inverted vacuum bottle and a top-fill plunger-and-seal valve bottle follow opposite cap-tightening rules. Always keep a working backup water source in your pet's enclosure while inspecting a suspect bottle, and never assume a full reservoir means water is actually coming out of the ball-valve tip.
1. Identify the bottle mechanism and compare model-specific rules
A stainless-steel ball at the tip of the drinking tube does not tell you what sits inside the cap or neck. Before tightening a cap harder or taking a nozzle apart, match your bottle to the mechanism examples below:
| Named bottle model & official source | Internal valve / seal mechanism | Required filling & cap-tightness rule | Flow check, normal drips, & maintenance limits |
|---|---|---|---|
| Classic Lixit 8 Ounce Bottle | Two-piece drinking tube and rubber stopper pushed into the bottle neck (no separate refill washers) | Fill the bottle and seat the rubber stopper firmly into the neck opening | Keep the original stopper and tube paired; never insert extra washers borrowed from top-fill kits. |
| Lixit Wide Mouth 8 Ounce Bottle | Vacuum-seal ball-point drinking tube with screw cap | Fill all the way to the very top and screw the cap on tightly to create a vacuum seal | A few initial drops right after flipping the bottle upright are normal while the vacuum forms; continuous dripping means air is entering or the cap/seal is not tight. |
| Lixit Top-Fill No-Drip Bottle (Lixit PDF manual) | Internal plunger, slotted rubber seal, gasket, and steel ball assembly | Tighten the lower cap just enough to stop thread leaks—do not overtighten (excess force stretches the rubber seal slit open) | Tap the steel ball several times after filling to verify free water flow; if steady dripping persists, rinse sediment from the rubber seal and reassemble in the exact gasket-seal-plunger-ball diagram order. |
| Savic Source Drinking Bottle | Hinged flip-top refill lid with a stainless-steel ball-point nozzle | Refill through the top flip lid while the bottle remains mounted on the cage wire | Hand wash with a bottle brush only (dishwasher excluded); do not apply Lixit plunger disassembly steps to this nozzle. |
Note: The Lixit Top-Fill No-Drip instruction sheet is a Lixit-authored PDF hosted for reference; its internal seal diagram applies only to that specific Lixit top-fill valve assembly.
2. Step-by-step: check for no flow vs. residual drops vs. active leaks
When inspecting a small-pet water bottles category setup for a small animal water bottle leaking or producing no water at the ball valve, check the outlet in this order:
- Test the ball tip after every refill: Following the Lixit Top-Fill manual's method, tap or press the steel ball at the nozzle tip several times with a clean finger to release trapped air pockets and verify that water beads out freely on contact, then stops when released. Never poke wires or sharp tools up the drinking spout.
- Separate normal settling drops from a continuous leak: Both Lixit's Wide Mouth vacuum guide and its Top-Fill No-Drip manual note that a few drops right after inversion or left inside the tip of the tube after drinking are normal. A bottle that continues dripping steadily without being touched—or empties onto the bedding—has an active leak.
- Pinpoint where the leak originates: Dry the outside of the bottle and watch whether water emerges from the cap threads (indicating a misaligned gasket or incorrect cap torque) or from the tip of the steel tube (indicating an unformed vacuum on a Wide Mouth bottle, an overtightened cap on a Top-Fill plunger seal, or grit lodged in the rubber slit).
- Verify cage bracket or stand alignment: Reinstall the bottle in its matching wire holder or stand and confirm the tube sits at the intended angle where your pet can reach it easily without bedding pressing against the ball tip (bedding wicked against the ball can drain a bottle continuously).
3. Log your bottle check before returning it to the cage
Use this quick five-point checklist whenever you set up or troubleshoot a bottle, and keep any damaged or non-dispensing unit out of service until replaced:
| Inspection item | What to record for your bottle |
|---|---|
| 1. Bottle model & manual matched | Brand/model name and whether you have its exact filling instructions on hand |
| 2. Mechanism & cap rule applied | Vacuum bottle (filled to brim + tight cap) vs. top-fill plunger valve (snug cap, not overtightened) |
| 3. Finger-tap outlet flow check | Water dispensed freely when ball was depressed (Yes / No—replace if blocked) |
| 4. Drip check after settling | Stopped after initial settling drops vs. continuous dripping from tip or cap threads |
| 5. Installed cage mount & clearance | Secured in matching holder clear of bedding; backup water available during check |
See our editorial policy for how original equipment manuals are cited.