
To decide how to set up an aquarium heater, keep the actual heater, original fittings and matching regional manual together. Choose the target temperature through the appropriate separate care guidance first. Here the job is to install that equipment, follow its own first-start sequence and record the initial response.
If the proposed location is still unresolved, use the heater-placement guide first. A similar shape in the aquarium heaters category does not identify your version or its instructions.
Prepare before choosing a startup route
Read the whole manual and inspect the heater, cord and plug for damage. Disconnect all aquarium appliances before hands or parts enter water. Keep plugs dry and arrange a drip loop; if a plug/socket is wet, disconnect its supplying circuit before touching it. Do not run dry or touch hot parts.
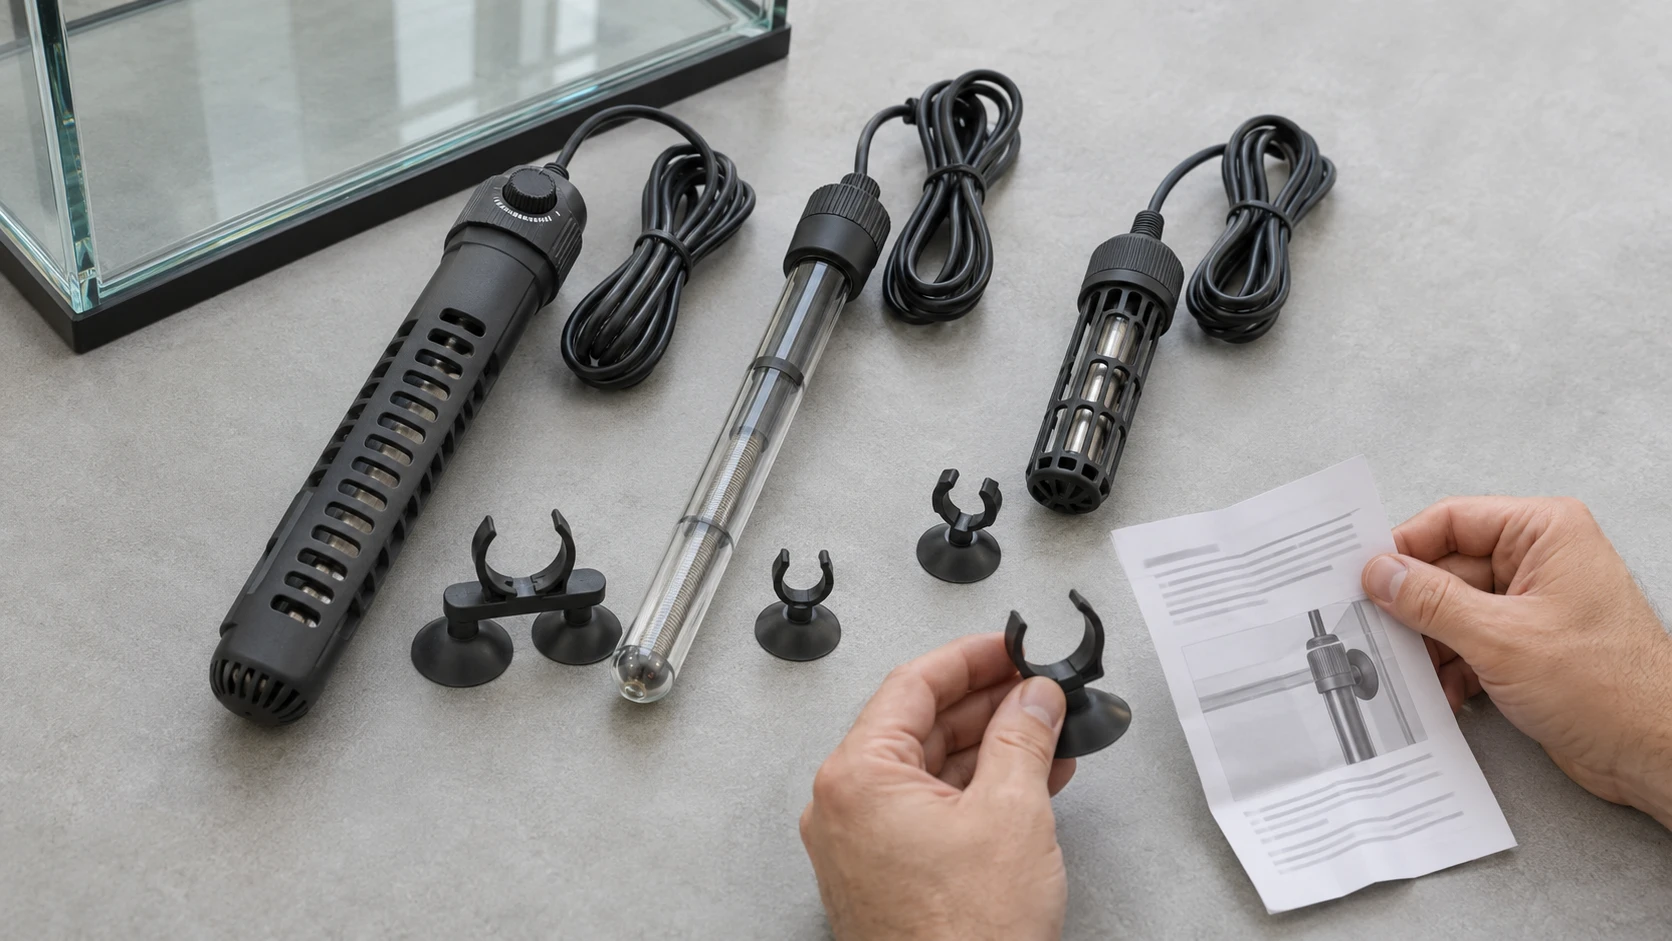
Compare the label and supplied parts with the manual before undoing a protector or attaching a holder. Resolve an unidentified fitting or electrical-version mismatch with the maker. Do not substitute the waiting period, orientation or water mark from another branch below.
Aqueon AP: its 2011 installation sequence
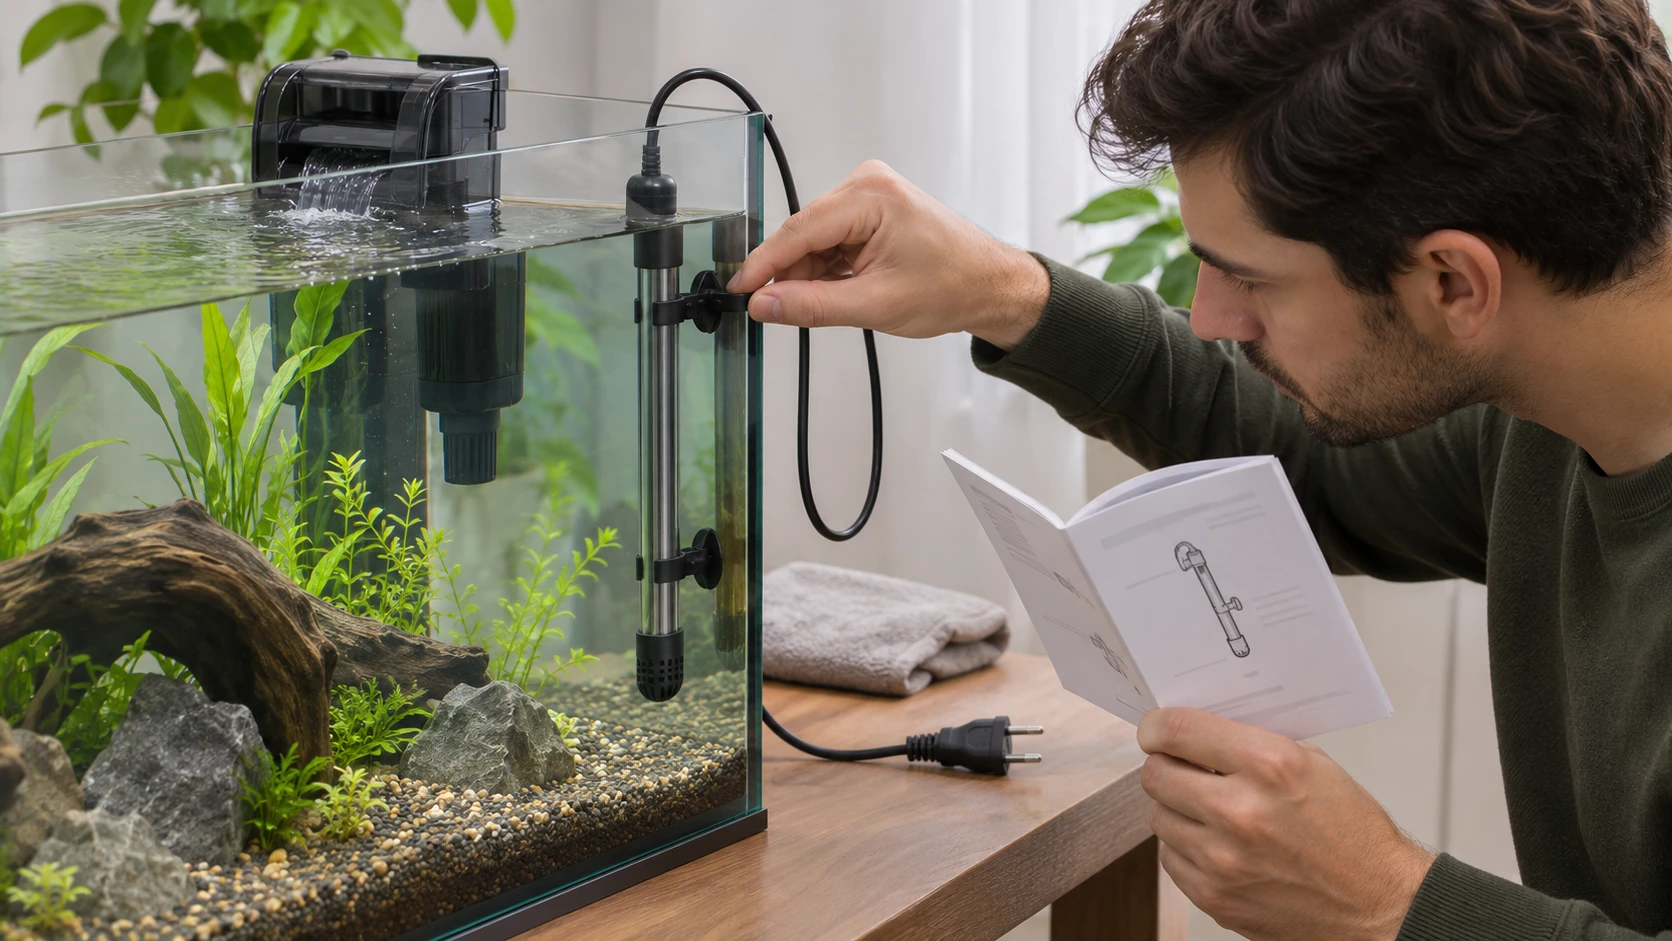
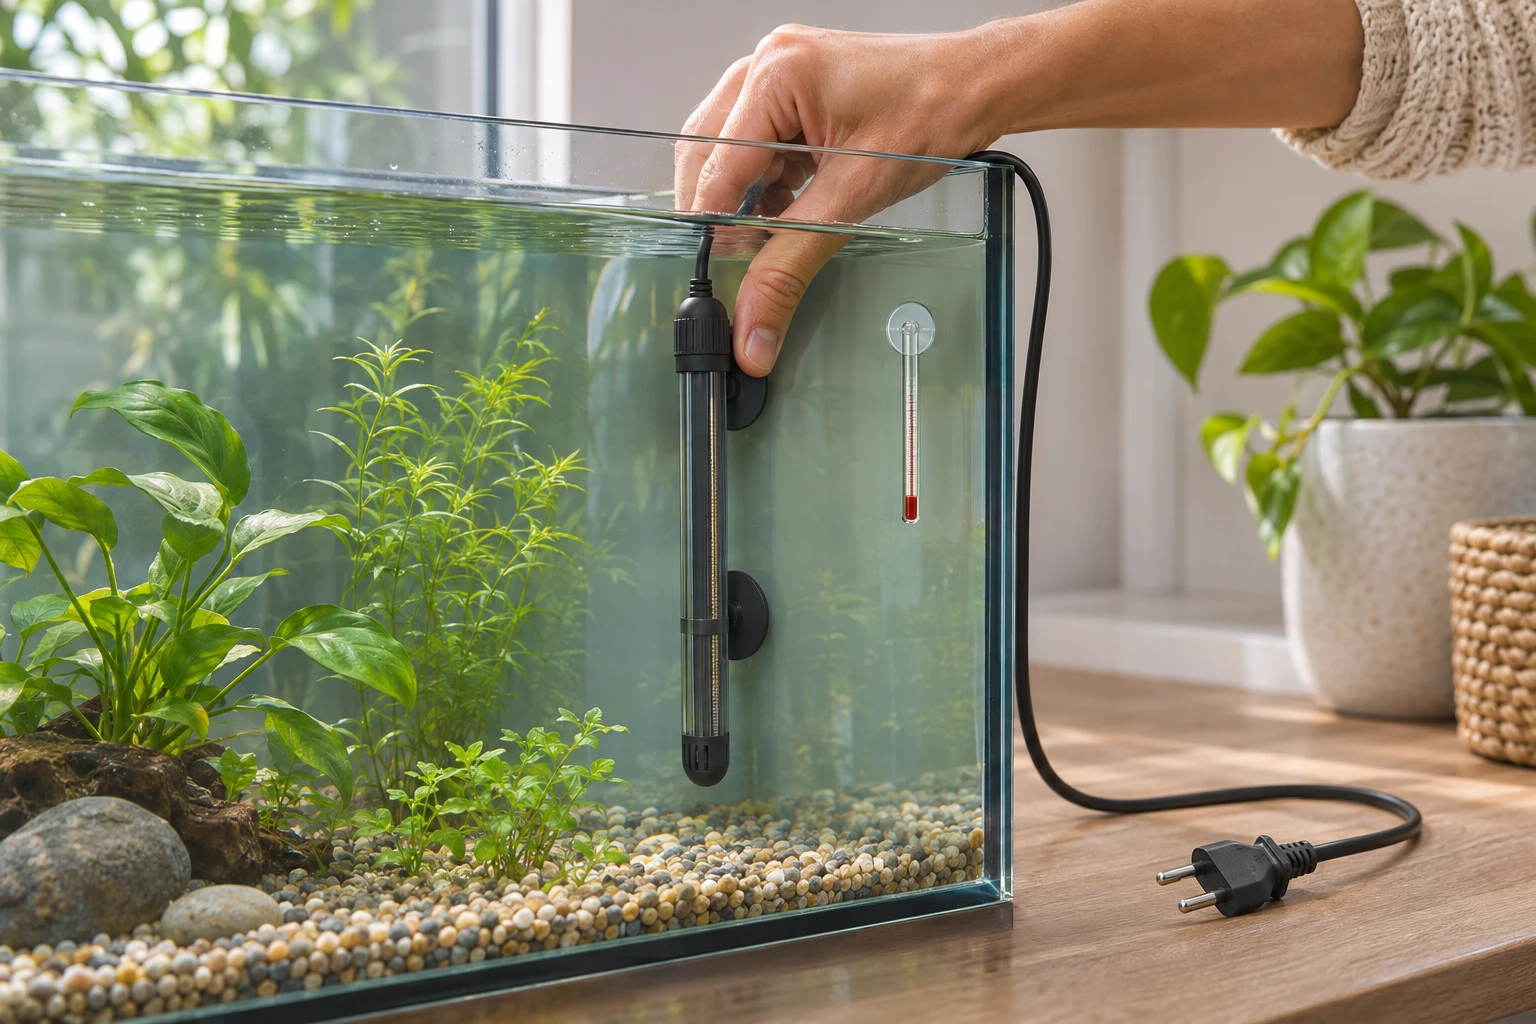
The 2011 AP50W–AP250W manual covers 120 V/60 Hz units. Remove the power-monitor sticker; fit both cups in the illustrated middle-to-upper area. Set the chosen target. Mount in a filled aquarium: water above MIN for vertical placement, or fully submerged horizontally. Wait at least 30 minutes submerged before connecting power. Red means heating; green reports the setpoint reached. Allow 24 hours after the initial setting before adjustment and check a reliable aquarium thermometer.
Keep this older AP route separate from a current Pro product's instructions. Its initial submerged wait is not a cooling instruction for removal.
EHEIM thermocontrol e: retain its own order
For thermocontrol e25–400, match the electrical label. Remove transport protection and assemble the original suction holder away from the heating zone and control light. Mount only vertically in strong flow, respecting its MIN mark and maximum immersion depth. Follow its power-on section, then its setting procedure: ring back to the 20°C/68°F stop, then to the chosen target. Its red/green indication is heating/setpoint. Check the water temperature regularly.
The reset position is not a temperature recommendation for animals. This is the e manual; do not import an older thermocontrol heater's startup wait. Its separate cooling directions govern any later removal.
Fluval T: use the North American instructions
The T-Series North American manual specifies freshwater use, its MIN waterline and a maximum depth of one metre. Keep water circulating around the tube, with no rocks, decorations or gravel touching it. Set the chosen dial value and install with its original bracket and cups in the filled tank. Wait 30 minutes before power. Allow up to 12 hours before adjusting the dial. Red indicates heating; blue reports the selected temperature reached. Verify with an accurate thermometer.
Use the actual bracket instructions rather than reconstructing a mounting arrangement from a similar heater. The 12-hour instruction belongs to this route; it does not replace Aqueon's initial 24-hour instruction.
Record the first response before the next job
Record the model, chosen target, startup time and what you observed. Do not improvise internal repairs, repeated power toggles or a different heater's fault procedure.
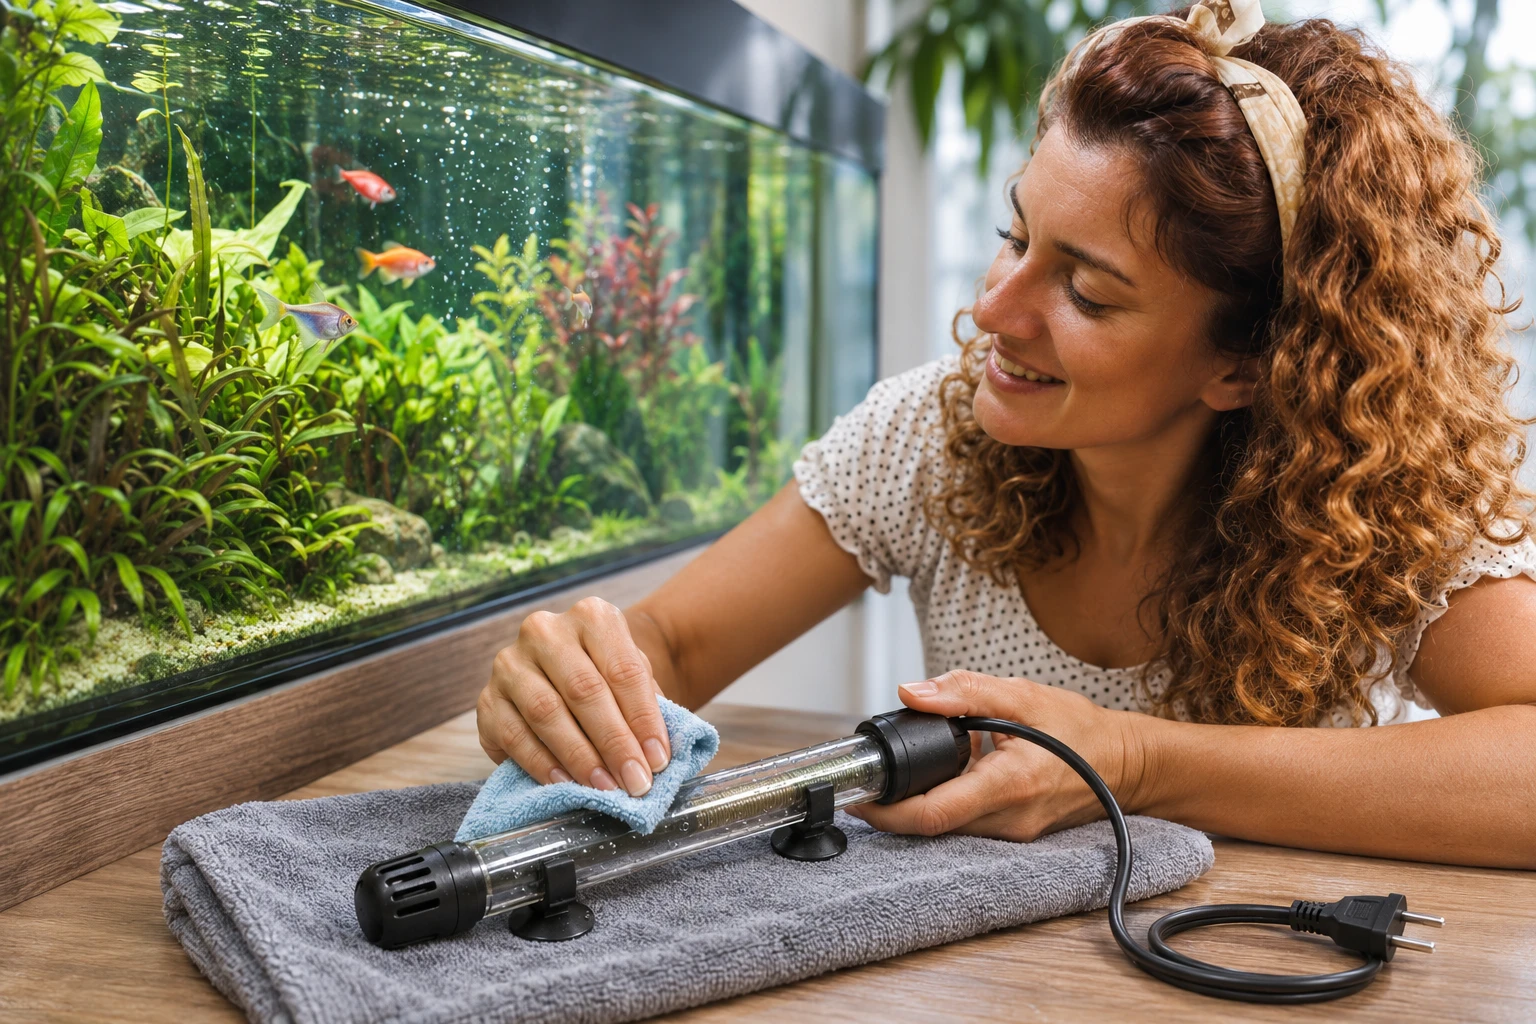
Keep the manual with the equipment. Later removal and component care belong in the heater-cleaning guide. A first equipment observation does not establish biological readiness or permission to add animals.