Knowing how to use a slicker brush on a dog comes down to light, gentle strokes through small, snag-free sections of coat in the direction of hair growth: inspect the wire pins and skin before you start, pause immediately if the pins meet resistance or your dog looks uncomfortable, and leave tight mats to a professional groomer or vet. Pressing harder is never a substitute for the right tool or technique.
Confirm that a slicker is the right tool
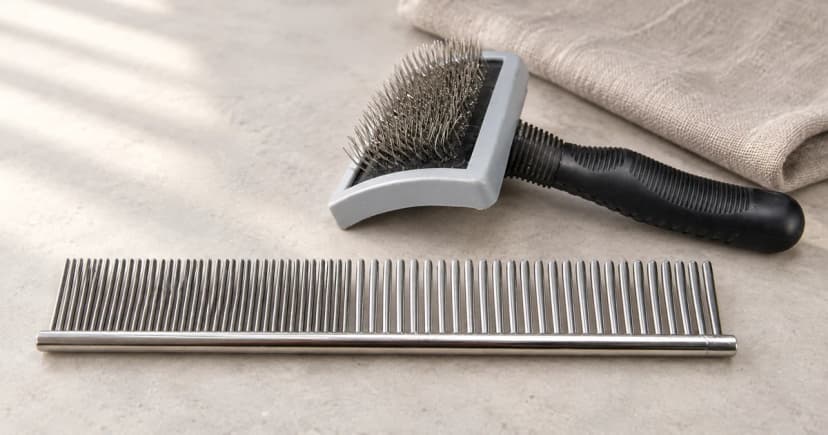
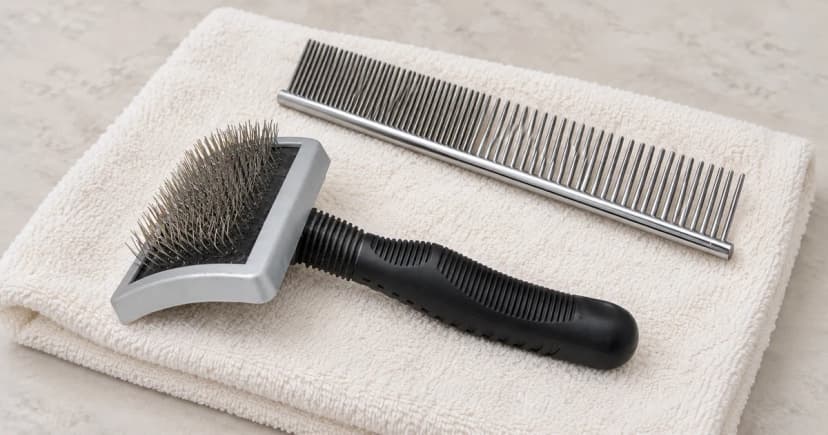
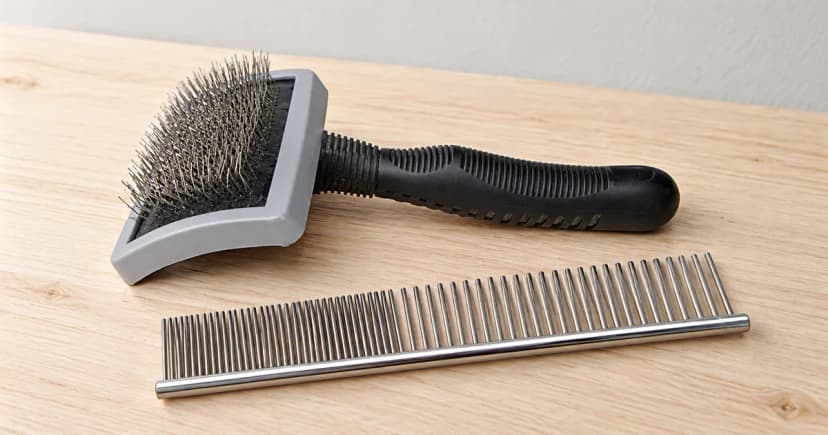
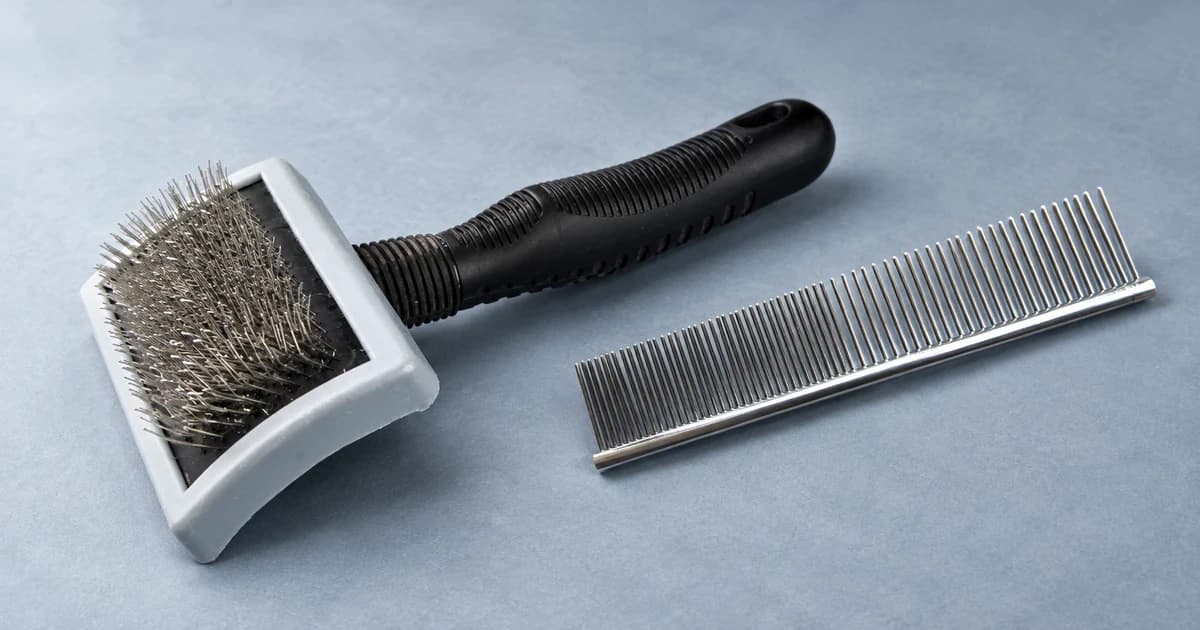
A dog slicker brush typically features a flat or curved head set with fine, angled wire pins, which works differently from a rounded-pin brush, a soft bristle brush, or a bladed deshedding tool. The American Kennel Club's home grooming guidance recommends consulting a veterinarian or professional groomer to confirm which brush types suit your dog's specific coat before buying supplies.
Curly coats, long double coats, and smooth short coats do not share the same brushing needs. Pawlivy's slicker and pin brush category groups these grooming tools for browsing, though a category listing alone does not confirm suitability for your individual dog.
Inspect the brush, then the coat
Check the pin pad for bent or splayed wires before touching your dog's coat. Blue Cross's dog grooming advice warns against heavy pressure and notes that bent pins can scratch the skin. If any wire pins are twisted out of alignment, retire the brush rather than trying to bend metal pins back beside your dog.
Part the hair to check for redness, scabs, tenderness, or dense knots. FURminator's Slicker Brush Large directions instruct owners to inspect the pet's skin prior to grooming and seek veterinary care for sores, bruises, or skin irritation. Because coat hair can conceal sore spots, never assume a dog pulling away simply needs firmer restraint.
PDSA advises against pulling at mats at home. A tight mat or a tangle that stops the brush from gliding freely falls outside routine slicker brushing; pause and arrange help from a qualified groomer or veterinarian rather than pulling harder or reaching for household scissors.
Introduce contact before trying to finish the coat
Settle in a calm area where your dog rests comfortably. Let your dog sniff the brush on the floor first, then make one brief, light pass over a body area they already enjoy having stroked, pairing calm contact with praise or a treat. PDSA recommends working at a gentle pace and stopping whenever a pet shows worry or stress.
If your dog is nervous around grooming tools, a wire slicker does not have to be the first brush you use. Blue Cross describes stepping back to leaving brushes nearby and reintroducing light touch with a softer brush first. Arrange professional guidance for ongoing handling struggles instead of holding a worried dog in place.
How to use a slicker brush: light strokes and section checks
- Start on a small, comfortable section. Glide the pins lightly through freely brushable hair without pressing the wire tips down onto the skin.
- Follow the direction of hair growth. Brush with the natural lay of the coat and follow the published manual for your exact brush model.
- Pause at the first sign of resistance. Part and inspect the coat whenever the pins catch; a hidden tangle, bent pin, or sensitive spot is a cue to stop rather than tug.
- Move section by section while your dog stays relaxed. Avoid raking the same spot repeatedly just to build a bigger pile of loose hair, and leave delicate areas for an in-person groomer demonstration if you are unsure.
| Grooming check | Gentle practice in brushable coat | When to pause or keep separate |
|---|---|---|
| Pin depth & stroke direction | Light passes moving with the hair growth so pins work through the coat layers without scraping the skin surface. | Stop immediately if the skin reddens or if you feel tempted to press the pin pad flat against the body. |
| Resistance or snagging | Glide through small sections that separate smoothly without tugging on the hair roots. | Pause as soon as pins catch; do not pull through dense knots or use scissors on matted fur—book a groomer or vet instead. |
| Named model features (e.g., FURminator Slicker Brush Large) | Follow the dual-side curved-pin and straight-pin directions only when using that exact named FURminator model. | Do not copy a two-sided or brand-specific motion onto a single-sided wire slicker from another brand. |
The AKC notes that brushing should work through the coat rather than skimming only the outer tips, yet that never means driving fine wire pins into the skin. FURminator likewise highlights extra care around sensitive areas. If you are unsure how the pins should move through your dog's coat layer, arrange an in-person demonstration with a qualified groomer.
Keep brand-specific instructions with that brush
Slicker brushes vary in pin stiffness, pad flex, and head shape. For example, FURminator's cited Large model combines one side of angled pins and one side of straight pins with model-specific directions. Keep those instructions tied to that exact brush rather than treating them as a universal rule for every slicker.
Marketing phrases about cushioned or scratch-free pins never replace light hand pressure, pre-use pin inspection, and watching your dog's body language.
Judge the session by comfort, not collected hair
End the session whenever your dog steps away, tenses up, or shows discomfort, or if you uncover a skin change underneath the coat. PDSA recommends veterinary evaluation for skin or coat changes and stopping before grooming becomes stressful. Jot down which body area or stroke triggered hesitation so you can share that context with your groomer or vet.
A successful session can be a single calm section of coat. You do not need a target pile of fur, a set number of minutes, or a full-body groom in one sitting to use a slicker brush well.