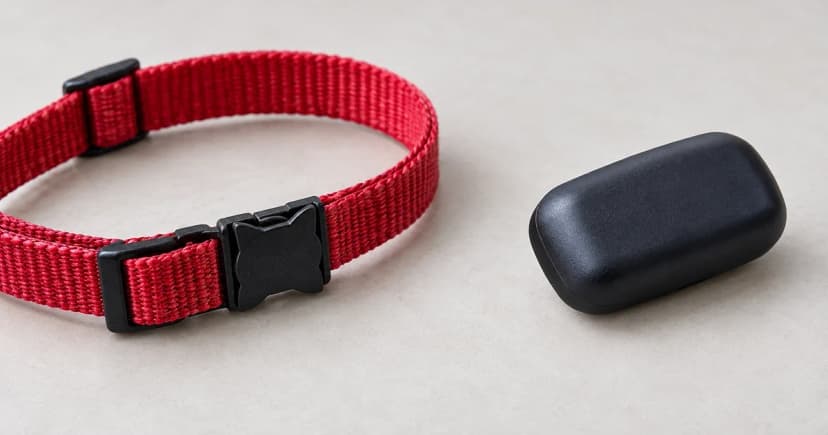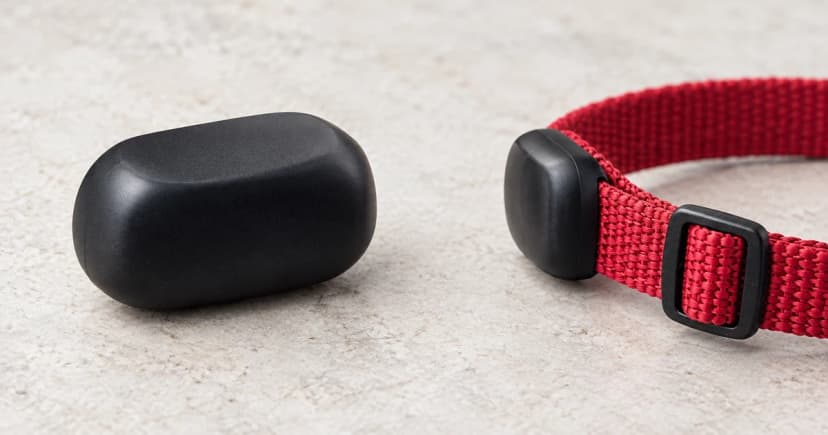
To work out how to activate a new pet GPS tracker, match the setup process to the exact brand, how the subscription was purchased, and the owner account tied to that order. Seeing the intended tracker listed inside your account confirms account recognition, which is a separate checkpoint from charging the hardware or obtaining a fresh outdoor GPS location report.
This guide covers initial activation for a new tracker you legitimately own. If you are moving an existing active plan to a replacement unit, use the dedicated replacement subscription-transfer guide instead of starting a new paid registration.
Prepare a private account and device record first
Keep your order confirmation and the tracker's printed documentation together before opening the app. Record whether a subscription was bundled at checkout, which email address belongs to the purchase, and the exact alphanumeric device ID or serial number printed on the unit. Never post unredacted account screenshots, full serial numbers, or login credentials in public forums when troubleshooting.
Match your brand and purchase state to the exact activation route
Activation must be completed through the exact brand's workflow, purchase state, and owner account—and having the device appear in your account list does not by itself prove that the tracker has acquired a live GPS fix.
| Brand & official source | Purchase & service state | Account entry & setup route | Account-level completion sign (not a live GPS test) |
|---|---|---|---|
| Tractive (Tractive activation guide) | 1. Tracker and subscription bought together on tractive.com | Account is created at checkout and the unit arrives activated. Open the password-setup email link (valid for 24 hours; use official password recovery if expired) and sign in with the checkout email. | Signed into the purchase email account where the pre-activated tracker and active plan are already linked. |
| Tractive (Tractive activation guide) | 2. New tracker purchased without an active subscription | Create or sign in to your Tractive account, choose Add tracker, enter the eight-letter device ID on the back of the tracker, complete plan selection, and assign a pet profile. | The eight-letter tracker ID and newly selected service state appear under your signed-in account. |
| Tractive (Tractive activation guide) | 3. Existing active plan, prepaid voucher, or warranty replacement unit | Do not buy a duplicate plan during standard activation; follow the voucher redemption flow or use the replacement subscription-transfer guide for replacement hardware. | Existing subscription or voucher credit is reassigned to the target tracker ID without creating a second billing plan. |
| Weenect (Weenect registration guide, Jan 2024) | 4. First tracker registered in a new Weenect account | Sign in or create an account in My Weenect or the iOS/Android app; the first-registration wizard launches automatically to collect the serial number and subscription choice. | First tracker serial number and chosen subscription appear in the My Weenect interface. |
| Weenect (Weenect registration guide, Jan 2024) | 5. Additional tracker added to an existing Weenect account | Sign in to the existing account and select the separate Add a tracker control (note: the UK-English guide is dated January 2024, so follow current in-app prompts if labels change). | The additional serial number is listed alongside existing devices under the same owner account. |
Check the intended device in the intended account
After completing your brand's activation path, verify that the app entry matches your physical hardware record rather than relying on a default pet icon or nickname:
- Confirm the signed-in email address matches the account used at purchase or registration.
- Compare the eight-letter Tractive ID or Weenect serial number on the hardware casing against the identifier shown in the app's tracker settings.
- Record the displayed subscription status and any exact on-screen status message rather than writing a vague note like "setup done."
- Keep account recognition separate from wireless reporting: an active account listing does not prove Bluetooth proximity, cellular reception, or satellite lock. For those wireless stages, see how pet GPS trackers work.
Handle an "already active" message in context
Tractive's already-active troubleshooting article explains that a "This tracker is already active" notice commonly appears when a tracker was pre-activated under the checkout email address, and the owner later signs in under a different email address. Signing back into the original purchase email (using official password recovery if needed) resolves that mismatch. If a pre-owned device remains linked to a previous owner's account, only the official ownership-transfer process can release it.
Hand off to charging and location verification
Once your private record confirms the right tracker ID sits inside the right account with an active service state, move on to hardware power and outdoor positioning checks. Use our tracker charging guide to verify battery indicators before testing outdoor reception, and browse the cellular GPS tracker category when comparing hardware formats.