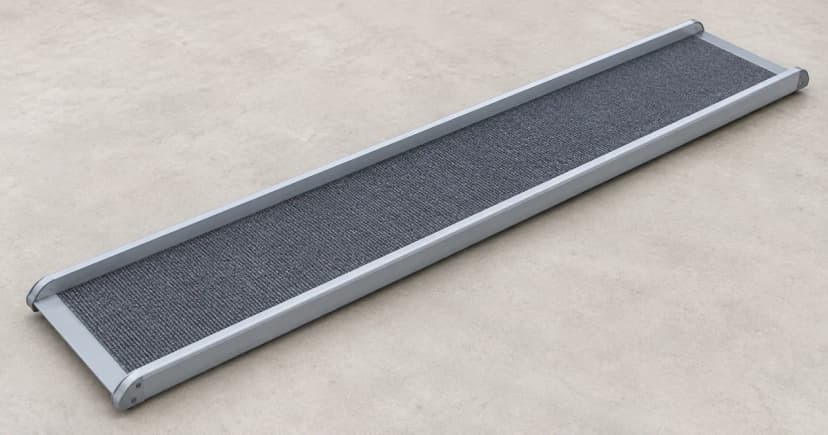
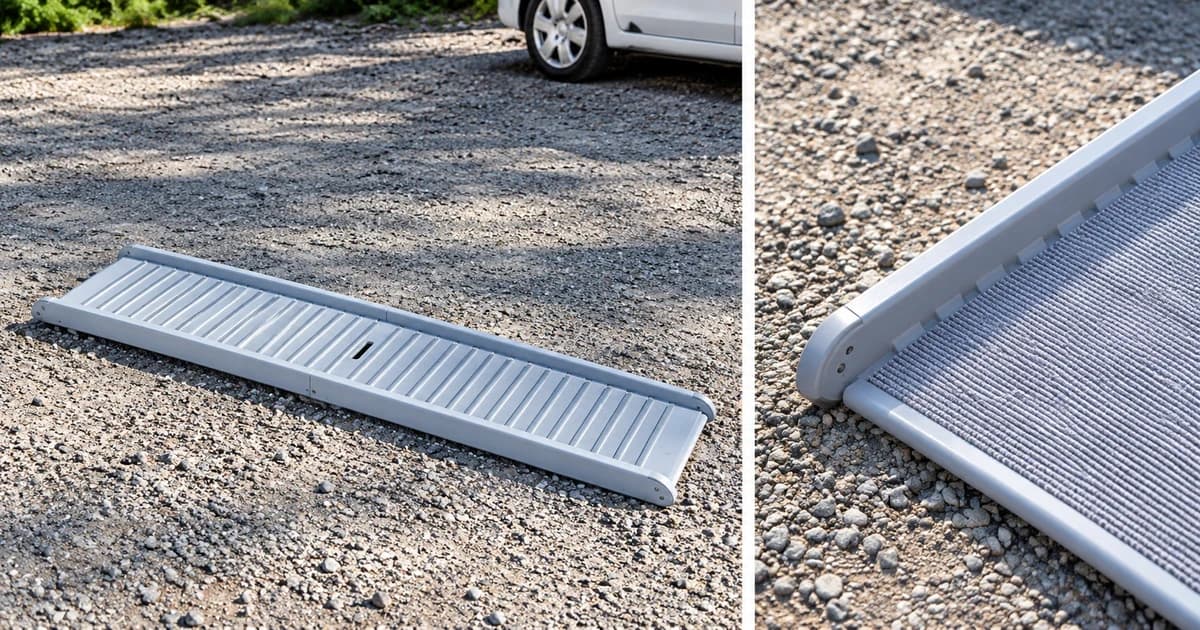
Check a dog ramp against the exact vehicle opening you intend to use. Record the entry-point height, the available support and ground space, then compare them with the instructions for the particular ramp and any required adaptor. A vehicle described as an SUV or hatchback does not answer those questions by itself.
Make the comparison before asking your dog to cross. A ramp can be familiar to the dog while its proposed position remains unresolved. Equally, an equipment arrangement that follows its instructions does not establish that the dog has learned to use it comfortably.
Choose the entry point before measuring
Decide whether you mean the cargo opening or a side-door route to a seat. Write that choice beside the vehicle details. Measuring one destination and shopping for another leaves the main question unanswered.
PetSafe's Happy Ride selection guide says to measure the intended entry point: the backseat for backseat access, or the top of the bumper where the ramp will rest for rear access. It gives these recommendations for its named telescoping ramps:
| Named PetSafe ramp | Entry-height recommendation in that guide |
|---|---|
| Happy Ride Telescoping | 19–30 inches |
| Happy Ride Compact Telescoping | 19–30 inches |
| Happy Ride Extra Long Telescoping | 25–38 inches |
These are manufacturer-specific recommendations. The guide also identifies a separate adaptor for side-door access. Its chart labels for different inclines do not establish a universal safe angle or suitability for an individual dog.
Keep the units and measurement point with your note. If a description only says the vehicle is tall, return to the actual destination.
Check the support arrangement as well as the height
Look at the proposed upper contact, the lower support and the route between them. Identify the exact components named in the ramp instructions. An edge that is visible when the hatch opens is not, by appearance alone, an authorized supporting surface.
The Happy Ride Telescoping setup page calls for enough space behind the vehicle to extend the ramp fully. It describes the angled end at the rear of the vehicle and all four rubber feet resting on stable surfaces. It also says the ramp need not be fully extended and directs side-door installations to separate adaptor instructions. Those statements belong to this named setup.
Include the space on the ground in the comparison. Record whether you can use the required arrangement at the intended opening without another object occupying the approach. A published ramp length is only one part of that check; it does not confirm the shape or strength of the vehicle's contact surface.
Do not invent a spacer, new attachment or support to make an uncertain arrangement fit.
Side-door access can require different equipment
PetSafe's separate telescoping ramp side-door instructions use a separately sold adaptor. They describe a ramp clamp, strap and door hanger, with the ramp's inside upper corner placed on the vehicle seat. This is a different support arrangement from the rear-hatch example. It does not authorize a similar-looking hook or strap for an unknown ramp or vehicle.
Do not assume that equipment reaching the rear cargo area can be moved to a side door without a new compatibility check.
Keep operating and training instructions in context
The separate Happy Ride acclimation and training page tells the reader to extend the ramp fully before its flat-ground introduction. Keep that instruction with that task, alongside the operating page's different extension wording.
A variable-length specification cannot settle every operating or training question. Nor should shortening a ramp become a guessed way to create a practice stage. Retain the page title, model and intended use when asking for clarification.
Build a compatibility record you can use
Keep the proposed setup and unresolved details together:
- Vehicle destination: cargo opening or particular seat, with the actual entry-point measurement and units.
- Equipment: full ramp model, matching instructions and any named compatible adaptor.
- Support: the upper and lower contacts required by those instructions, including any point you cannot identify.
- Available space: the opening and ground area needed for the permitted arrangement.
- Storage: the maker's closed dimensions and stowing instructions to compare with your available space.
A useful question is: “For this ramp model and this measured entry point, which contact surfaces and adaptor are required, and which extension instructions apply?” Keep the answer with the equipment. Do not replace a missing answer with a generic angle calculator or a claim that a different owner's car looks similar.
Once equipment questions are resolved, use the separate dog ramp training guide for voluntary introduction. Journey stops and care handover belong in the car travel planning guide. Our pet ramps category identifies the equipment type without verifying a particular model's current availability or compatibility.
Our editorial policy explains how source-based guidance is distinguished from product testing.