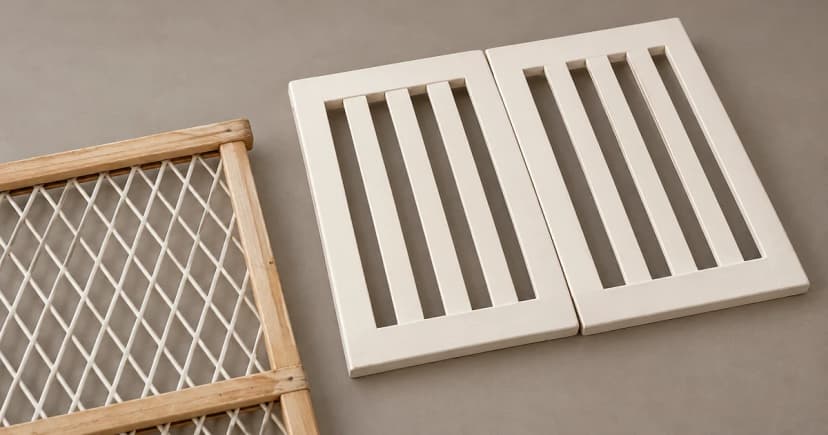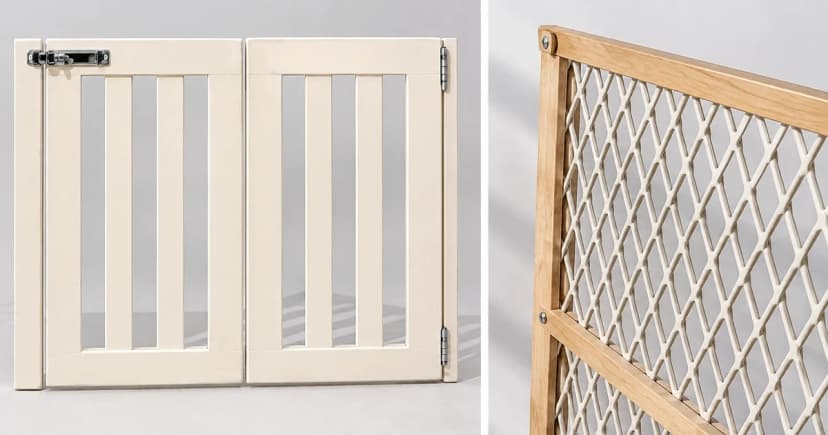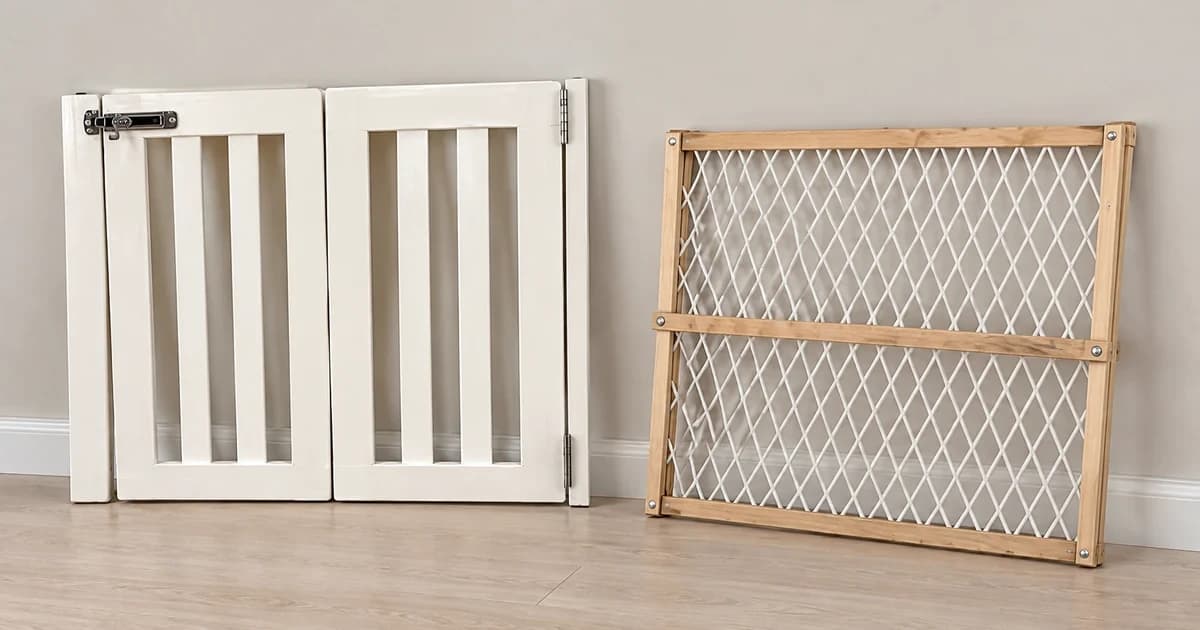
Knowing how to check a pet gate's opening and mounting requirements means verifying the exact model's location restrictions first—for example, all five manuals examined in this guide prohibit installation at the top of stairs—and then matching the gate's specific configuration to your clear opening width, flat contact surfaces, baseboard projection, required hardware kit, and floor footprint. An advertised width range alone cannot confirm that a barrier fits your doorway or mounting surface.
Always start with the instruction manual for the exact model and variant you plan to use. The five product manuals compared below illustrate why pressure-mounted, hardware-mounted, and freestanding gates require different pre-purchase measurements; they do not establish universal rules for every pet gate on the market or guarantee that a given barrier will contain every dog.
Check location and stair restrictions before measuring
Before measuring a doorway or hallway, verify whether the selected model is permitted in that location at all. Across the five instruction manuals reviewed in this guide—spanning pressure-adjusted, hardware-mounted retractable, and freestanding designs—all five manuals explicitly prohibit use at the top of stairs, including the hardware-mounted Regalo 1850 retractable gate. Hardware mounting alone therefore never equals top-of-stairs approval.
- Top-of-stairs prohibition (all five manuals below): Never assume a screw-fixed bracket or wall cup makes a pet gate stair-top safe; check the model's warning page before measuring a stair landing.
- Indoor-only and pet-size limits: The Richell freestanding and tension-mount manuals specify indoor household use and small-dog size or weight boundaries.
- Full warning review: See Read the full location and warning restrictions before deciding below for how model warnings interact with your household setup.
Identify the exact model and configuration first
Write down the brand, model number, manual identifier, width variant, and any approved extension before taking measurements. Match the manual's cover, parts list, and installation diagram to the exact item in front of you—a similar color, barrier height, or small walk-through pet door does not prove two gates share the same mounting specs.
Even a PDF filename or document metadata title can differ from the printed cover. For instance, the Carlson PDF linked below carries an "Extra Tall" metadata title while its printed cover identifies Extra Wide models 0930 B DS and 0930 PW DS with a 29–36.5-inch opening range. Always rely on the model number printed on the product label and matching instruction cover rather than applying one manual to a different gate.
When a single gate supports more than one setup mode, select the configuration before comparing dimensions. In the Richell Pet Sitter Plus 94961 manual, tension-mount mode covers a 39.8–61.8-inch opening width with a 1.8-inch depth, whereas freestanding mode covers a 39.8–59.8-inch opening width with an 18.5-inch depth. One product name therefore produces two distinct width and floor-depth records.
Measure where the selected fixtures actually touch
Use the matching manual's diagram or paper template to locate the exact upper and lower fixture heights. Measure the clear opening width at each specified fixture height and note any difference between the left and right walls or jambs. Do not rely on a single waist-high tape measurement: a spindle pressure pad, a screw-in wall cup, and a retractable mesh handle bracket meet the wall at different heights and angles.
Record what each upper and lower fixture will touch: a flat door jamb, moulded casing, a projecting baseboard, or drywall. Measure the usable flat face width and baseboard thickness separately from the clear walkway width, since a measurement taken above the baseboard will not match the narrower clearance at the floor line.
As a model-specific example, Richell's 94961 tension-mount instructions require a vertical wall surface, a steady level floor, floor contact along the bottom of the gate, and a flat door-frame or wall mounting face wider than 2.4 inches oriented perpendicular (not sloped) to the gate. That 2.4-inch flat-face requirement belongs specifically to the Richell 94961 in tension mode; it is not a universal pad size for other brands or permission to mount on narrow curved trim.
If a required fixture point lands on curved moulding, a narrow casing edge, or an unverified wall material, mark that measurement as unconfirmed in your pre-purchase record rather than improvising with adhesive pads, unapproved shims, or shifted bracket heights.
Keep pressure, hardware, and freestanding mounting systems separate
| Named Model & Manual | What to Measure & Record Before Purchase | Detail That Stays Strictly Model-Specific |
|---|---|---|
| Carlson Extra Wide 0930 B DS / 0930 PW DS | 29–36.5 in opening width, four spindle contact points, and all four wall cups with screws | Threaded spindle pressure adjustment does not remove the manual's express requirement to install all four screw-fixed wall cups. |
| Regalo Retractable 1850 G / 1850 G C / 1850 G DS | Up to 55 in wide; inside-opening vs. outside-opening bracket position, template height, wall substrate, and baseboard spacer need | Handle-mount screw holes and supplied wall-spacer configurations change depending on inside/outside mounting and baseboard presence. |
| Richell Pet Sitter Plus 94961 | Selected mode (tension: 39.8–61.8 in wide × 1.8 in deep; freestanding: 39.8–59.8 in wide × 18.5 in deep) and >2.4 in flat vertical mounting face for tension mode | The >2.4 in flat perpendicular face and floor-contact rule apply to 94961 tension mode; freestanding mode requires 18.5 in of floor depth. |
| Carlson Design Paw Freestanding 2070 / 2870 | Selected opening span, floor clearance for two stabilizing-leg assemblies, locking hinges, and pet-side tab orientation | Uses dedicated stabilizing legs, locking top hinges, and bottom tabs oriented toward the pet's side rather than a zig-zag accordion stance. |
| Richell Freestanding Small / Large (94135 / 94136) | Selected size variant, 17.7 in side-panel/foot depth, and width-specific fixing-hole chart position | Both Small and Large list a 17.7 in depth, and the overlap fixing holes must match the exact opening-width band in the manual's chart. |
The Carlson 0930 manual illustrates four threaded spindle rods, four wall cups, and four wall-mount screws, and explicitly states that the wall cups must be installed. Describing a gate as "pressure-mounted" never authorizes skipping required screw-mounted wall cups.
The Regalo 1850 manual specifies different handle-mount screw holes for inside-frame versus outside-frame mounting, plus a dedicated baseboard arrangement using supplied wall spacers. It also separates wood-stud fastening from drywall-anchor installation—meaning you must identify what material sits behind your trim before drilling rather than guessing anchor sizes.
Reserve the full freestanding footprint, not just the panel width
For any freestanding barrier, measure the complete floor stance required by its side panels or stabilizing feet as well as the clear walking path around them. A fully straightened panel length is not a stable freestanding span, and barrier height does not substitute for support depth.
The Richell Freestanding Small/Large manual specifies a 17.7-inch front-to-back depth for both sizes alongside width-dependent screw-hole positions that lock the overlapping panels. Meanwhile, the Carlson Design Paw manual relies on two perpendicular stabilizing-leg assemblies, locking hinges, and lower tabs facing the pet's side. Always reserve floor space for the exact support geometry shown in your model's manual.
If you are enclosing a multi-panel floor area rather than blocking a doorway, use our indoor exercise-pen setup guide to plan panel angles, floor footprint, and clip connections.
Make a short opening and hardware kit record
Use this six-row pre-purchase worksheet to keep your doorway measurements and manual requirements in one place. Leave any unverified dimension or substrate marked “unknown” until confirmed against the physical opening and the product manual.
| Record Field | What to Write Down Before Buying or Drilling |
|---|---|
| Selected equipment | Brand, exact model number, size or width variant, manual revision/PDF identifier, and chosen setup mode (tension, hardware, or freestanding) |
| Opening & fixture heights | Clear opening widths measured at the exact upper and lower fixture heights shown in the manual; usable flat face width on both left and right sides |
| Surface & trim profile | Known framing or wall material, unverified substrate behind casing, baseboard thickness/height, and the manual's permitted spacer or bracket option |
| Required hardware kit | All specified wall cups, screws, drywall anchors, brackets, paper templates, stabilizing legs, locking hinges, extensions, and spacers |
| Floor footprint & clearance | Required bottom-edge floor contact, side-panel or stabilizing-leg depth (e.g., 17.7 in or 18.5 in), walk-through door swing, and clear human walkway |
| Open specification to verify | Any fixture height, wall substrate behind trim, hole-chart boundary, or extension limit still marked “unknown” before installation |
If you switch from freestanding mode to tension mode—or add an extension panel—re-verify the width range, fixture contact points, floor depth, and required hardware from the beginning rather than carrying measurements over from another configuration.
Read the full location and warning restrictions before deciding
As flagged at the start of this guide, all five manuals examined here prohibit installation at the top of stairs, including the hardware-mounted Regalo 1850 retractable gate. Mounting hardware type alone never establishes stair-top suitability. In addition, the Richell manuals specify indoor-only use and small-dog size or weight boundaries, and the Carlson warning pages contain conflicting statements regarding children that do not support a child-safety conclusion here.
You can compare gate styles in Pawlivy's pet gate category, then review the exact model's instruction manual before treating any store listing dimension or accessory description as installation approval. Our editorial policy explains our source-based approach: building a complete opening, surface, and hardware record before installation begins.