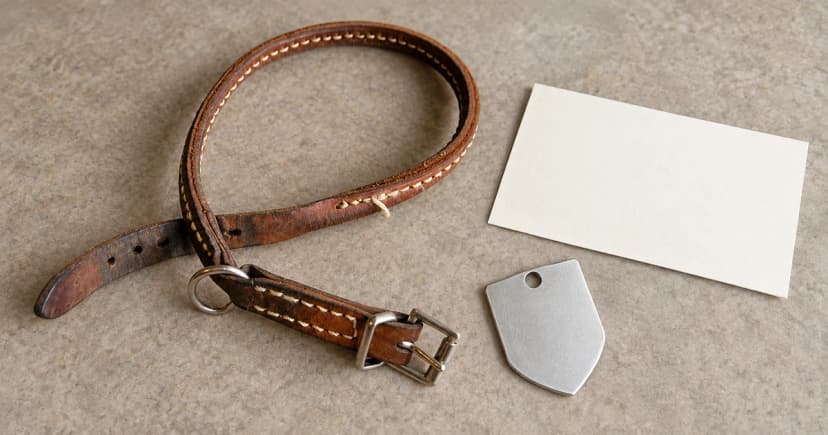
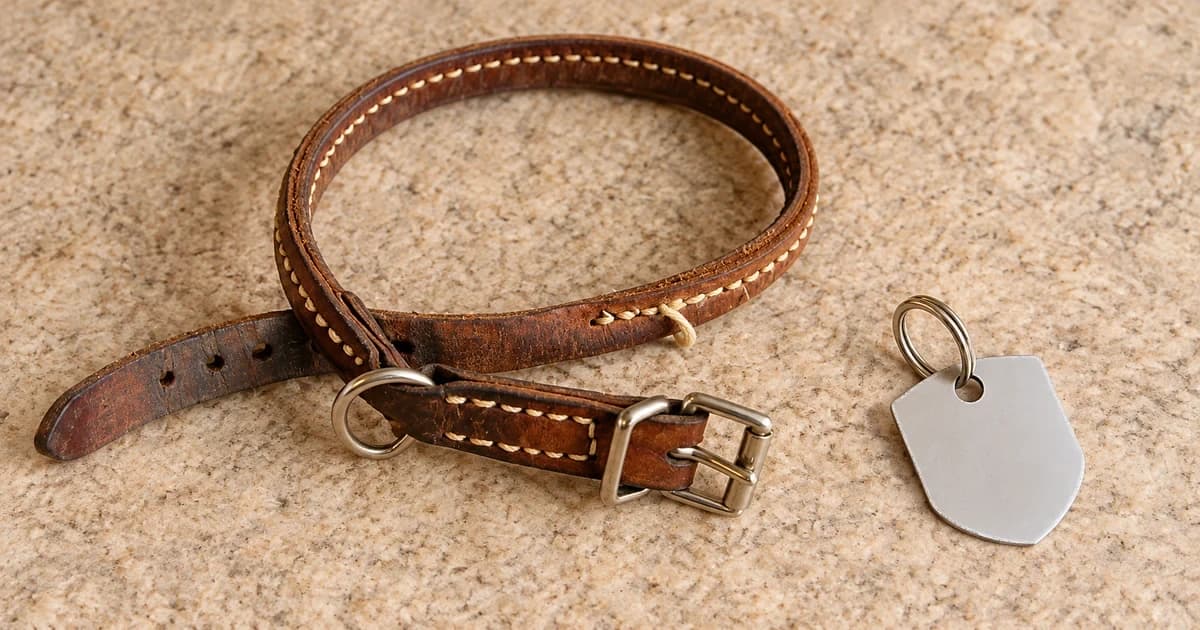
Attach a pet ID tag with the connector specified for that tag and a collar fitting intended to carry identification. A split ring, gated clip and slide-on plate connect in different ways. Work with the collar off the pet, identify the parts first, and check closure, clearance and readable information before putting it back on.
The important question is not simply whether a tag can be forced onto a ring. It is whether the tag, connector and collar fit together as their makers describe. This guide separates the attachment decisions from engraving choices and digital-profile activation.
Make a short attachment record before starting
Keep the tag packaging or product instructions nearby. Note the connector supplied, the collar's designated identification fitting and any restrictions on collar width or thickness. Record which instruction belongs to which item: a tag seller's plate instructions do not identify the correct attachment point on every collar.
For the collar, distinguish the buckle, adjuster, leash fitting and any separate tag point. They can sit close together without having the same purpose. For example, the Ruffwear Confluence Collar lists an aluminum D-ring for the leash and a separate identification attachment point. Its arrangement is an example of why “use the D-ring” is not a complete instruction for all collars.
When comparing dog collars, look for a diagram or written description of those connections. For another species or a different release mechanism, use that collar's own instructions. Adding a tag does not establish that a modified collar will still operate as its maker intends.
Match the installation method to the actual connector
| What is in front of you? | What to establish | What not to assume |
|---|---|---|
| A spiral split ring and hanging tag | Which collar fitting accepts the ring, and whether the tag hole and fitting can travel through its opening | A split ring is not a single-cut jump ring or a leash connector. |
| A gated clip attached to a ring | How the tag joins the ring, how the clip opens and where the clip is permitted to attach | The clip does not necessarily replace the ring between it and the tag. |
| A rigid slide-on plate | Collar width, thickness and whether an accessible strap end can pass through the slots | A plate made for an open-ended collar may not pass over a snap buckle. |
| A plate with flexible loops | The exact loop arrangement and the maker's permitted collar dimensions | Flexible and rigid versions with similar names share the same installation limits. |
| An S-shaped hook | The exact maker's closure instructions and any tools it specifies | An open hook is ready to use merely because it holds the tag temporarily. |
These distinctions are visible in actual maker instructions. dogIDs' installation guide describes its slide-on nameplate for an open-ended collar and says the opening will not pass over a large snap buckle. GoTags' slide-on page distinguishes flexible silicone or elastic bands from rigid stainless-steel notched tags; it says width and thickness matter for the rigid form.
A shared product name is not enough to resolve that difference. Compare the exact plate and collar in your hands with their instructions.
For a split ring, inspect its shape and use its existing opening
First examine the ring and tag hole. Look for a distorted ring, a gap that does not close, a damaged hole or a sharp edge. Set those parts aside for replacement advice rather than trying to make installation solve the damage.
A split ring works by feeding a fitting around its spiral, as with a key ring. The DogTag.ie attachment guide advises opening its edge only enough to start the fitting and then working that fitting around the ring. It also calls for checking both layers afterward and replacing a ring that has lost its shape.
Follow the sequence for your supplied parts. If the tag is already joined to the ring, you are adding the collar fitting; if the parts are separate, establish how both will connect. Do not stretch the spiral into a wide open circle to shortcut the process. If the fitting will not pass with the documented method, stop and check compatibility or the specified tool rather than enlarging the tag hole.
Keep the clip and hook instructions separate
In LuckyPet's attachment article, its Klippy still uses a split ring between the tag and clip. Moving the clip between collars does not remove the need to inspect that smaller connection.
Use the exact clip's operating instructions and check that its gate returns to its closed position after installation. Do not transfer a closure method from another clip simply because both resemble small carabiners.
S-hooks need their own guidance. LuckyPet's article warns about incompletely closed hooks and says it removed that option, while its FAQ still says hooks are available on request. dogIDs also lists an S-hook option. Those pages do not establish one universal shipping policy or a reason to treat every connector alike.
Finish with three different checks
Closure: inspect the ring layers or clip gate. Do not rely on the tag's weight to tell you whether the connection is closed. Keep the leash attached to the walking equipment's specified connection, separate from the small tag connector.
Clearance: move the hanging tag through its available travel with the collar off the pet. Look for a buckle trapping it, several accessories crowding the same fitting, or a plate sitting over an adjuster. A part that repeatedly jams needs a compatibility decision, not an improvised extra chain.
Identification: read the information after fitting. A neatly installed tag is less useful if another tag covers its writing or the contact details are outdated. If the tag opens a digital profile, use the QR pet ID profile-checking guide for that separate task.
Revisit the connections when changing collars or replacing a tag, and after an event that may have distorted the hardware. This is an inspection process, not a strength test or a guarantee that a pet cannot lose its identification.
Choose documented compatibility over extra hardware
When browsing engraved pet ID tags, compare the stated attachment design and collar restrictions alongside the tag's shape.
The examples here come from published maker guidance, not our own load testing. Our editorial policy explains the review method. The finished setup should be understandable: an identified tag, its documented connector and a suitable collar fitting, with the writing accessible and each connection inspectable.