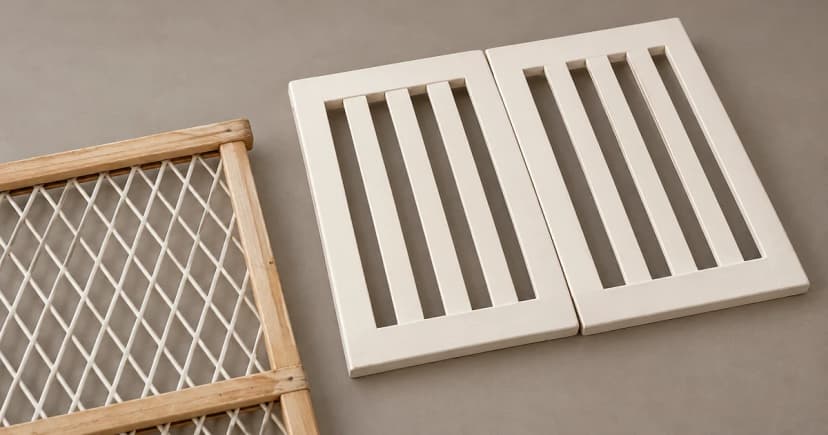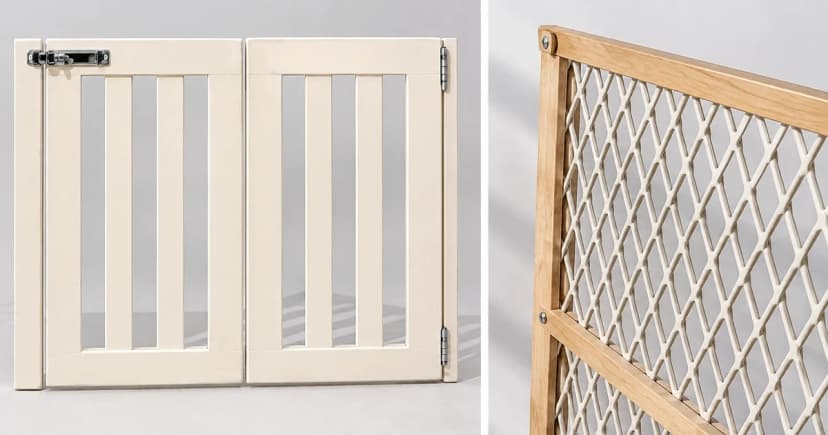
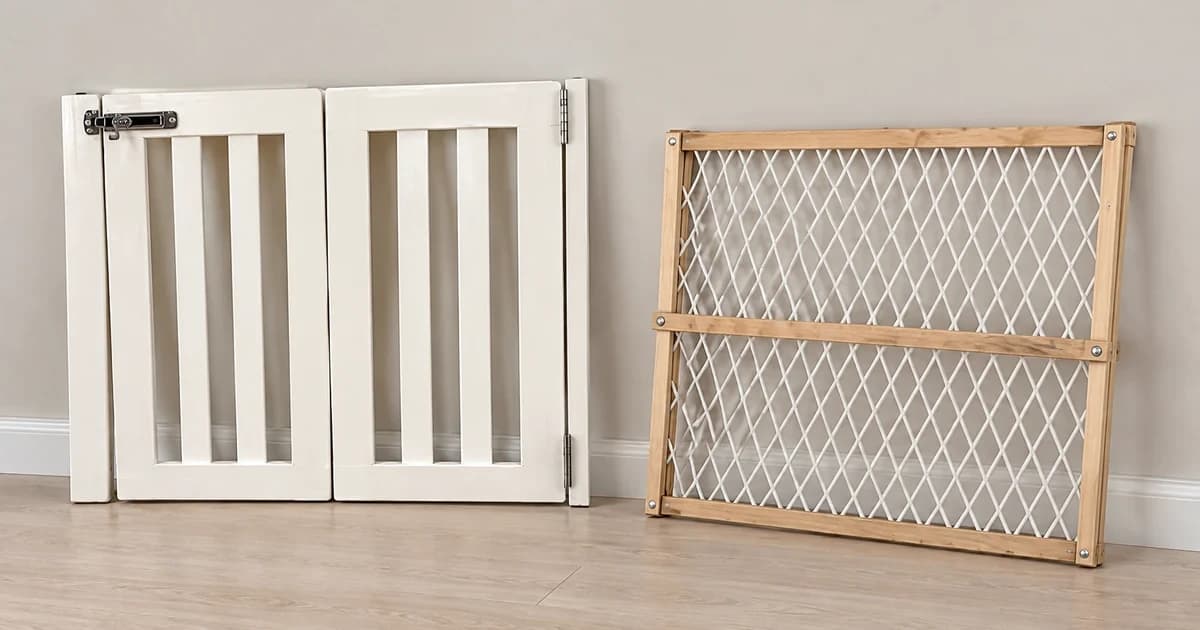
A pet gate's advertised width is only one part of the decision. Before buying, match the exact model and installation configuration to the opening, the places its fixtures will touch, and the floor space its supports need. Keep those details together in a written record. A wide enough panel does not resolve an unsuitable mounting surface or a missing required kit.
Start with the manufacturer's instructions for the selected model. The examples below show why pressure, hardware-mounted and freestanding gates need different checks. They are preparation examples, not instructions for installing an unidentified gate or evidence that a particular gate will contain your dog.
Identify the model and configuration first
Write down the model number, the manual you are using, the selected width variant and any manufacturer-approved extension. Match the manual's cover, parts diagram and configuration to the item you are considering. A similar color, gate height or small pet door does not establish that match.
Even a document label can be misleading. The Carlson PDF linked below has an Extra Tall metadata title, while its actual cover identifies Extra Wide models 0930 B DS and 0930 PW DS. Its printed opening range is 29–36.5 inches.
Choose the configuration before comparing dimensions. In the Richell Pet Sitter Plus 94961 manual, tension mounting has a 39.8–61.8-inch width range, while the freestanding configuration has a 39.8–59.8-inch range. Their listed depths are also different: 1.8 and 18.5 inches respectively. One product name can therefore have two different opening and footprint records.
Measure where the selected fixtures actually go
Use the matching manual's diagram or supplied template to identify the intended contact locations. Record the clear opening at those locations, including differences between the left and right sides. Do not invent a common upper or lower measuring height for all gates. A pressure pad, a wall cup and a mesh handle bracket are different contact structures.
Note what each contact would meet: a flat part of a door frame, projecting trim, a baseboard, or another surface. Record the available flat face and the baseboard projection separately from the opening width. A measurement taken above a baseboard may not describe the space available at a lower fixture.
For a concrete example, Richell's 94961 tension-mount instructions require a vertical wall surface, a steady and level floor, and a door-frame or wall mounting face wider than 2.4 inches. The diagram also distinguishes perpendicular contact from a sloping surface, and the bottom of that product must contact the floor. That 2.4-inch rule belongs to this model; it is not a universal pad size or permission to install on any trim.
If the required contact location lands on a curve, narrow edge or an unconfirmed surface, mark it as unresolved. Do not substitute a different location, adhesive or homemade spacer to make the drawing appear to work.
Keep the mounting systems separate
| Named example | What to record before purchase | Detail that stays model-specific |
|---|---|---|
| Carlson Extra Wide 0930 | Opening range, four contact locations and the complete wall-cup kit | Pressure adjustment does not remove the requirement for screw-fixed wall cups. |
| Regalo Retractable 1850 G variants | Inside or outside opening configuration, template positions, mounting surface and any baseboard arrangement | Handle-mount hole selection and the included spacer/screw arrangement change with the illustrated configuration. |
| Carlson Design Paw 2070/2870 | Selected width, stabilizing-leg space and the illustrated orientation | Its legs, locking hinges and pet-side tabs are parts of this design. |
| Richell Freestanding Small/Large | Correct size, width-dependent fixing diagram and side-panel/foot space | The stated depth and fixing-hole choices belong to the selected size. |
The Carlson 0930 manual illustrates four threaded spindles, four wall cups and four wall-mount screws. It expressly requires the wall cups. Calling that gate pressure-mounted is not permission to omit the screw-fixed components.
The Regalo 1850 manual shows different handle-mount holes for installation inside versus outside an opening. Its baseboard option uses supplied wall spacers and a different screw arrangement. Record the relevant illustrated option and required parts; do not apply it to every retractable mesh gate.
That Regalo manual also separates wall-stud and drywall fastening instructions. This distinction does not identify the material behind your own trim or approve another substrate. If the actual surface or compatible kit is unknown, resolve that with the manufacturer before choosing a mounting procedure. This guide does not supply substitute anchor or drill specifications.
Reserve the freestanding footprint, not just the panel width
For a freestanding design, record the complete installed stance. Include side panels, feet or stabilizing legs and the route you need to walk through. A straightened panel span is not automatically the recommended installed opening, and overall height is not a substitute for depth.
The Richell Freestanding Small/Large manual lists a 17.7-inch depth for both sizes, alongside their different width ranges. Its fixing-hole diagrams vary with the selected width.
The Carlson Design Paw manual uses two stabilizing-leg assemblies, locking hinges and tabs positioned on the pet's side. Those features are different from a folding accordion gate's stance. Allow space for the selected product's actual supports rather than assuming another manufacturer's leg arrangement applies.
A room enclosure creates another task. If you are planning connected panels around a floor area, use our indoor exercise-pen setup guide for that separate footprint and connection record. It does not replace a doorway gate's mounting requirements.
Make a short opening and kit record
Leave an unanswered field marked “unknown” instead of filling it with an assumption.
| Record | What to write down |
|---|---|
| Selected equipment | Maker, exact model, size/variant, manual identifier and selected configuration |
| Opening and contacts | Clear widths at the manual's specified contact locations; available left/right mounting faces |
| Surface and trim | Known surface, unresolved substrate, baseboard projection and the maker's permitted arrangement |
| Parts | Required cups, brackets, templates, supports, extensions and approved spacer/fastener kit |
| Floor space | Required floor contact, support depth, door movement and the remaining walking route |
Keep any reply from the manufacturer with the model record. If the chosen configuration changes, revisit its width range, contact positions, footprint and parts list. Do not carry an answer for one model or extension over to a visually similar gate.
Read the location restrictions before deciding
All five manuals discussed here prohibit use at the top of stairs, including the hardware-mounted Regalo 1850. Mounting type alone therefore does not establish stair permission. The Richell examples also have named small-dog and indoor-use limits. Check the whole applicable warning section, not only the width chart.
The Carlson warning pages contain conflicting statements about child use. They do not support a child-suitability conclusion here. Likewise, a manufacturer's mounting check is an instruction for that product, not proof that a photographed gate was tested or that a chosen barrier prevents every escape.