When learning how to sew dog toys—specifically how to sew a denim dog toy bone—start with one complete documented project and its matching printable pattern rather than mixing measurements from different blogs. This guide follows Echidna Sewing's repurposed denim bone pattern (which uses A4 templates with a 1 cm seam allowance already included, a 100/16 denim needle, and a triple-stitch setting), while keeping the craft steps strictly separate from deciding whether the finished plush bone is safe for your dog's supervised play.
Decide what you are making before cutting
Keep the original instructions open beside your work. Record the chosen pattern size, fabric and machine setup before cutting; do not silently substitute stitch types or seam allowances from another tutorial when something is unclear. Changing the fabric weight, thread or seam construction turns the work into a different project.
If you prefer a no-sew fabric project, see our jumper ring-ragger guide. That knotted cuff-and-strip method is completely separate from the sewn and stuffed construction below.
Follow the denim-bone project as one method
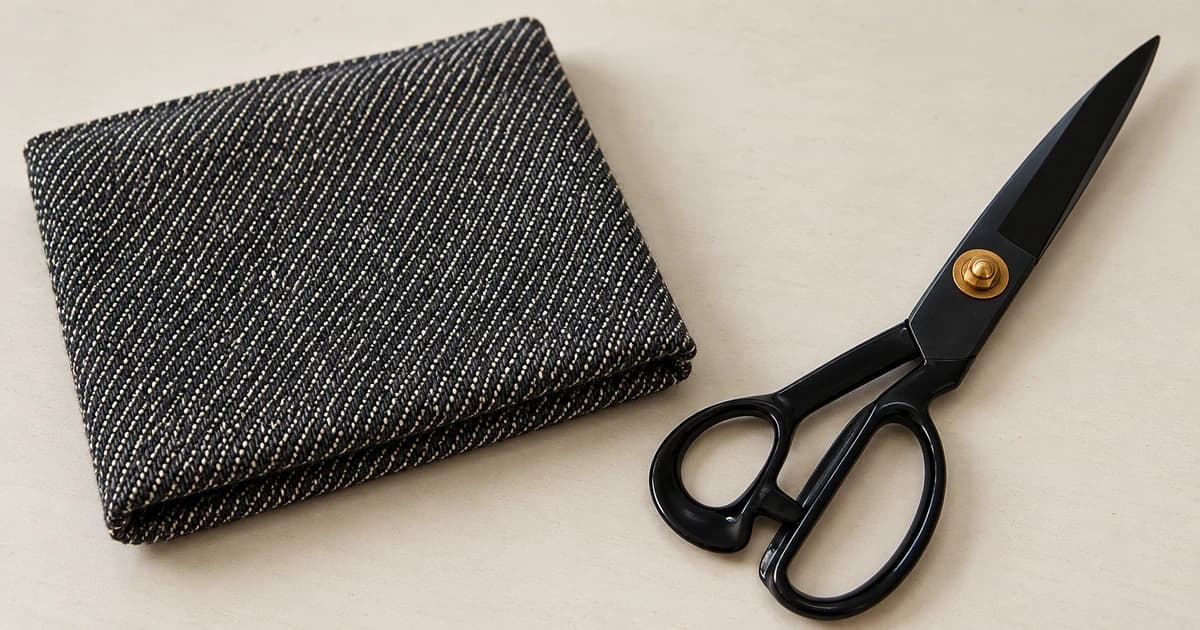
Echidna's repurposed denim dog bones project specifies old jeans or heavy denim/upholstery fabric, Rasant thread with a matching bobbin, polyester toy stuffing, scissors, a hand-sewing needle, a turning/stuffing aid, a 100/16 denim machine needle, a machine capable of triple stitch, and a regular J presser foot. Decorative machine embroidery is optional.
Download and inspect Echidna's original A4 printable dog-bone pattern PDF before cutting fabric. Use the pattern-printing and assembly checklist below so you do not distort the template scale or double the seam allowance:
| Echidna A4 pattern check | What the original PDF contains | How to verify before cutting denim |
|---|---|---|
| A4 print scaling & 1 cm seam check | Two-page A4 document where every template prints both an outer solid cutting line and an inner dashed stitching line labeled “1 cm seam allowance is included.” | Print on A4 paper at 100% / Actual Size (not “Fit to Printable Area”) and measure the gap between the dashed stitching line and outer cutting line to confirm it equals 1 cm; if your printout scale does not match 1 cm, pause and verify the file settings before cutting. |
| Small & Medium bone templates (Page 1) | Complete one-piece Small and Medium bone outlines printed together on Page 1. | Cut along the outer solid line of your chosen size without adding any extra seam allowance around the perimeter. |
| Large bone A/B split template (Pages 1 & 2) | Split into “Large Bone – Part A” (Page 1) and “Large Bone – Part B” (Page 2) with straight center join edges. | Trim and butt-join Part A and Part B along their matching center join line so the outer cutting lines and inner 1 cm dashed seam lines align continuously before cutting two full denim pieces. |
| Pattern size labels vs. dog suitability | Labels templates “Small,” “Medium,” and “Large” for craft layout only. | Do not treat craft template labels as a veterinary or breed size chart; evaluate finished toy dimensions against your individual dog separately. |
- Unpick the inner leg seam of the old jeans to lay the denim flat. Skip the optional embroidery steps if you are making a plain bone.
- Select one verified pattern size (Small, Medium, or joined Large A+B) and cut two matching denim pieces along the outer cutting line (the 1 cm seam allowance is already built in).
- Pin the two denim pieces right sides together, marking a 3-inch unsewn opening along one straight center edge for turning.
- Sew around the bone using Echidna's specified triple stitch and regular J foot edge alignment, leaving the 3-inch opening unsewn. If the specified regular J foot or triple stitch cannot be matched on your sewing machine, verify your machine's manual before substituting; presser-foot width is not established by the letter name alone.
- Clip into the curved seam allowances every half inch without cutting the stitching, turn the bone right side out through the 3-inch gap, stuff firmly while pushing out the four rounded ends, and close the opening neatly with a hand slip-stitch.
Keep a short project note
Keep a brief crafting record so you can distinguish what was sewn from how it was used:
- Pattern size selected (Small, Medium, or joined Large A/B) and verification that the printed seam margin measured 1 cm on A4 paper.
- Denim or upholstery fabric source and a check for worn thin spots, metal rivets or zipper teeth removed before cutting.
- Machine needle (100/16 denim), presser foot and triple-stitch setting verified against the project sheet.
- Any pattern-scale or machine-foot mismatch that paused the project, and the verified instruction detail before resuming.
- Whether the finished bone remains a craft item or has separately been reviewed for supervised play.
Keep any unanswered construction detail visible rather than assuming the bone is durable because the outer shape looks neat.
Make a separate decision about play
Dogs Trust advises considering the individual dog's health, abilities and play style when choosing enrichment items, and supervising soft toys closely so torn fabric or stuffing is never swallowed. If a dog begins ripping seams or pulling out stuffing, end the session and trade the item calmly for a reward rather than relying on triple stitching to withstand chewing.
The RSPCA's environment guidance calls for safe, suitable play objects and adequate resources for each dog. It does not certify this denim sewing pattern or your homemade result.
You can compare dog toys and enrichment equipment for other play options without treating any catalog category as a chew-proof guarantee. Once you have chosen an appropriate toy, our guide to gentle tug play and pauses covers how to manage interactive play safely.