When exploring how to make dog toys—specifically how to make a dog toy from an old jumper—follow one complete documented project with its own materials and sequence rather than mixing steps from several tutorials. The cited project below is Battersea's knotted ring ragger made from an old jumper and scissors; it does not involve sewing, stuffing, or hiding a ball inside fabric.
Finishing the craft is separate from deciding whether the resulting item suits your dog. This guide summarizes a cited welfare-charity craft project rather than a durability test: a neat knot does not establish pull strength, chew safety, or unattended play approval.
Follow one named ring-ragger project
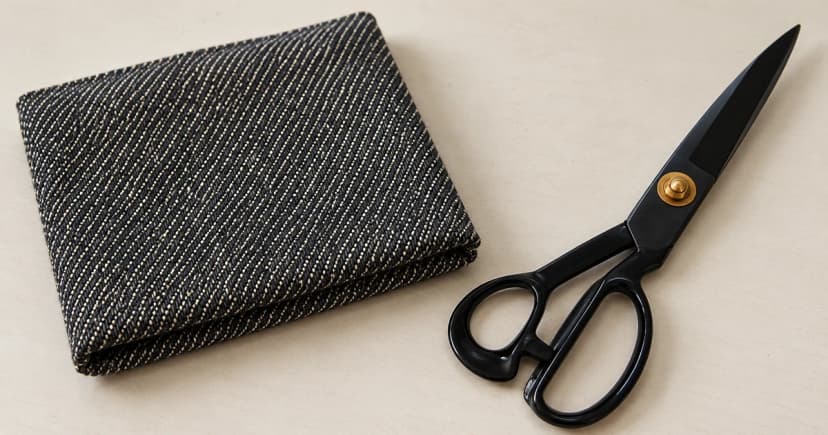
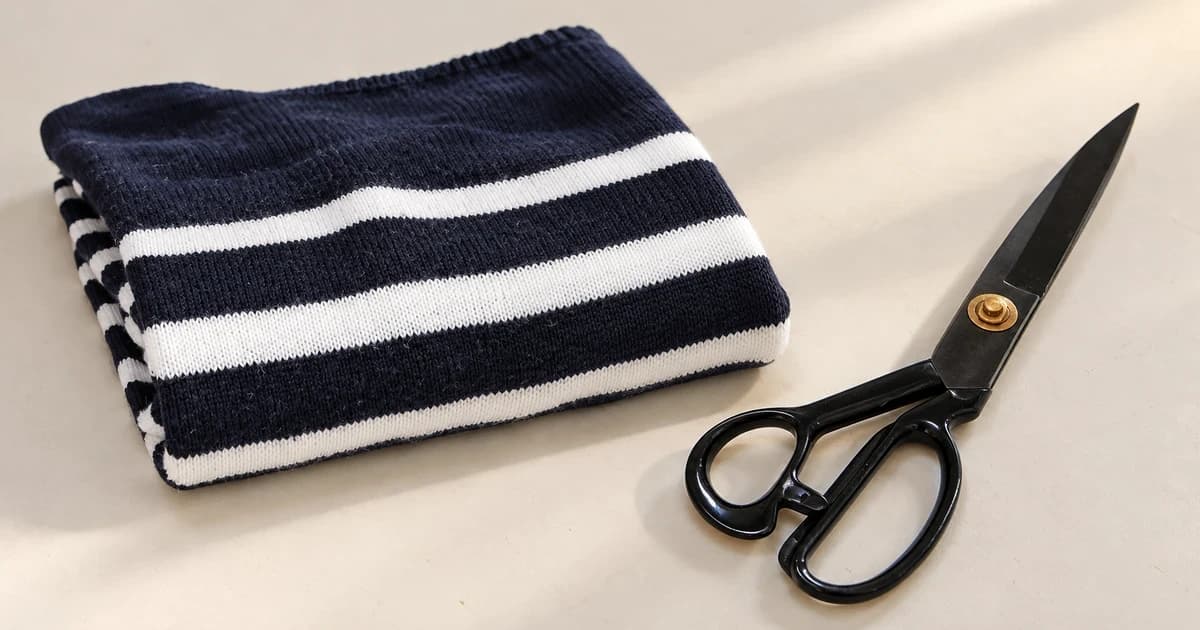
Battersea's DIY dog toys guide (updated June 2026) sets out a jumper ring-ragger project using only an old jumper and a pair of scissors. When learning how to make a toy for a dog from this pattern, keep its six steps together:
- Cut off the jumper cuff to form the circular base ring.
- Cut a long strip from the remaining jumper body, long enough to work around that cuff base.
- Tie the strip's midpoint onto the cuff, leaving two equal working lengths on the left and right sides.
- Bring the left strip across the front of the cuff into an L shape. Pass the opposite (right) strip over that left strip, wrap it behind the back of the cuff, and pull it up through the left-hand loop; tighten.
- Repeat the same pass from the opposite side, forming a reversed L across the front and passing the other strip over, behind the cuff, and through the right-hand loop.
- Continue alternating left-L and reversed-L knots all the way around the cuff, sliding knots together to cover the base before tying off securely and trimming excess fabric.
Battersea notes that the alternating knot can be tricky at first and embeds a step-by-step video demonstration directly inside the “Jumpers ring ragger” section of Battersea's DIY dog toys page. Use the numbered pass breakdown below alongside that original project video rather than substituting an unrelated knot:
| Project phase / knot pass | Front and back strip routing | Verification and safety boundary |
|---|---|---|
| Materials & base prep (Steps 1–3) | Cut one intact jumper cuff as the ring core, cut one long fabric strip from the jumper body, and tie its center to the cuff to create equal left and right strands. | Use only one garment project; do not add squeakers, stuffing, or loose trims not in Battersea's instructions. |
| Pass A: Left-hand L knot (Step 4) | Lay the left strand across the front of the cuff in an “L” loop → bring the right strand over the tail of the L, behind the back of the cuff, and out through the left loop → pull both strands snug. | If the front-over-and-back pass looks twisted, check the “Jumpers ring ragger” video on Battersea's page before tightening. |
| Pass B: Reversed-L knot (Step 5) | Lay the right strand across the front of the cuff in a reversed “L” loop → pass the left strand over it, behind the back of the cuff, and out through the right loop → pull snug and slide against the previous knot. | Alternate Pass A and Pass B around the ring, then tie off and trim ends before removing scissors and scraps. |
| Supervision & retirement check | Monitor every play session closely and inspect the knotted ring before and after use (Battersea / Dogs Trust). | Retire and remove the ragger immediately if your dog begins tearing, unravelling, or trying to swallow fabric strips. |
Return to Battersea's exact project page and video if the written pattern feels unclear, and monitor your dog whenever the finished ring ragger is offered so torn material cannot be ingested.
Keep material questions separate from the pattern
Set aside the garment and identify the intended cuff and strip before cutting. If you cannot match the parts or follow the pass sequence, leave the project unfinished while you review the original video demonstration. There is no need to invent strip measurements to fill a gap.
Keep a short making note: the exact project followed, the garment used, where you stopped and what remains uncertain. Completing the knot sequence is not the same as proving that the toy is durable enough for a particular dog.
Decide whether to offer the result
Dogs Trust's enrichment guidance advises considering the individual dog's health, abilities and preferences, and observing their interaction. For soft toys, it emphasizes supervision so small parts are not swallowed and appropriate exchanges when removing a part.
These are selection and supervision principles. They do not validate this garment, knot pattern or homemade item's strength. A dog choosing to grab it does not settle those questions.
If play involves dismantling the fabric, do not treat continued enthusiasm as a reason to keep offering it. For the separate shared-game task, see the tug play guide. The rope-toy condition guide covers the distinct problem of material coming apart or possibly being swallowed; making another knot is not proof that damaged material has become suitable.
Keep an alternative available
The RSPCA's dog-environment guidance calls for suitable objects for play and chewing, with enough resources for individual dogs. That general requirement is not an endorsement of every homemade object. Another appropriate activity may be a better next choice than repeatedly altering an uncertain craft item.
Use dog toy categories for a separate equipment decision, checking the actual item's instructions. This project summary provides no clinical, durability or performance guarantee, and does not replace an individual suitability decision.