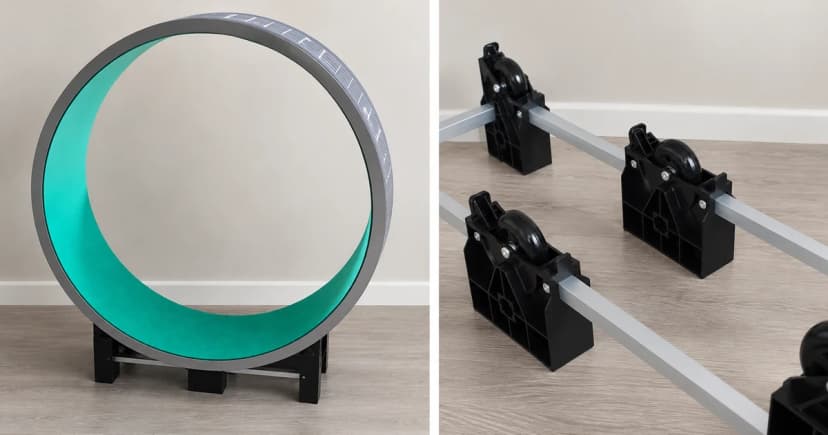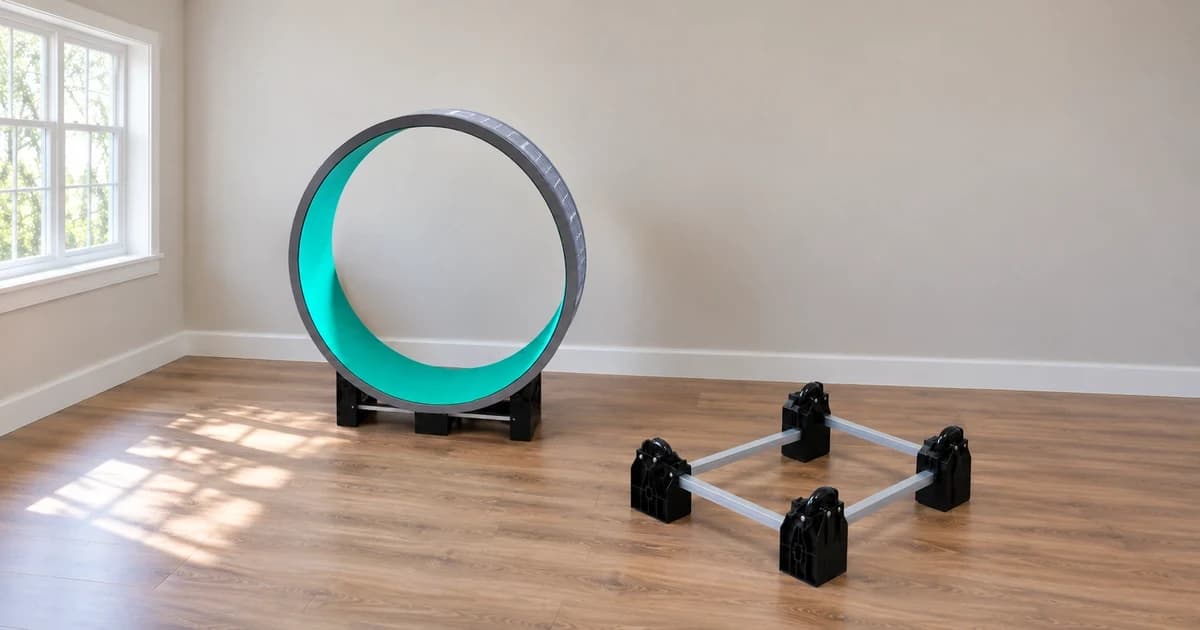
Knowing how to assemble and check a cat exercise wheel starts with matching every unpacked part to your exact wheel model and generation manual before joining a single piece. Keep three states strictly separate during cat exercise wheel assembly checks: (1) a visually assembled base and circular ring, (2) a completed hand-spun check of the unoccupied wheel on a flat floor, and (3) allowing your cat to approach the wheel. A wheel that stands upright still requires an empty spin and alignment check before cat use.
1. Match your wheel generation and hardware before building
Even within the same brand, base hardware and roller fasteners change across generations—which is why borrowing an older video tutorial can lead to overtightened rollers or damaged pins. One Fast Cat's generation-identification guide uses clip styles and base features to distinguish versions (especially important on secondhand wheels where a base may have been swapped). Compare the documented hardware differences between One Fast Cat Gen. 6 and Gen. 7 before you begin:
| Model generation & manual | Inline roller hardware | Base crossbar & side panel fasteners | Running ring & traction pad layout | Roller speed / resistance adjustment |
|---|---|---|---|---|
| One Fast Cat Gen. 6 (Gen. 6 assembly guide) | Each inline skate wheel mounts with an Allen bolt, steel washer, and silicone nut | Threaded rod and steel bar seat fully into both base panel sockets, finished with outer end caps | Side rings + center track sections; adhesive pads pressed progressively from one end to push out air bubbles | Adjustable via roller-bolt tension (speed-adjustment guide); over-tightening adds drag |
| One Fast Cat Gen. 7 (Gen. 7 PDF manual) | Inline wheels mount with smooth pins passing through the base panels | Steel crossbar secures with thumb screws into the base panels | Center track segments must face the same direction before snapping the second side ring; pads line the inner track | Not adjustable at the roller pin—never attempt to loosen Gen. 7 pins to alter wheel speed |
If you own a wooden or lock-equipped wheel from another brand, use that unit's exact parts diagram rather than transferring One Fast Cat fastener rules.
2. Follow the four-stage assembly and empty-wheel sequence
Work on a firm, level floor with enough room to walk around the full circumference of the ring:
- Stage 1 — Verify all unpacked parts against the diagram: Lay out the base panels, crossbars, inline rollers, bolts or pins, side rings, center track panels, and traction pads. Stop immediately if any fastener is missing or differs from your manual.
- Stage 2 — Assemble the base and seat the crossbar fully: Attach the inline rollers using the exact generation hardware (keeping balanced play on Gen. 6 Allen bolts, or seating Gen. 7 pins cleanly) and make sure the steel crossbar seats all the way into both side panel sockets before securing the caps or thumb screws.
- Stage 3 — Click the running ring together and apply traction pads: Join the center track sections facing the same direction, snap both side rings around the full circumference (checking both front and back seams so no joint is left half-engaged), set the completed ring onto the base rollers, and apply the traction pads smoothly edge-to-edge.
- Stage 4 — Perform the unoccupied hand-spin check: Before letting your cat near the room, spin the empty wheel by hand as directed in One Fast Cat's speed-adjustment and wobble troubleshooting guides. Watch that both rims track squarely on all four rollers without rubbing a wheel cover or lifting off a support.
3. Know when to stop and recheck instead of forcing the wheel
Never place your cat on an unlevel or catching wheel hoping body weight will press a seam into place, and never use roller-bolt tension as an improvised wheel lock:
| What you observe during assembly or empty spin | Required next action |
|---|---|
| Unpacked fasteners or base sockets do not match your printed manual | Pause assembly right away and verify the exact generation or replacement-part kit before joining panels. |
| A crossbar end or circular ring seam is not seated flush | Lift the ring off the base and re-seat the specific joint on a flat floor before spinning the wheel. |
| The empty wheel rubs a roller cover, catches mid-turn, or tracks off the rollers | Stop the check, keep your cat out of the room, and re-verify ring seam alignment and roller seating. |
| The base rocks or the wheel wobbles noticeably on thick carpet | Move the base onto a firm, level floor surface and check the generation's wobble checklist before cat use. |
4. Log your setup check and keep furniture care separate
Keep a short note with your manual recording the wheel generation, manual version, base and ring seam check, empty hand-spin result, any dedicated brake/lock instructions, and the date completed. When comparing Pawlivy's cat exercise wheels, check both exterior dimensions and interior running diameter alongside the assembly manual. For other cat furniture, use our separate cat-tree cleaning guide for surface care. This guide synthesizes published assembly documents without claiming hands-on load or noise testing; see our editorial policy.