Knowing how to clean a hamster cage without causing unnecessary stress comes down to three rules: separate frequent spot-cleaning from occasional full cleanouts, schedule any major cage work for a time when your hamster is naturally awake, and always hold back a portion of dry, unsoiled bedding so the habitat keeps its familiar scent.
Compare welfare schedules, then decide by cage condition
UK animal-welfare organizations distinguish small routine spot cleans from full habitat cleanouts. Their published intervals vary with enclosure size and whether your hamster uses a dedicated toilet corner:
| Source | Spot-clean interval & focus | Larger cleanout interval & context | Scent-retention rule |
|---|---|---|---|
| PDSA (Dec 2024) | Daily removal of wet or soiled bedding and uneaten fresh food, plus cleaning food and water containers. | Small cages may need a full clean weekly; larger enclosures may only need it every few weeks. | Keep a small amount of clean, dry used bedding and return accessories to their original spots. |
| Blue Cross (reviewed Mar 2023) | Remove soiled bedding and uneaten food every few days. | Usually once or twice per month, depending on cage size and whether the hamster toilets in one area. | Save about one-third of the old dry, unsoiled bedding to mix into the fresh layer. |
| RSPCA | Remove soiled bedding, food remains, and droppings every few days. | In most cases once or twice per month, scaled to enclosure size and toileting habits. | Retain some clean, unsoiled bedding so familiar scent markers remain. |
Note that Blue Cross and the RSPCA say “once or twice per month” (every two to four weeks), not once every one to two months. Rather than averaging those three tables into a rigid calendar, inspect the habitat when your hamster is awake and choose your action by what you see:
- Do a targeted spot clean today if: urine dampness is limited to the toilet corner or under the water bottle, or fresh food needs clearing from a stash, while the main substrate depth remains dry and odor-free.
- Do a larger habitat cleanout today (during waking hours) if: deeper substrate layers smell of ammonia, dampness has spread beyond the toilet zone, or the enclosure has reached its size-appropriate biweekly/monthly maintenance point.
Step-by-step hamster cage cleaning workflow
Whether you are doing a quick corner tidy or a full monthly cleanout, follow these four steps in sequence to protect your hamster's scent map and daily routine:
Step 1: Sort what comes out vs. what stays (for both spot and full cleans)
Wait until your hamster is awake in the evening or early morning—waking a sleeping hamster in the middle of the day increases stress and defensive biting. Check three categories of material:
- Wet, clumped, or smelly bedding: scoop out completely during both spot cleans and full cleans; never save urine-soaked material for scent.
- Perishable or spoiled food stashes: remove uneaten fresh vegetables or damp pellets from burrows and nests while leaving a small supply of dry daily ration intact.
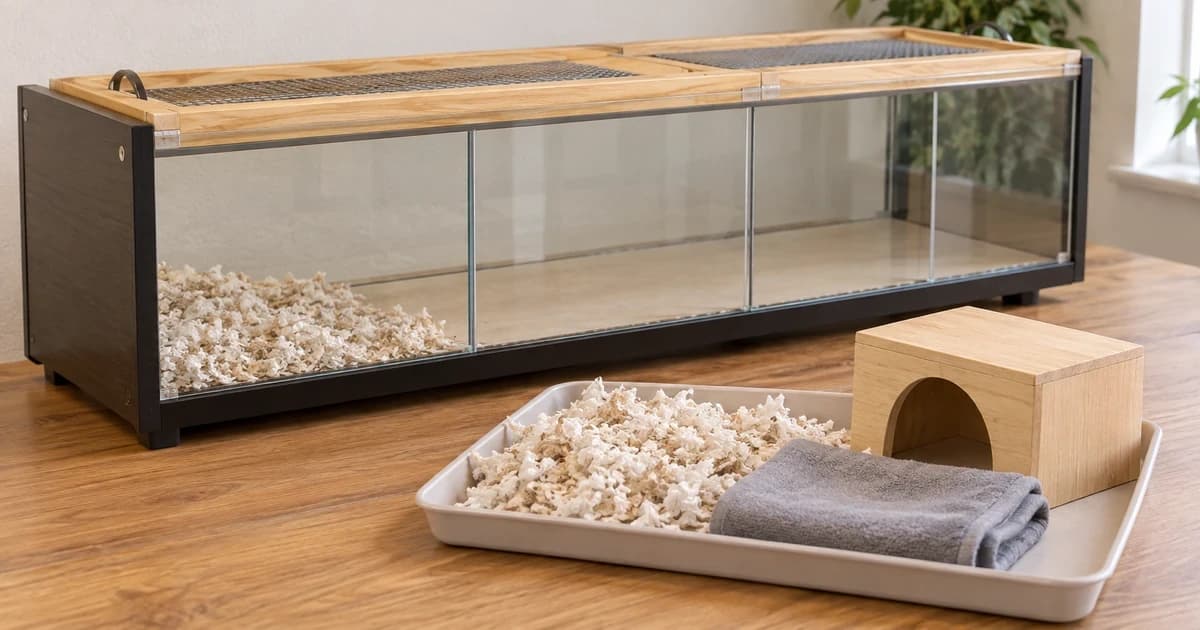
- Dry, unsoiled bedding and nest material: during a spot clean, leave it untouched in the cage; during a full cleanout, transfer a clean portion (up to about a third per Blue Cross, or a clean handful per PDSA/RSPCA) into a separate dry tub away from waste and sprays.
Step 2: Move your awake hamster to a safe carrier or supervised playpen (full clean)
For a quick corner spot clean, many hamsters can stay calmly in another part of the enclosure. Before stripping the habitat for a full cleanout, place your awake hamster into a secure small-pet carrier or a supervised, escape-proof playpen with a hide and some familiar bedding (Blue Cross). Take a quick mental note or phone photo of where the nest box, wheel, tunnels, and bowls sit so you can rebuild the exact layout later.
Step 3: Clean the base and accessories by material rules
Empty the remaining soiled substrate from the tray and sweep out dry dust. Check each accessory's material before washing: a molded plastic base tray or plastic exercise wheel can typically be washed with warm water and a pet-safe habitat cleaner, whereas unfinished wooden hides, bridges, and cork tunnels absorb water and should not be soaked unless their product label explicitly permits it. Follow your chosen pet-safe cleaner's label for dilution, rinsing, and air-drying, and never mix household bleach or scented floor cleaners into small-pet housing.
Step 4: Dry completely, rebuild the familiar layout, and return your hamster
Verify that the base tray, joints, wheel spindle, and hides are bone-dry before refilling. Add fresh, dust-extracted hamster-safe bedding to the depth required for burrowing, then blend or layer your reserved dry, unsoiled bedding back into the nest and surface areas. PDSA advises placing the nest, toys, and bowls back in their original positions so your hamster's spatial map and scent trails remain intact. Check that the water bottle spout flows without dripping and that all cage latches lock securely before returning your hamster.
Pre-return completion checklist
- Hamster was awake before handling and stayed in a secure carrier or supervised playpen during full-clean steps.
- All wet bedding and spoiled fresh food stashes were removed; dry unsoiled bedding was kept separate from cleaning sprays and returned.
- Washed trays, wheels, and accessories were rinsed and dried completely before rebedding.
- Nests, hides, wheel, and bowls were returned to their original positions, and cage doors/clips were latched shut.
When comparing hamster habitats, look for deep, removable base trays and clear component care instructions alongside floor area. For exercise wheel selection and back-posture clearance, see our wheel-sizing guide, and review our editorial policy for how we attribute welfare sources.