If you are working out how to set up a hamster cage—or how to set up a hamster cage before arrival—complete the entire habitat before bringing your hamster home: choose a quiet indoor spot, assemble the exact enclosure model, add deep burrowing bedding, position a dark nesting shelter away from water drips, fit a solid-surface wheel, and verify every door and lid closure.
This six-step sequence prepares a habitat for a single hamster, starting with an enclosure whose floor space and base depth you have already checked. Our hamster-cage dimensions guide covers that sizing step first; the guide below turns your chosen enclosure and accessories into a ready-to-use layout.
1. Choose the position before filling the enclosure
PDSA's hamster care guide recommends a quiet, calm room away from noisy household appliances, vibration, draughts, and direct sunlight. Settle the empty cage in that spot before adding heavy substrate and accessories.
The RSPCA's hamster environment guide likewise calls for a dry indoor location where a nocturnal hamster can sleep undisturbed during the day, with steady room lighting and distance from televisions or vacuum cleaners.
Set the cage on a level, fully supported surface and leave clear hand access around all top and front doors for daily care.
2. Assemble and check the empty enclosure
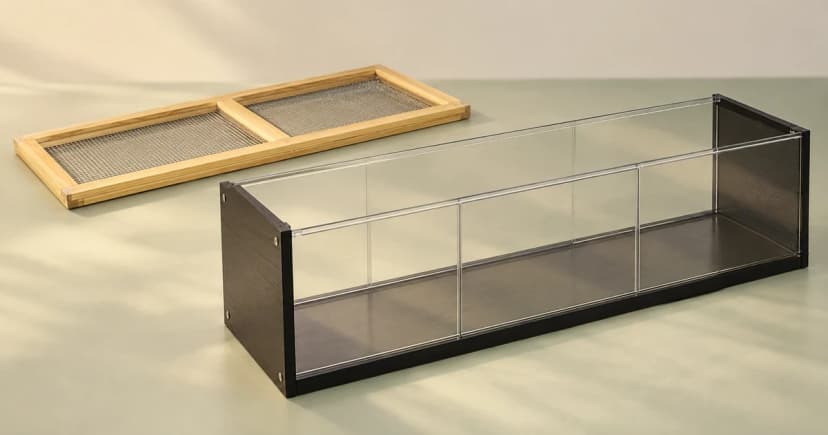
Unpack all supplied panels, clips, and trays and compare them against the assembly manual for your exact model and revision. Fit the base, walls, top mesh or bars, and latches in the documented order, then test every door and lid while the enclosure is still empty.
If a latch, clip, or panel is missing, pause move-in rather than improvising a lid weight, cutting into household furniture, or drilling holes into plastic. Any wheel, hide, or bottle bundled in a starter kit still needs its own size and suitability checked separately.
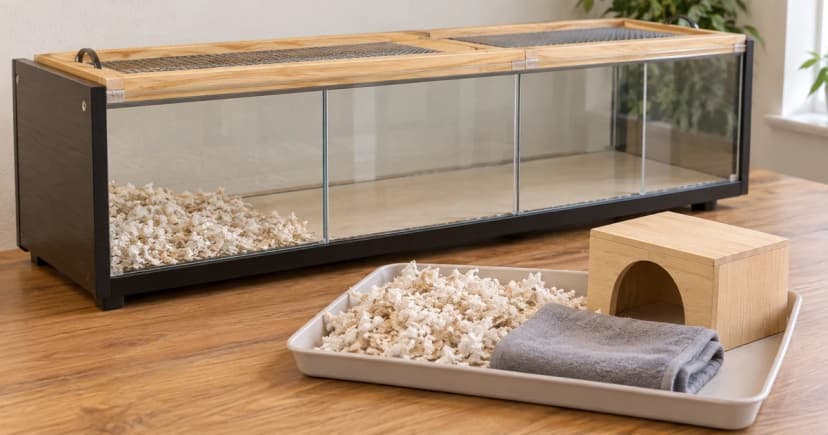
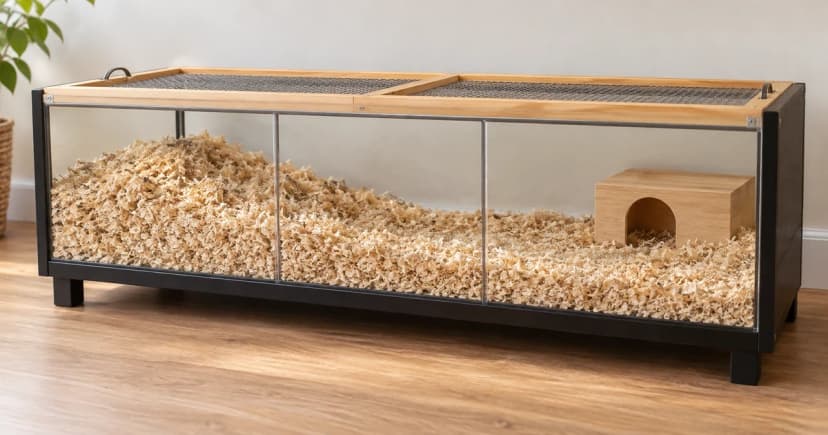
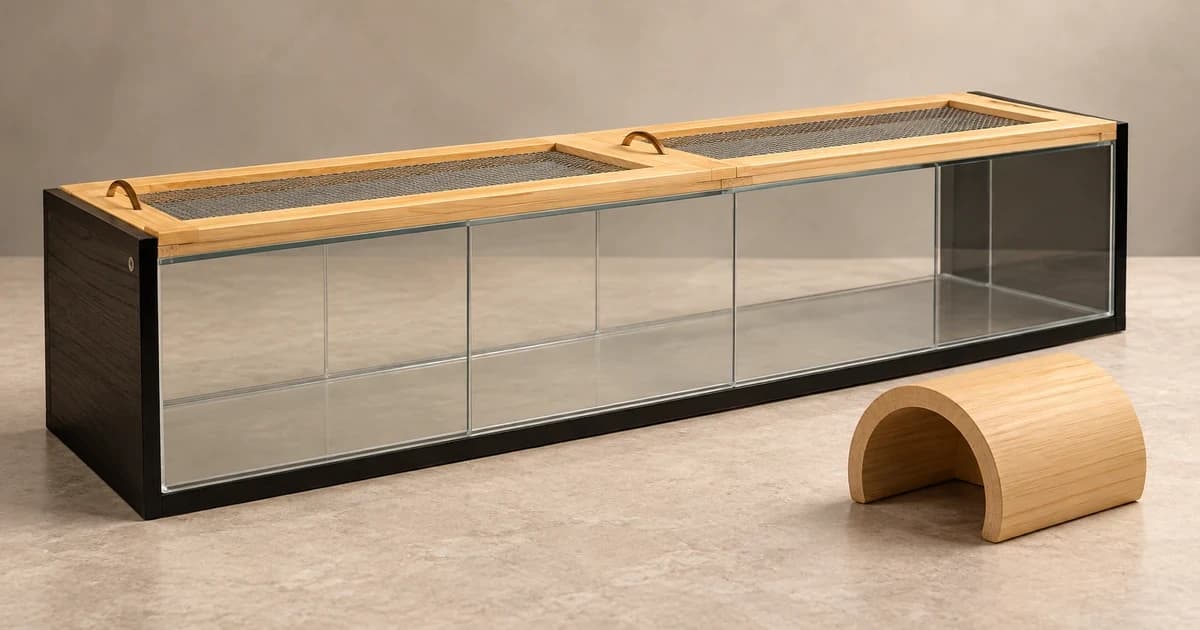
Blue Cross favours glass or tank-style enclosures topped with a secure mesh lid so deep digging substrate stays inside. The RSPCA page instead describes barred or mesh sides with a deep plastic base. Keep those construction notes tied to each charity rather than assuming a cage holds deep bedding just because it looks similar in a photo.
3. Add the burrowing bedding using a stated approach
Distinguish deep burrowing substrate in the main base from soft, loose nesting material near the sleeping shelter. Compare the two welfare charity benchmarks below alongside your cage's actual tray depth rather than averaging the two numbers into a new figure:
| Welfare source & date note | Stated bedding depth | Documented material examples & purpose |
|---|---|---|
| PDSA (December 2024 guide) | At least 25 cm of bedding. | Calls for substrate that holds burrows and names paper-based bedding as an option that can be used on its own; nesting material is placed outside the nest box for the hamster to arrange. |
| Blue Cross (March 2023 review) | At least 20 cm of digging bedding. | Recommends dust-extracted options including paper-based, wood-pulp, and hemp bedding (keep attributed to Blue Cross; do not average 20 cm and 25 cm or attribute either figure to the RSPCA). |
If your enclosure's base tray or door sill cannot hold your chosen bedding depth alongside the wheel and water bottle without blocking doors or burying the wheel rim, pause and adjust the enclosure or layout before move-in—never bury an air vent or jam a door shut with substrate.
4. Establish the resting place and an accessible route
The RSPCA calls for a dark, multi-room or enclosed shelter with enough space to rest, store food, and turn comfortably. Place the nesting shelter well away from the water bottle or bowl so a dripping spout cannot soak the sleeping area, and keep the shelter entrance unobstructed.
Following PDSA's guidance, set safe, unscented paper nesting strips outside the shelter entrance so your hamster can carry them inside to build a nest.
Maintain a clear surface path connecting the nest entrance, exercise wheel, and water station. Our hamster enrichment guide covers additional tunnels and foraging items you can rotate later.
5. Fit the wheel and prepare the water equipment
Blue Cross specifies an upright wheel with a solid running surface (never open rungs or mesh) and notes that small wheels bundled with commercial cages are often too small. Check our wheel-sizing guide to select a diameter that lets your hamster run with a level, uncurved back.
Mount the wheel on its freestanding base or cage bracket so the drum spins freely without rubbing against deep bedding or the mesh lid.
For hydration, PDSA specifies a valved metal-spout water bottle providing constant access to fresh water,
while Blue Cross permits either a water bottle or a heavy, shallow water bowl refreshed daily. Fill and test the spout or bowl position before your hamster arrives.
Schematic layout check: top-down zones and cross-section clearances
| Habitat zone (top-down & profile check) | Placement & depth relationship | Conflict to rule out before move-in |
|---|---|---|
| Deep burrowing zone (cross-section) | Filled to your chosen welfare benchmark (PDSA ≥ 25 cm or Blue Cross ≥ 20 cm) within the solid base wall permitted by the enclosure model. | Substrate must not spill through low door openings, block top mesh airflow, or bury the bottom of the spinning wheel. |
| Dark nesting shelter & loose nesting strips (top-down) | Positioned in a quiet corner with an open doorway and dry paper nesting material placed nearby outside the entrance. | Must sit outside the drip zone of the water bottle or bowl, and any heavy hide must be supported stably so burrowing underneath cannot cause a collapse. |
| Solid-surface upright wheel (profile & top-down) | Mounted on its stable stand or bracket with clearance above the substrate and below the roof mesh. | Spin the wheel by hand after adding bedding to verify that substrate mounds do not jam the drum. |
| Water bottle / bowl & care access path | Positioned at a reachable height away from the nest box, with a clear walking route across the surface and unobstructed caregiver access through the main door/lid. | Verify the spout releases water when tapped and does not leak onto surrounding bedding. |
6. Complete the pre-arrival check and layout record
Close and latch every door and lid as instructed once the interior is arranged, and save this pre-arrival record alongside your enclosure manual:
- Enclosure & equipment identity: exact cage, wheel, hide, and water equipment models, with all latches verified.
- Bedding benchmark & tray permission: substrate material used, the welfare guide selected (PDSA 25 cm or Blue Cross 20 cm), and whether the cage base accommodates that depth cleanly.
- Zone clearances: dry separation between the nest box and water source, free wheel rotation above the bedding, and usable door access.
- Unresolved layout items & routine supplies: any wheel-height, substrate-guard, or bottle-bracket adjustment to finish before pickup, plus the familiar food needed for move-in day.
Once your hamster is settled, use our hamster-cage cleaning guide for spot-cleaning and bedding-retention routines. You can also compare enclosure styles in our hamster habitats category. (PDSA's cited guide is dated December 2024; Blue Cross shows a March 2023 review date and a March 2026 scheduled review marker.)