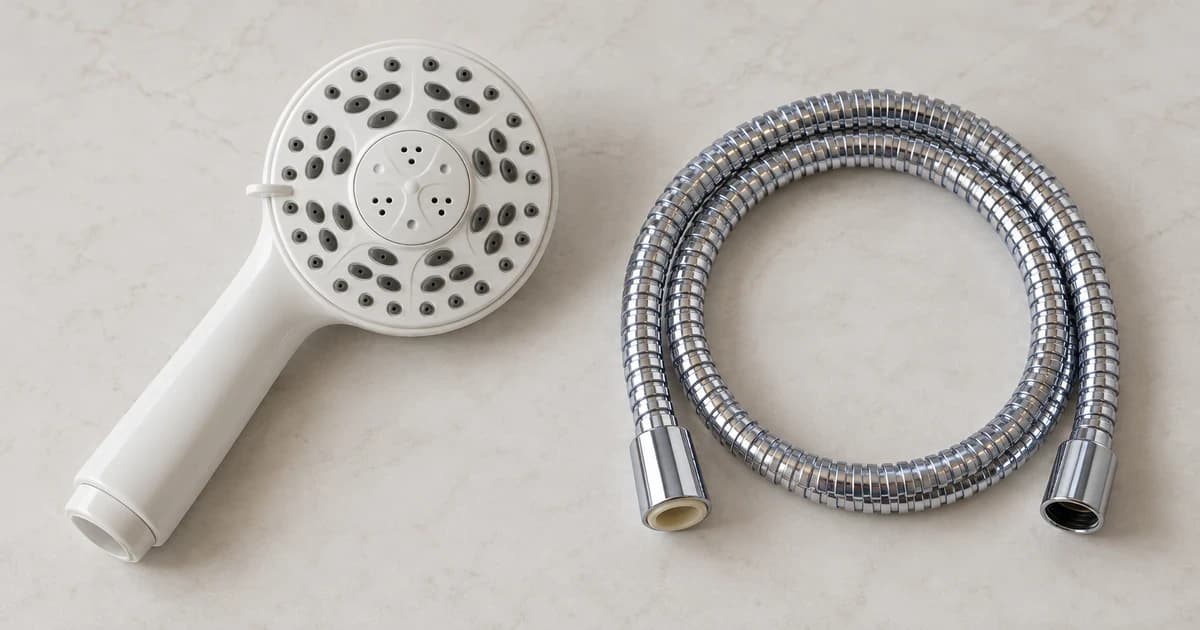
Connect a pet bath sprayer only after matching the exact kit, water-supply fixture and parts required at each connection. Identify the shower pipe, existing handshower outlet, faucet or outdoor supply first; then follow the instructions for that kit and configuration. A familiar-looking hose end does not establish compatibility.
The named documents illustrate different connections, rather than provide a universal installation sequence.
Identify the kit before selecting an adapter
Keep the sprayer's model, version and region together with its supplied hose, connectors and instructions. If parts came from separate purchases, record each item separately. A replacement hose with the same general appearance is still an unconfirmed component until its specification and permitted use are established.
Describe the intended supply in ordinary terms: a fixed showerhead on a pipe, an existing handheld-shower connection, a sink faucet or a garden hose. These describe different arrangements. Do not select an adapter simply because a listing says “bathroom” or “universal.”
Where the fixture or connector cannot be identified, keep that entry unresolved and ask the relevant maker. This article supplies no thread standard, pitch, pressure limit or substitute fitting for an unknown setup.
Keep these three documented examples separate
The 2017 Waterpik Pet Wand PRO PPR-252 guide distinguishes an outdoor adapter on a garden hose from an indoor diverter between the shower pipe and existing head. Its supplied hose connects to the diverter, with the yellow-tagged end assigned to the wand.
Its troubleshooting table treats connections separately: it checks washers at the diverter and hose, while its pipe-tape condition concerns a metal showerhead connector. That is not permission to tape every joint. Its instructions about tools also vary by connection.
The 2022 Pet Wand PRO Deluxe Edition PPR-255E guide is a different revision and model. It identifies the wand's yellow-tagged hose end and includes a separate notice about a vacuum breaker, if supplied: the labelled end belongs at the shower bracket. The notice says reversed installation can prevent flow.
Do not remove a device or assume the earlier model's wording resolves an unfamiliar hose. The same guide describes pause as reducing water to a trickle; pause is not evidence that the supply has been turned off.
The Rinse Ace K6011 instruction sheet, published by Ginsey Home Solutions in 2014, contains separate faucet and shower modules. Its faucet module distinguishes outside and inside aerator threads and assigns different supplied washers. Its dedicated hose connection uses matching tabs and notches, followed by the specified locking movement.
The shower-connector module is another arrangement. It describes a hose that must be detached to resume flow through the fixed showerhead. Use the complete matching module; a similar-looking quick connector is not a substitute. This externally hosted, older sheet does not identify every current pet-sprayer SKU or regional version.
Make a record for every connection
List the route from the water supply to the spray head before assembly. Give each joint its own line, even when two ends look alike. The useful question is what those particular two parts require where they meet.
| Record field | What to identify | Keep unresolved when missing |
|---|---|---|
| Parts meeting here | Exact supply outlet, supplied connector, hose end or spray head. | Unknown model, version or mating-part identity. |
| Matching instruction | Document code and the diagram or section for this joint. | A general product description without the installation detail. |
| Seal and assembly conditions | The specified supplied parts and permitted tightening method. | Unconfirmed washer, sealant or tool requirement. |
| Direction and controls | Any end label, connection direction and supply-off instructions. | An assumed direction or a pause control mistaken for isolation. |
Keep conditions with their connection instead of copying a note such as “use tape” across the whole record. Likewise, an instruction for a swivel nut does not automatically apply to a plastic hose coupling. Do not combine separate manufacturers' instructions into an improvised assembly method.
Resolve missing parts before running water
Compare the complete kit and its condition with the matching instructions. If a connection will not engage as its instructions describe, do not force it to produce a completed-looking joint.
For the identified, matched equipment, follow the maker's instructions for assembly, the first water-flow check and supervision. Keep this equipment check separate from bathing an animal. Record what you can actually observe, including the precise joint where water appears; do not convert an apparently dry moment into a pressure rating or long-term leak guarantee.
If something does not behave as described, use the matching instructions for stopping the supply and handling the equipment. A generic remedy involving more tape, a wrench, lubricant or an internal part is not established by an unrelated product's troubleshooting table.
Keep disconnection and storage in the same record
Find the kit's supply-off and detachment instructions before relying on its controls. A spray setting, diverter position and supply control serve different purposes. Do not treat the absence of a strong spray as confirmation that a hose can be disconnected.
Retain the supplied end labels and required components when storing the kit. Recheck the record after changing the hose, connector, fixture or sprayer. The previous comparison describes the previous combination.
Our bath tubs and sprayer attachments category provides a place to compare related equipment. Request missing model and connection information rather than infer it from a photograph or listing title. Our editorial policy explains that distinction between published instructions and observations.