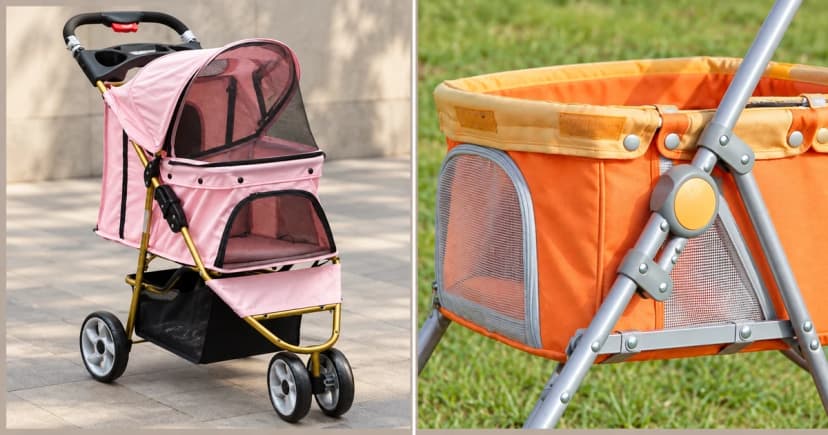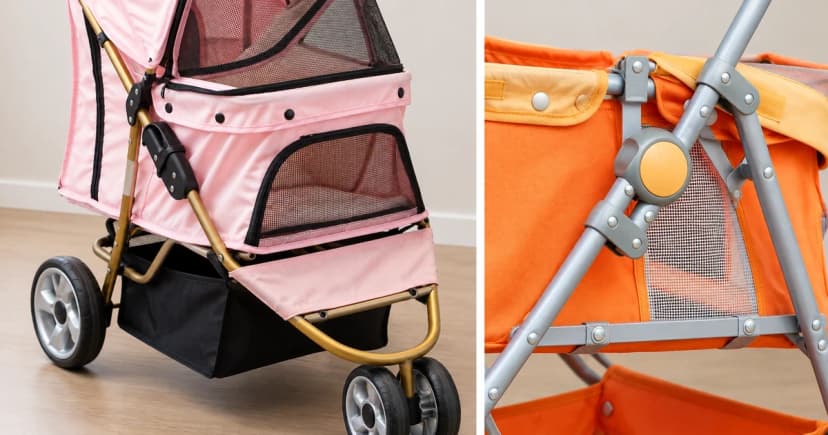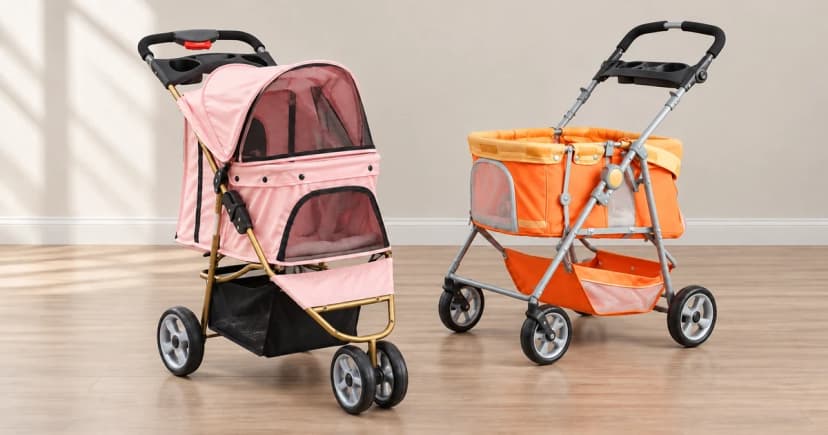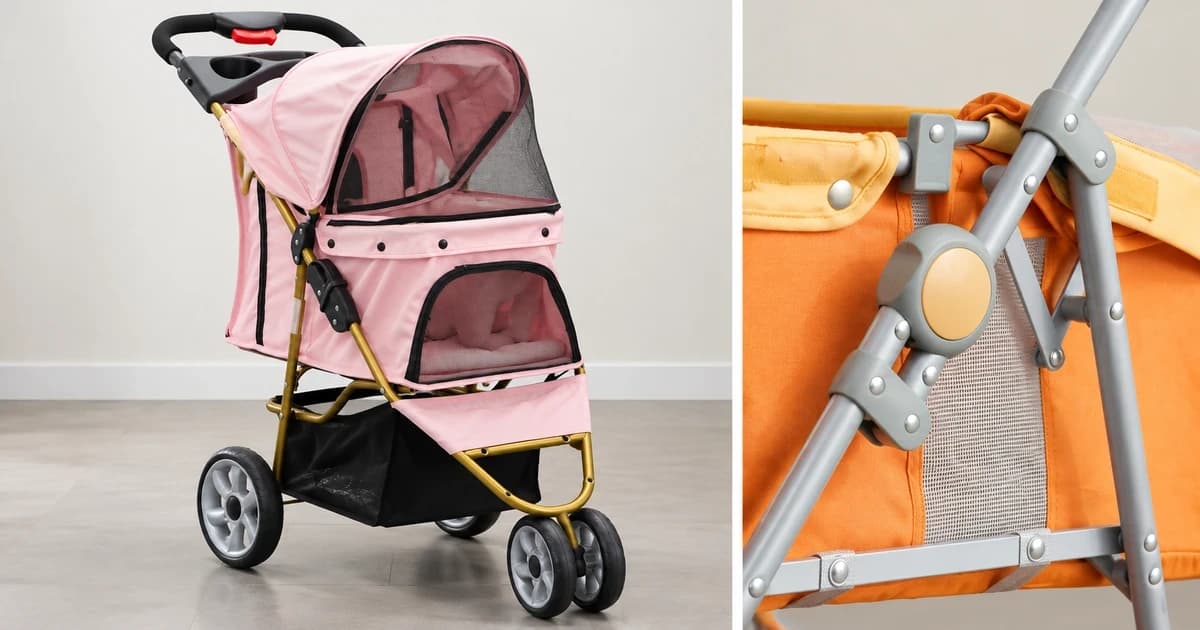
Knowing how to fold and store a pet stroller safely means following your exact model's manual stage by stage—from cabin and canopy preparation through frame release to the final resting position—while the stroller is completely empty and your pet is kept away from moving hinges. Even within a single brand, canopy position, handlebar buttons, and side latches work in different orders.
The three Pet Gear instruction manuals compared below show why a generic “press the handle button and fold down” rule fails across models. Keep your unit's original diagram pages open beside the stroller rather than relying on a generic product photo.
Check the full folding sequence before moving the frame
Match your stroller's model tag to the exact PDF manual and read every folding page through to the final storage diagram before unlatching anything. Remove your pet, cushions, and loose gear from the cabin and storage basket first; all three manuals warn to keep pets clear of moving frame parts during adjustments.
Stage-by-stage manual navigation across three Pet Gear models
Use the reference table below to locate the exact page, figure labels, canopy position, and frame controls in each named Pet Gear manual without mixing steps across models:
| Pet Gear Model & Manual Reference | Stage 1: Cabin & Canopy Preparation | Stage 2: Labeled Frame Release Controls | Stage 3: Folded Endpoint & Storage Rule |
|---|---|---|---|
| No-Zip Excursion PG8650NZ (Page 8, Figures P–R) | Empty stroller; press the buttons at both ends of the handlebar to fold the handlebar down first. | Lift the hooked portion of the side latch until it releases; let the frame sides fold inward and push the stroller forward per Figures P–R. | Rests in the folded position shown in Figure R; page 8 does not add a separate storage-catch locking step—do not import one from another model. Store in a clean, dry place with no heavy items on top. |
| Special Edition PG8250 (Pages 5–6, Labeled Controls C & D) | Empty stroller, unzip the compartment, and open the canopy before touching the frame release. | Coordinated two-control action: slide secondary frame release C to the right and rotate the folding mechanism forward (prose notes almost 180°; page 6 diagram labels 180°) while squeezing main release D. | Frame releases and handle lowers to the page 6 endpoint; store in a clean, dry area without stacking heavy objects on the frame. |
| Happy Trails Lite No-Zip PG8030NZ — Page 7 (Compartment Stage) | Page 7 Compartment Stage: unlock the front latch, open the canopy, and unwrap the hook-and-loop flaps from the side frame tubes on both sides. | Lift to unclip the compartment from the frame bars and raise the compartment as shown on page 7 (latch stays unlocked, canopy stays open, flaps stay unwrapped). | Completes cabin unclipping only; proceed directly to Page 8 rather than removing the cabin completely or forcing the frame with the canopy open. |
| Happy Trails Lite No-Zip PG8030NZ — Page 8 (Frame-Folding Stage) | Page 8 Frame Stage: lock the wheel brakes and close the canopy before releasing the frame hinges. | Stand behind the stroller, lift both side latches simultaneously, and fold the frame as illustrated on page 8. | Engage the frame locking latch and verify that the wheels sit astride the frame without pressing against the frame tubes (pressing damages tires). Store clean and dry with nothing heavy on top. |
Compare the documented sequences without combining them
Notice how each model assigns different jobs to the canopy and latches at specific moments:
PG8650NZ: handlebar end buttons followed by the hooked side latch
On page 8 of the No-Zip Excursion PG8650NZ manual, the sequence starts at the handlebar end buttons, then moves to lifting the hooked part of the side latch so the sides fold inward before pushing forward (Figures P–R). Because page 8 lists no secondary storage-latch hook at the end of the fold, never add bungee cords or force an unrelated catch.
PG8250: open canopy first, then coordinate controls C and D
Pages 5–6 of the Special Edition PG8250 manual require unzipping the cabin and opening the canopy before operating the handle mechanism. You must slide the secondary release labeled C to the right and rotate the folding mechanism forward while squeezing the main release labeled D until the frame releases and the handle lowers. Keep pages 5 and 6 together so you do not treat PG8250 as a single-button fold.
PG8030NZ: why Page 7 says “open the canopy” and Page 8 says “close the canopy”
In the Happy Trails Lite No-Zip PG8030NZ manual, “open the canopy” and “close the canopy” belong to two consecutive stages. On page 7, you unlock the front latch, open the canopy, unwrap both hook-and-loop side flaps, and lift to unclip the compartment from the frame. On page 8, you lock the brakes, close the canopy, stand behind the stroller, lift both side latches, fold the frame, and engage the locking latch—making sure the wheels rest astride the frame so they do not press into the metal tubes and deform the tires.
Keep a personal stage checklist with your manual
When recording the folding steps for your own stroller, log three distinct checkpoints and stop immediately if a part resists movement:
| Stage to identify | Record from your exact manual | Condition that requires stopping |
|---|---|---|
| 1. Cabin and canopy setup | Page number, zipper/latch state, hook-and-loop flaps, and whether the canopy is open or closed in this stage. | Fabric panels, clips, or canopy ribs sit across the hinge path where the frame needs to fold. |
| 2. Frame release and rotation | Exact lettered or pictured controls (such as C/D sliders or dual side latches) and standing position. | A lever on your unit does not match the diagram or requires forcing/lubricating to move. |
| 3. Final lock and wheel posture | Locking catch engagement (if equipped) and required wheel clearance around the folded tubes. | Tires press tightly against frame bars or the folded frame needs an improvised strap to stay shut. |
Choose the storage spot as carefully as the fold
All three Pet Gear manuals specify storing the stroller in a clean, dry place and never stacking heavy objects on top of the folded unit. Pick a storage space where the folded frame rests in its documented posture without squeezing the wheels out of alignment or lifting the unit by a part not designated as a carry handle.
When you are ready to use the stroller again, follow our pet stroller unfolding guide for pre-load frame, brake, and cabin checks rather than simply reversing the folding steps. You can compare models across our pet strollers and dog travel categories, and review our editorial policy on how we cite manufacturer manuals.