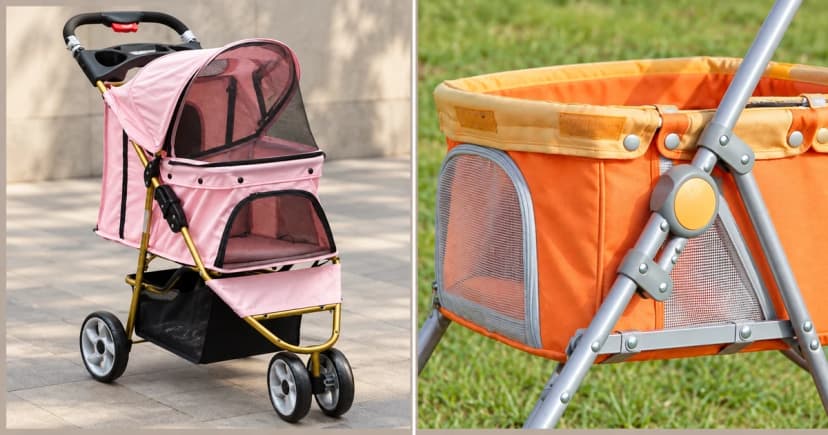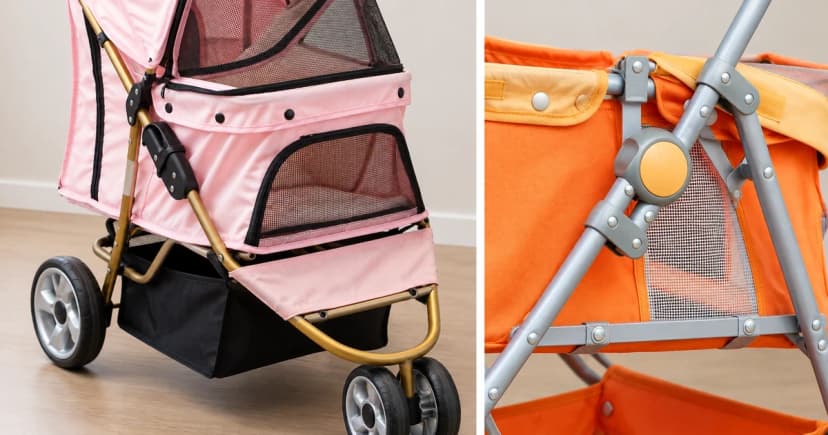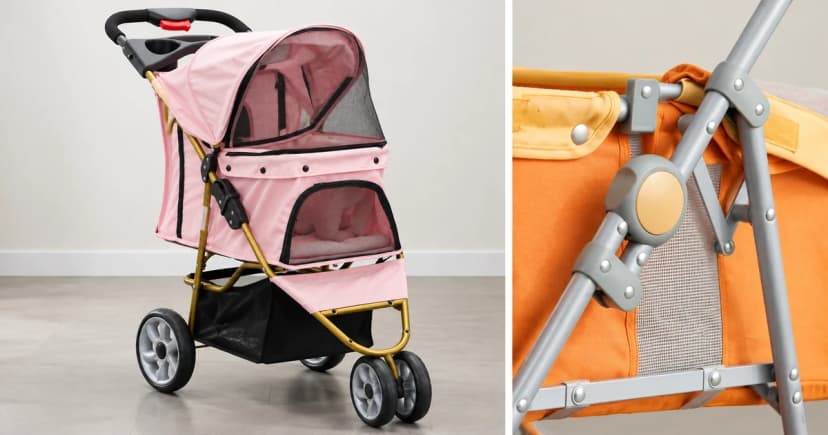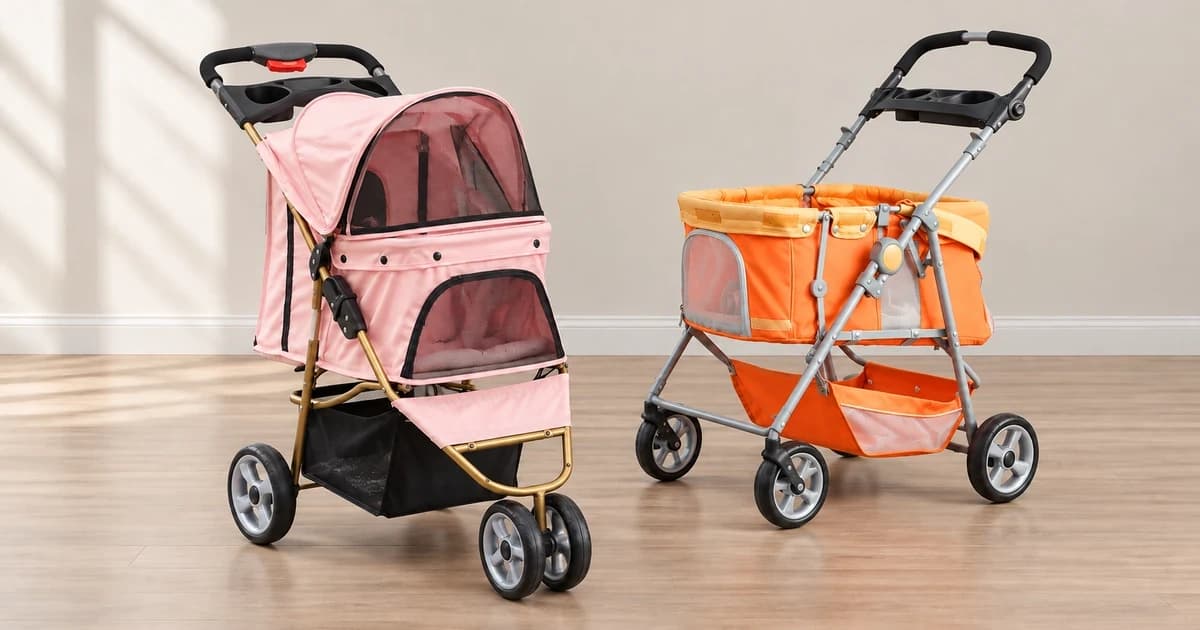
Knowing how to unfold and check a pet stroller before loading means treating four mechanical states as separate checks while your pet remains in another room: (1) releasing the folded storage catch and opening the frame, (2) engaging every required side or frame lock, (3) verifying wheel retention, front swivel controls, and rear parking brakes, and (4) fastening all compartment-to-frame clips and canopy closures. An open canopy or upright handlebar silhouette never proves that the frame locks or wheel pins are secured.
1. Compare model-specific unfolding, wheel, and brake mechanisms
Even within the same manufacturer line, unfolding sequences and wheel hardware differ substantially. Compare the published manuals for three Pet Gear models before touching levers on your own stroller:
| Pet Gear model & manual | Storage latch & frame-lock sequence | Wheel installation & retention check | Compartment-to-frame & canopy fastening | Front swivel lock vs. rear parking brake |
|---|---|---|---|---|
| Pet Gear Special Edition (PG8250) | Release the side locking latch, pull the frame open until both side frame locks snap into place. | Rear wheels secure onto the axle using washers, cotter pins, and hub caps plus axle bracket retention checks. | Secure the carrier compartment onto the frame bars before closing the canopy. | Rear brake: Push both rear wheel levers down to lock, lift up to release. Front swivel note: Page 5 text and diagram arrows conflict on up/down direction—test wheel swivel while empty before relying on it. |
| Pet Gear Happy Trails Lite No-Zip (PG8030NZ) | Release the folding locking latch and unfold the frame until both frame locks snap into place. | Follow model wheel-insertion steps and verify each wheel stays locked on its axle when pulled. | Attach compartment base to frame, fasten the side fabric flaps around the frame tubes, and secure the front No-Zip latch. | Rear brake: Push levers on both rear wheels down to lock, lift up to release. |
| Pet Gear No-Zip Excursion (PG8650NZ) | Install wheels first, stand on all four wheels, pull handle up to open, and straighten both side latches until engaged (handle-height buttons do not lock the frame). | Push-button lock/release wheels; pull outward on each installed wheel to confirm the retention pin is locked. | Front No-Zip canopy latch and rear entry door each have independent release buttons and closures. | Front swivel lever: Down for locked straight, up for 360° swivel. Rear brake: Apply whenever parked (manual text omits lever-direction arrow—verify by testing rear wheel hold while empty). |
2. Five-step empty-stroller inspection order before loading
Work through these five checks in order on a flat, clear floor before bringing your dog or cat near the entrance:
| Inspection step (in order) | What the control does | What to verify on the empty stroller |
|---|---|---|
| 1. Storage catch release | Holds the folded frame closed during storage. | Confirm the storage hook is fully unlatched and clear of fabric before pulling the frame open. |
| 2. Left and right frame locks | Prevent the opened stroller frame from folding under load. | Verify visually and by hand that both left and right frame latches are fully snapped or straightened into locked position. |
| 3. Wheel retention & rear parking brake | Keep wheels attached to the axles and hold the parked stroller stationary. | Tug each wheel outward to confirm cotter pins or push-button locks hold fast; press the rear brake levers and push the empty frame lightly to confirm the rear wheels do not roll. |
| 4. Front swivel lock | Controls whether the front wheel pivots or tracks straight ahead. | Test which lever position allows smooth turning vs. straight tracking—never use a front direction lock as a parking brake. |
| 5. Compartment base clips & entry latches | Anchor the pet cabin to the metal frame and close the mesh openings. | Check underneath and along the sides that all frame clips or tube wraps are fastened before testing the top canopy latch or zipper. |
3. Know when to stop and keep the stroller empty
Never spray lubricant onto stiff brake levers or swivel locks—all three Pet Gear manuals explicitly exclude brakes and swivel locks from lubrication:
| What you find during the empty check | Required decision before loading |
|---|---|
| Unpacked wheel hardware or frame latches do not match your manual's diagrams | Keep the stroller empty and verify the exact model number and parts diagram before assembling. |
| A side frame lock, wheel pin, or under-compartment clip will not stay engaged | Do not load your pet; recheck for pinched fabric edges or unseated tubing and keep the unit out of service until every lock holds securely. |
| A front swivel lever or rear brake does not hold as expected (or manual arrows conflict, as on PG8250 p. 5) | Test the lever's mechanical effect on the empty stroller first; never rely on a front swivel tab to hold a parked stroller on a slope. |
| A cotter pin, washer, axle cap, or latch component is missing or bent | Set the stroller aside and replace the exact factory retention hardware rather than improvising with household fasteners. |
4. Check load limits and introduce your pet calmly
Record your stroller's model number, manual version, frame-lock check, wheel-tug result, and brake test date alongside the manual's maximum occupant weight limit. Once the empty stroller passes every mechanical check with the rear parking brake engaged, invite your pet in calmly—if you are helping a cat get comfortable with an enclosed cabin, follow our voluntary carrier-entry guide. When comparing pet strollers or other dog travel equipment, always check the model's exact assembly manual. See our editorial policy for how manufacturer manuals are cited.