To assemble a cat exercise wheel, first match the parts to the exact model's instructions. Build its base and running ring in the specified order, seat the ring on its supports, and complete the manufacturer's checks with the wheel empty. A wheel that looks finished still needs those checks before your cat approaches it.
The important difference may be hidden in the base. One Fast Cat's Gen. 6 uses adjustable roller bolts; Gen. 7 uses pins that do not provide the same adjustment. The examples below explain those named designs. Use your own manual for a different wheel, including a wooden wheel with a separate lock.
Identify the wheel before arranging its parts
Find the manufacturer's name, model or generation, and matching assembly document. Keep the parts diagram beside the unpacked components. Check the supplied fasteners, supports, ring sections and lining against that list before joining anything. If a part is missing or does not resemble the diagram, resolve that mismatch before continuing.
A secondhand wheel needs particular care. A seller's purchase date may be uncertain, and a replacement base can make the wheel appear to be a different generation. One Fast Cat's generation-identification guide uses clips and original base features, and asks for photographs of the running surface, base and back when identification remains unclear.
That page also contains inconsistent purchase-date wording. This guide therefore does not turn its dates into a generation table. The number of rollers or the wheel's color alone does not establish the right procedure for another brand.
Build a base that matches the hardware
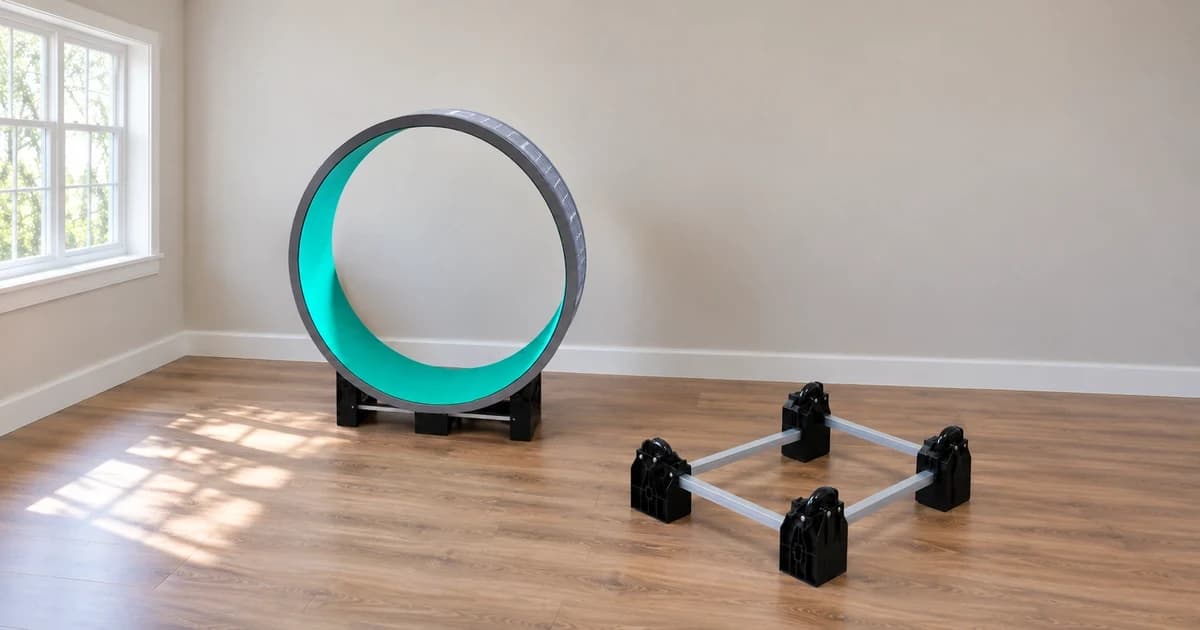
Choose a firm, level working area and follow the base sequence in the matched instructions. Account for the feet and supports as well as the crossbar: a complete ring cannot compensate for an incompletely seated base connection.
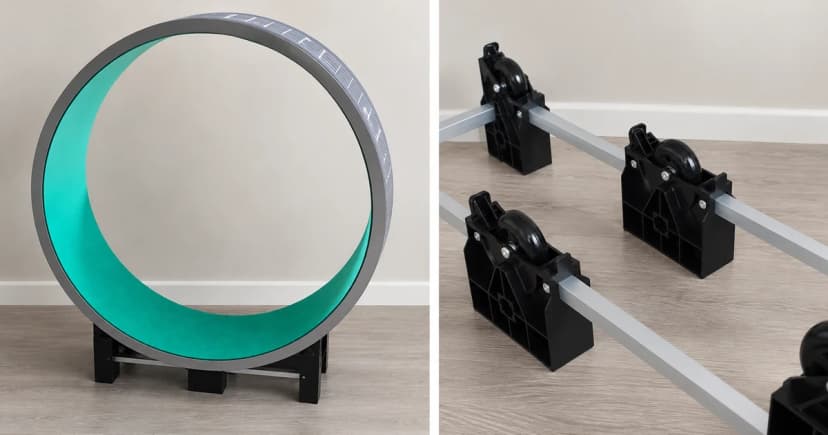
In the One Fast Cat Gen. 6 instructions, each inline wheel is held by an allen bolt, steel washer and silicone nut. The roller needs the amount of play described by the maker; simply tightening everything as much as possible can add resistance. The base panels connect through a threaded rod and steel bar, with caps at the outer ends. The bar must seat fully in both panel sockets before the connection can be completed.
The Gen. 7 assembly manual shows a different arrangement: pins pass through the inline wheels and base panels, while thumb screws secure the steel crossbar. There is no roller nut to loosen for a speed adjustment. Do not apply the Gen. 6 bolt procedure to those pins.
Keep each fastener with its intended joint. If the rod will not reach, a pin will not seat, or a connection requires a part absent from the diagram, pause and revisit that step. Avoid substituting hardware or modifying a socket to make an uncertain combination fit.
Seat the running ring and its lining
Follow the ring-building order separately from the base instructions. For the two One Fast Cat generations described here, the side rings and center sections form the circular running structure. Gen. 7 specifically shows the center tracks facing the same direction before the second side ring is snapped into place.
Work around the full circumference, checking every connection required by the manual. A connection hidden on the far side deserves the same attention as one facing you. If a seam is not engaged, correct its alignment before lowering the wheel onto the supports; its weight is not a method of finishing the joint.
Place the wheel so its rims sit on the intended inline supports, using the manual's diagram. Then apply the running pads in the specified order and position. Gen. 6 describes pressing adhesive pads progressively to reduce trapped air and aligning neighboring edges; Gen. 7 illustrates pads on the inner running surface. A different lining or attachment system needs its own directions.
Keep the model's instructions in control of the sequence. These examples do not establish how many supports, screws or lining pieces your wheel should have, or whether its lining may be trimmed.
Separate resistance adjustment from the first empty check
One Fast Cat's speed-adjustment guidance calls for checking the roll by hand before cat use. That is an owner action on the assembled, unoccupied wheel, not a test performed for this article.
For its older Gen. 1–6 wheels, the maker describes changing roller-bolt tension and keeping the adjustments balanced. Overtightened rollers can restrict movement. Gen. 7's pin-mounted rollers cannot be adjusted that way. Resistance adjustment is also different from a separate locking device: do not treat a tightened roller bolt as an improvised brake.
During the check specified for your model, watch how the ring sits on its supports and whether it contacts a cover or another part. Stop if the ring moves away from its intended supports, a joint remains uncertain, or movement is obstructed. Keep the cat away while investigating; adding the cat's weight will not clarify an unresolved assembly problem.
Use a stop decision instead of forcing a troublesome wheel
One Fast Cat's wobble guidance identifies soft or unlevel support as a possible contributor for its wheels. Its roller-bolt remedy belongs to the older designs. The maker's description of some normal wobble does not identify the cause of an unfamiliar wheel's movement or prove that a newly assembled unit is ready.
| What you notice | Next decision |
|---|---|
| Parts or base hardware differ from the manual | Stop assembly and confirm the model or replacement-part combination with the maker. |
| A base connection or ring seam is not fully seated | Return to that documented assembly step before checking movement. |
| The empty ring catches, contacts a cover or leaves its supports | Stop the check; revisit placement and the model's troubleshooting instructions. |
| The base shifts or rocks on its current surface | Review the maker's placement instructions and the supporting surface before further use. |
| A proposed fix involves loosening a pin or adding an improvised lock | Do not transfer another design's adjustment. |
Keep a blank setup record for your own unit
Complete this after following your manual. Leave an uncertain item unresolved rather than marking it complete because the wheel is standing.
Manufacturer / exact model or generation: __________
Instruction document / version: __________
Parts matched; missing or uncertain items: __________
Base connections and feet checked: __________
Ring joints and lining checked: __________
Required empty movement check / observations: __________
Separate lock instructions, if supplied: __________
Owner's check date: __________
Choose by instructions and usable details
When browsing Pawlivy's cat exercise wheels, look for the exact assembly document and clarify what a listed dimension measures. An outer product size does not tell you the inner running diameter, and a lock description does not explain its mechanism. Confirm those details before applying any named example in this guide.
For other cat furniture, keep each structure's setup and care instructions separate. Our cat-tree cleaning guide covers that equipment's surfaces, not a wheel's roller adjustment. This article draws on the linked manufacturer documents; it reports no hands-on assembly, load, noise or cat-use trial. Our editorial policy explains that source distinction.