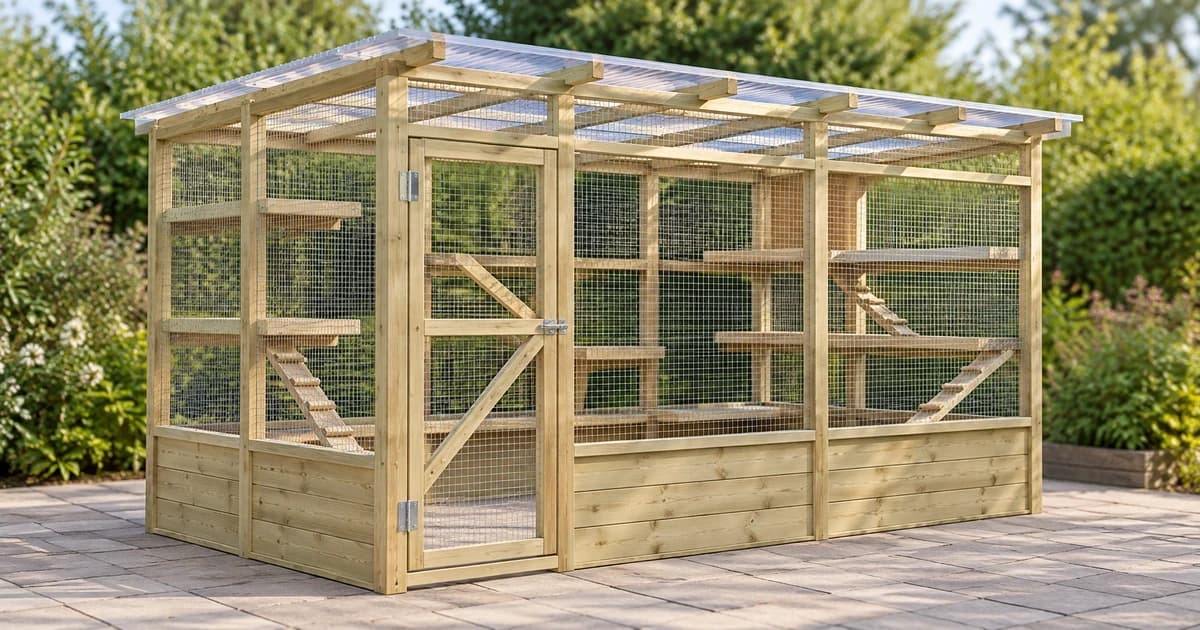
To build a catio, choose a complete plan that matches the available space and the route from your home, then follow that plan's materials, drawings and assembly instructions together. Work out the wall panels, roof, human entrance and any connecting tunnel before buying components. A finished enclosure photograph cannot supply the missing construction details.
The BC SPCA's four-page stand-alone catio plan provides a concrete example below. Use the complete document for its construction specifications; this guide explains its stages and the decisions to settle around them. Different sites and purchased kits need their own instructions.
Start with the site and the entrance route
Draw where the enclosure would stand and how a cat would reach it: an existing window, an existing cat door, or a proposed new opening. Record the available footprint and height, the location of the human entrance and the distance between the home and enclosure. Label measurements with their units. Include photographs of the actual location when asking the plan supplier about an adaptation.
Catio Spaces' public plan overview starts with location, space and access. It distinguishes window-box, three-sided and four-sided designs, including a separate enclosure with a tunnel. Those choices change which complete plan you need. The public overview describes what its plans contain; it does not provide their construction drawings or establish that a design fits your property.
| Your record | What it determines | Question to resolve |
|---|---|---|
| Location and measured space | Which plan's footprint and height you are considering. | Does that plan suit this actual surface and setting? |
| Home-to-catio route | Direct access or a separately planned tunnel. | Who specifies the connection to the building? |
| Human doorway | Where you enter to reach the interior. | Does the proposed layout leave the planned door usable? |
| Exact plan or kit version | The matching parts, diagrams and assembly sequence. | Are all instructions and unresolved specifications available? |
Keep unanswered structural, mounting and site questions for the plan supplier or appropriate installer. This record is a way to describe your project, not a foundation, fixing or weather-load design.
Understand the BC SPCA stand-alone build sequence
Read all four pages of the BC SPCA stand-alone catio and tunnel plan before choosing its example. The document identifies its measurements as examples and notes that houses may not be straight, square or level. A changed footprint therefore needs more thought than scaling a photograph.
- Lay out the enclosure. Establish the intended location and dimensions, then use the plan's component drawings and shopping list together.
- Make the wall panels and entrance provision. Its sequence constructs front, back and side walls, with a separate framed opening where the optional tunnel would meet a wall. Resolve that position before covering the panels.
- Add the mesh and join the enclosure. The plan covers the individual walls before joining the four wall assemblies into the frame. Its specified mesh and attachment details belong to this design.
- Fit the roof and human door. The next stages cover the frame and fit the hinged, latched doorway. Consult the original door drawings and notes as part of the build, rather than guessing hardware placement from the illustration here.
- Build a tunnel only if it is part of your route. The separate tunnel section addresses its walkway, supports, mesh and connections at both ends. That is an additional construction job, not an opening left to improvise afterward.
Keep the original material and tool lists beside the relevant drawings. Do not replace a specified roof or mesh with an attractive-looking alternative and assume the connections remain suitable.
Resolve the tunnel and house connection before building
A separate enclosure needs a documented route all the way to the home. Record the actual distance, entrance height and proposed connection points. The BC SPCA example includes a supported walkway and brackets, but its drawing cannot identify the construction of your wall or specify suitable fixings for it.
There is also an unclear material dimension to settle if using that tunnel example: page three prints its deck-board size as “5/6 x 6 inch.” Ask the source or the person specifying the work to clarify it before purchasing. Do not silently substitute a more familiar fraction.
For a new cat-door opening, the BC SPCA document calls for a qualified contractor to inspect the proposed location and install it. Prepare the exact door and mounting-material information using our cat-door fitting guide. Once fitted, microchip-door enrollment and access modes are a separate equipment task.
Use a purchased kit's own revision and instructions
A kit is another route, but its instructions cannot be assembled from a timber plan. Omlet's catio support center lists separate manuals for WIR MK3 and WIR MK2, with the latter identified as pre-June 2023. Match the actual product before selecting the manual or extension instructions. The support index is not itself the complete assembly procedure.
The same support page distinguishes its tunnel product from attaching an enclosure directly to a house. For direct attachment it says there is no ready-made solution and points the owner to a specialist. Do not turn the availability of a tunnel accessory into confirmation of your proposed building connection.
Keep the project documents together
| Keep with the project | Use it for |
|---|---|
| Complete named plan or matching kit manual | Component drawings, materials, tools and assembly order. |
| Your measured site and access sketch | Questions about layout changes, the doorway and any tunnel. |
| Written specification clarifications | Resolving ambiguous dimensions and proposed substitutions. |
| Installer's connection details | The actual building and site work the general plan cannot settle. |
A category listing or this edited illustration does not establish stock, plan equivalence or suitability for your site. Begin construction with the complete instructions and the unresolved specifications answered. Our editorial policy explains how we handle sources and corrections.