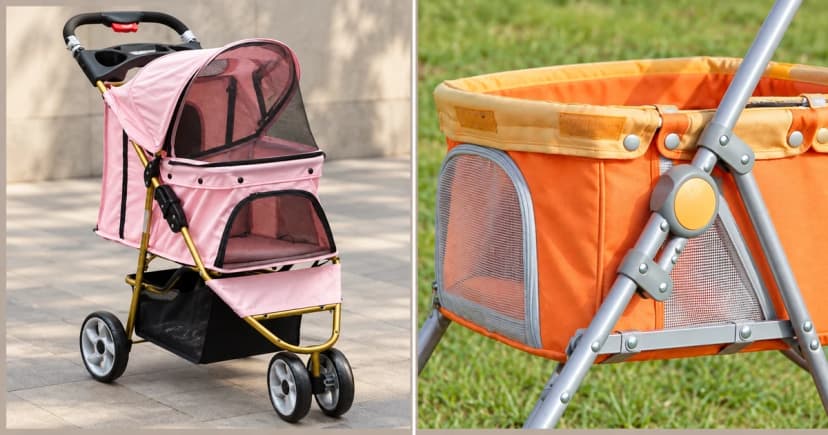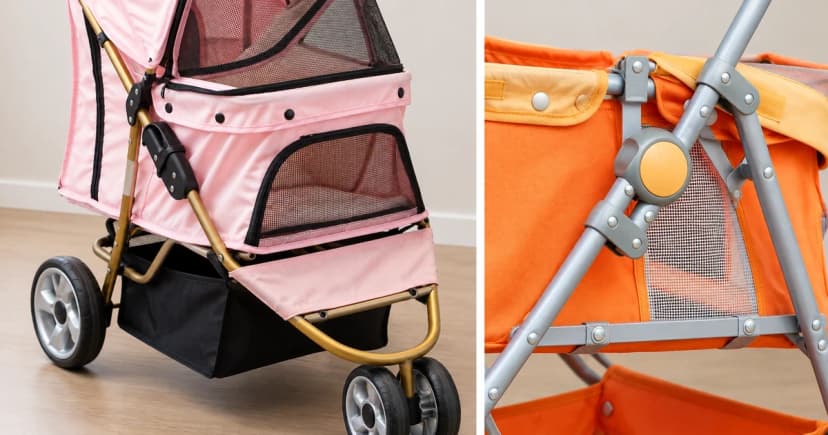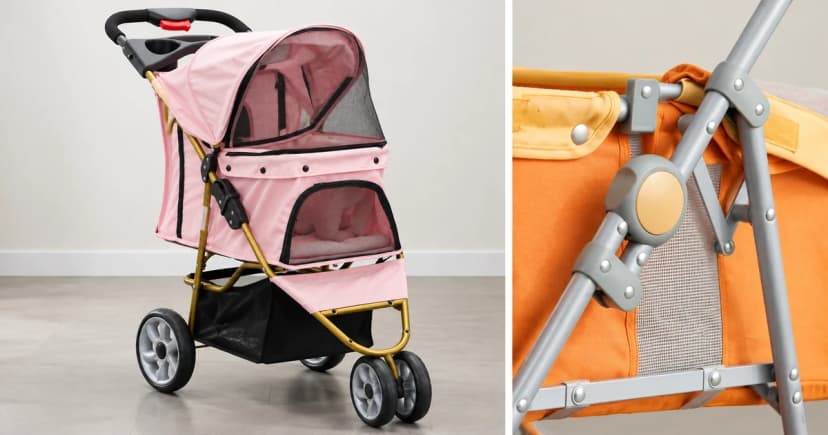
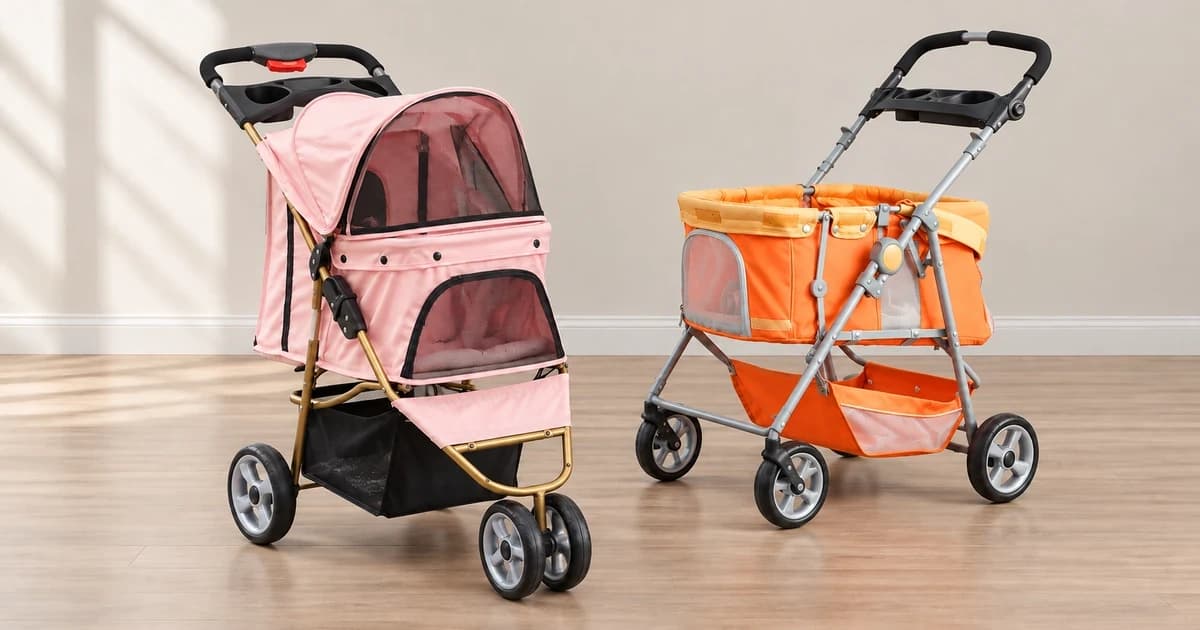
To unfold a pet stroller, use the instructions for its exact model: release the storage catch, open the frame as shown, and engage every required frame lock before loading your pet. Then check the compartment attachments, wheels, steering control and parking brake separately. An open canopy does not tell you whether the frame is secured.
Keep your pet elsewhere while you arrange and adjust the empty stroller. This guide helps you identify what to check; the named Pet Gear examples explain why one stroller's lever direction or wheel attachment should not be transferred to another.
Match the folded stroller to its instructions
Compare the illustrated frame, wheel fittings and closures with the actual equipment.
Clear a level working area where the frame can open without striking nearby furniture. Keep fingers away from closing joints and the pet away from moving parts. Check the parts list before beginning: missing wheel-retention pieces or an unfamiliar latch are reasons to pause, rather than improvise.
The three manuals used here cover Pet Gear PG8650NZ, PG8250 and PG8030NZ. They are examples of different mechanisms, not a promise that a similar-looking unit works the same way.
Give each control its own job
Before releasing anything, locate the controls in your manual and identify which job each performs. Some units combine functions differently or omit a particular control; the table is an identification aid, not a universal parts list.
| Control or attachment | What it does | What to confirm separately |
|---|---|---|
| Storage catch | Holds the stroller in its folded storage position. | Its release is identified before opening; it is not evidence that the opened frame is locked. |
| Frame locks or folding mechanism | Secure the opened frame or release it for folding. | Every required lock is engaged using the model's instructions. |
| Compartment and canopy closures | Attach or close the pet enclosure. | Compartment-to-frame attachments and the entrance closure are checked individually. |
| Front swivel or direction control | Changes whether the front wheel can turn sideways. | The selected steering position matches the identified control instructions. |
| Rear parking brake | Holds the stroller when parked. | The specified brake controls are applied; a front direction lock is not a substitute. |
Open and secure the frame before the compartment
The PG8250 manual and PG8030NZ manual begin by releasing a locking latch and unfolding the stroller, with both frame locks snapping into place. Follow their drawings only if your unit matches that model.
The PG8650NZ manual instead shows the wheels installed before the stroller is placed on all four wheels and opened by pulling up the handle. Its side latches are then straightened until engaged. The handle-adjustment buttons have a separate job; they do not replace those frame latches.
Use the manual's engagement checks, rather than relying on the overall silhouette or one sound from somewhere on the frame. If one side does not reach the illustrated position, stop and check for a trapped fabric edge, an unreleased storage catch or an incorrect part. Do not force an unidentified mechanism.
Next, attend to the compartment. On PG8030NZ, securing the compartment to the frame, closing its front latch and fastening the side flaps around the tubes are separate illustrated steps. On PG8650NZ, the front canopy and rear door have their own release buttons and closures. A closed entrance alone does not confirm every attachment underneath it.
Check wheels, steering and parking separately
Wheel retention can differ substantially. PG8650NZ uses lock/release buttons for wheel installation and instructs the owner to pull on the installed wheels to confirm engagement. PG8250 shows washers, cotter pins and hub caps for its rear wheels, plus a separate rear axle attachment and bracket-retention check. Use the checks and hardware specified for your unit; a click-in example does not authorize leaving out a cotter pin.
Now distinguish steering from parking. PG8650NZ's front direction-lock instructions show down for locked and up for swivel. Its warning section requires applying the parking brake when parked, but this manual does not illustrate the rear brake's operating direction. Do not borrow that direction from the front wheel control.
There is also an unresolved inconsistency in PG8250 page 5: the front-lock prose says up to lock and down to swivel, while the neighboring diagram labels up as unlock and down as lock. We cannot resolve that conflict from the document.
For the rear parking brakes, PG8250 and PG8030NZ both specify lowering the levers on both rear wheels to lock and raising them to release. Those are named-model directions. Identify your own parking brake, apply it whenever parked as instructed, and complete any empty checks required by the matching manual.
Use a stop decision before loading
| What you find | Next decision |
|---|---|
| The manual's hardware or control layout does not match. | Keep the stroller empty and confirm the model or replacement-part instructions with the maker. |
| A frame lock, wheel or compartment attachment does not remain engaged. | |
| A steering or brake instruction is unclear, contradictory or does not produce the described behavior. | Withhold loading and seek clarification; do not treat a different control as a substitute. |
| You find a missing retention piece, damaged part or unexplained looseness. | Identify the part and obtain the maker's repair or replacement guidance. |
A stiff lock is not permission to spray it. All three read manuals exclude brakes and swivel locks from their lubrication instructions. Cleaning and repair need their own component-specific directions.
Read folding instructions separately when putting the stroller away. For example, PG8030NZ shows an open canopy during preliminary compartment release and a closed canopy at a later frame-folding stage. Lifting one instruction from that sequence would lose its context; this pre-loading guide does not replace the complete folding procedure.
Keep a blank record for your own stroller
Complete this record with your actual unit and observations. These empty fields are an owner aid, not a test conducted by Pawlivy:
- Manufacturer/model and matching manual revision or URL: ______
- Storage-catch release and frame-lock locations/pages: ______
- Wheel-retention hardware and required check observed: ______
- Compartment attachments and entrance closures checked: ______
- Front steering control and separate rear parking brake identified: ______
Before loading, confirm the identified manual's occupant, compartment and load restrictions too. A removable carrier and its stroller frame can have different limits. Keep the pet clear during adjustments and supervise it in the stroller. If introducing a cat to an enclosure is the next challenge, our voluntary carrier-entry guide covers that separate interaction task.
Choose equipment with usable instructions
When comparing pet strollers, look for a clearly identified model, an accessible manual and an explanation of the frame, compartment and parking controls. Other dog travel equipment serves different purposes; stroller setup does not establish bicycle-hitch compatibility or vehicle-restraint suitability.
This article is based on the three linked manufacturer manuals, with source limits explained in our editorial policy. Their instructions and the illustrative photographs do not verify a Pawlivy listing's capacity, exact mechanism, inventory or suitability for your pet.