To register a pet with a microchip pet feeder or RFID feeder, match the enrollment procedure to your exact model and the specific identity format it reads—whether that is an implanted veterinary microchip or a brand-specific RFID collar tag. Completing enrollment (storing the ID in memory), connecting a Wi-Fi hub app, and helping a cautious pet eat comfortably as the lid moves are three separate milestones to verify.
This guide provides a step-by-step worked example from the standard non-Connect SureFeed Microchip Pet Feeder manual and contrasts it with hub-connected and collar-tag-only RFID feeders so you can jump straight to the rules for your device.
Quick Scope Check: Non-Connect SureFeed vs. Connect vs. Collar-Tag RFID Feeders
Not every feeder sold under the terms "microchip" or "RFID" reads the same identifier or uses the same registration buttons. Compare the three documented device types below before pressing any controls:
| Named Feeder Model | Supported Pet Identity | Enrollment & Connectivity Scope | Key Model Boundary |
|---|---|---|---|
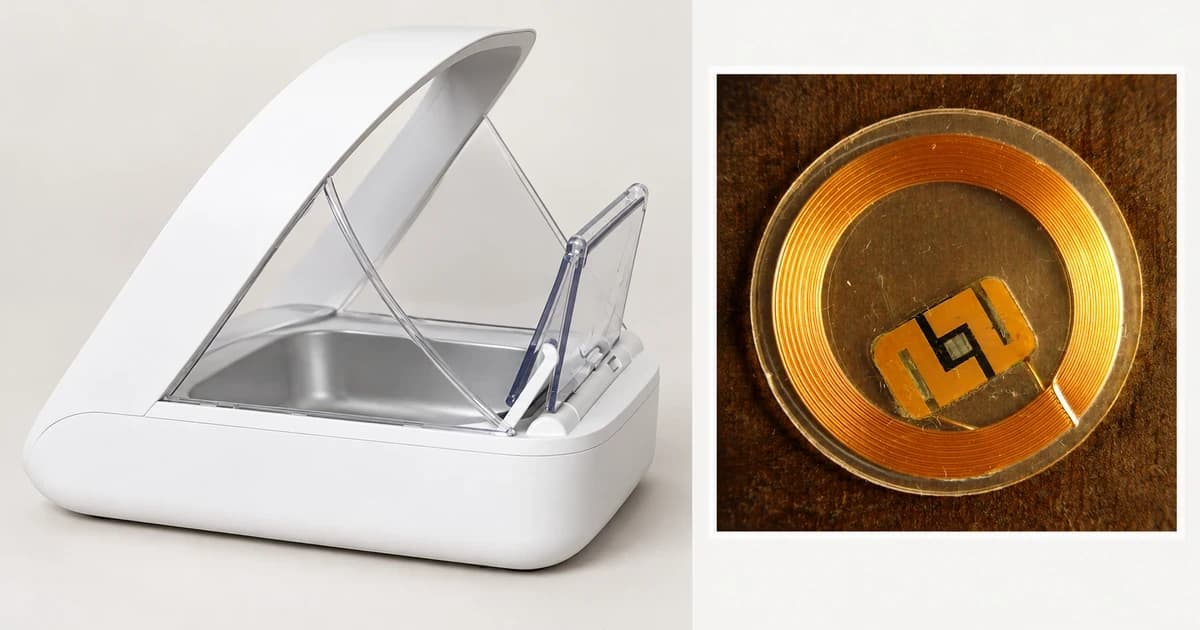
| SureFeed Microchip Pet Feeder (Non-Connect) | Compatible implanted pet microchip or Sure Petcare RFID collar tag (stores up to 32 pet IDs in non-volatile memory) | Standalone on-device enrollment using the rear Add Pet button and green status light | Learning mode stores the ID; gradual lid acclimatization uses a separate Training Function button |
| SureFeed Microchip Pet Feeder Connect | Compatible implanted microchip or Sure Petcare RFID collar tag | Links via a separate Sure Petcare Hub to the Sure Petcare app for connected monitoring | Requires its own Connect and Hub setup manual rather than relying solely on the standalone non-Connect guide |
| PETLIBRO One RFID Pet Feeder (PLAF301) | Provided PETLIBRO RFID collar tag only (does not read implanted veterinary microchips) | Pairs one dedicated RFID collar tag per feeder using the PETLIBRO manual and app workflow | Cannot register an implanted microchip or share one feeder lid across multiple tagged pets |
Worked Example: Standard Non-Connect SureFeed Microchip Pet Feeder
The manufacturer's SureFeed Microchip Pet Feeder User Manual (English section, page 8) specifies this four-step registration sequence and confirmation light pattern for the standard non-Connect model:
- Isolate the area and start learning mode: Keep all other pets away from the feeder so the reader cannot accidentally capture the wrong animal's chip, then press the Add Pet button on the back of the unit once.
- Check the ready-to-learn signal: The lid opens and the indicator light flashes green once every second. (If you pressed the button by mistake, press Add Pet a second time to cancel learning mode.)
- Let the intended pet approach naturally: Place dry or wet food or treats into the bowl inside the feeder at your pet's normal feeding spot. Never push or force your pet's head into the arch—the pet must voluntarily place its head into the hoop so the optical presence sensors activate the microchip scanner.
- Verify the steady-green completion signal: As soon as the feeder reads and stores the microchip or tag, the flashing green light turns steady green. Once the pet finishes eating and steps back out of the hoop, the lid closes and the green light turns off.
According to the non-Connect manual, stored microchip IDs are retained permanently even when batteries are removed or replaced, and you can repeat the sequence to store up to 32 pets. Keep ID enrollment distinct from lid training: the feeder has a separate Training Function button that introduces lid movement in stages for nervous cats or dogs.
Why You Must Keep Other RFID Models' Instructions Separate
SureFeed Microchip Pet Feeder Connect: The SureFeed Connect product page adds a network Hub and the Sure Petcare mobile app to track feeding weights and times. Always follow the Connect manual for Hub pairing and pet assignment.
PETLIBRO One RFID Pet Feeder (PLAF301): As documented in PETLIBRO's pre-sale FAQ, the One RFID feeder operates exclusively with its dedicated collar tag, does not scan implanted microchips, and supports only one RFID collar tag per feeder.
Log Your Enrollment, App, and Feeding Observations Separately
When setting up multi-pet access control, keep a brief four-line log so you never confuse a successful chip scan with behavioral hesitation around a moving lid:
| Check Stage | What to Record for Your Feeder |
|---|---|
| 1. Exact feeder & identity type | Full model name (including whether it is a Connect or collar-tag-only model) and whether you enrolled an implanted chip or a named tag. |
| 2. Enrollment confirmation signal | The exact light or app confirmation observed (for example, flashing green turning steady green on the non-Connect SureFeed). |
| 3. Pet's feeding comfort | Whether the registered pet approaches and eats calmly as the lid opens, or needs the model's gradual lid-training mode. |
| 4. Multi-pet access observations | Any unauthorized pet attempting to crowd the hoop from the side or rear (note that SureFeed's manual does not guarantee exclusion of every other pet in all situations). |
To compare scheduled portion dispensers with access-control lids, read how automatic cat-feeder mechanisms differ, and browse our microchip and RFID feeder category to check individual product specifications. See our editorial policy for how we cite manufacturer manuals.