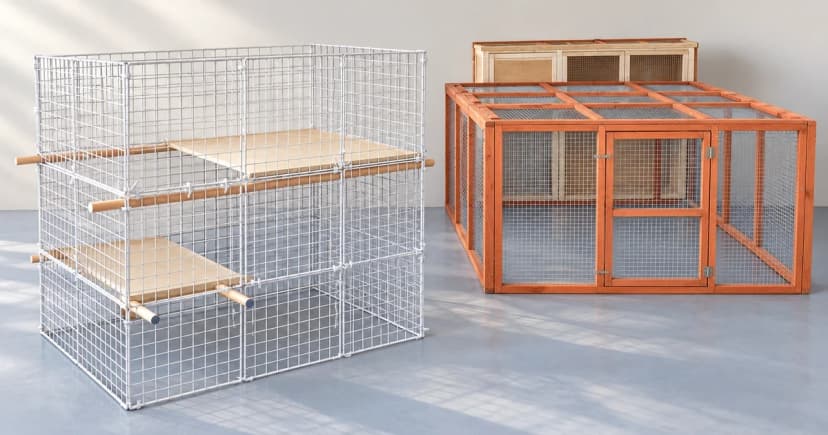
Knowing how to set up a degu enclosure follows four pre-arrival steps: first, verify a roomy, well-ventilated metal multilevel cage with a solid base and solid roof placed indoors away from draughts and heat at or below 20 °C; second, install a deep, dust-free digging layer alongside climbing shelves and a large solid wheel, rechecking vertical and side clearances after pouring the bedding; third, confirm that every degu in the group can reach food, water, hay-filled nest boxes, and a removable dust bath (offered two or three times weekly for about 20 minutes per the RSPCA); and fourth, inspect all doors, bar gaps, and fittings for damage before your degus arrive.
1. Check the outer enclosure and room placement
The PDSA degu care guide recommends a spacious, metal, multilevel cage and checking that your degus cannot squeeze through the bar spacing. The RSPCA degu environment guide specifies a solid bottom and a solid roof paired with good ventilation.
Keep those requirements distinct: a solid roof prevents overhead drops or hazards, but the enclosure still needs open cross-ventilation rather than a sealed glass tank that traps heat and humidity. Check panel joints, latches, and bar gaps against your cage manual before adding substrate.
Position the cage indoors in a quiet room out of draughts, direct window sun, and radiators. The RSPCA advises keeping the ambient temperature around a degu enclosure no higher than 20 °C.
2. Fit the deep digging base, climbing levels, and wheel together
Both PDSA and the RSPCA call for a deep digging base of dust-free, absorbent bedding mixed with plenty of hay and shredded plain paper so degus can excavate tunnels. Above the base, arrange secure platforms, branches, and ramps for climbing, plus a large, solid-surface exercise wheel (PDSA) wide enough for a degu to run with a completely flat back.
Always recheck clearances after pouring the full depth of bedding. A wheel or low shelf that spins or opens freely in an empty cage can bind against deep substrate or block a burrow exit once the tray is filled:
| Enclosure Zone | What It Must Provide (PDSA & RSPCA) | Clearance & Pathway Check After Adding Bedding |
|---|---|---|
| 1. Deep digging base | Deep layer of dust-free, absorbent substrate with hay and shredded paper for burrowing. | Confirm heavy floor accessories sit on a stable support or shelf so tunnel collapse cannot pin a degu underneath. |
| 2. Solid exercise wheel | Large, solid running surface allowing a flat back (PDSA). | Mount or stand the wheel high enough above the top of the deep bedding layer that substrate cannot jam the drum or pinch tails at the entry rim. |
| 3. Multi-level platforms & ramps | Sturdy shelves, ramps, and climbing routes across the metal levels. | Verify that the first ramp or step remains reachable from the settled bedding surface and that shelves do not block the wheel opening. |
| 4. Nest boxes, water & dust-bath zone | Multiple hay-filled nest boxes, water stations, and clear floor/shelf space for the temporary dust bath (RSPCA). | Leave two-way approach lanes around nest boxes and water spouts so one degu cannot trap a cage-mate in a dead end, plus an open patch where the dust bath can be placed and lifted out. |
3. Ensure group access to retreats, water, and the removable dust bath
The RSPCA degu behaviour guide emphasizes providing enough food stations, water points, hay-filled nest boxes, and toys for every degu in the group so no individual is pushed away from essentials.
Check the spout height and drip clearance of every water bottle after bedding and shelves are installed; use our separate flow and leak checks guide to test each bottle before move-in.
Leave an accessible spot near a cage door for a removable sand/dust bath: the RSPCA recommends offering a chinchilla-sand dust bath two or three times a week for around 20 minutes at a time, then removing the bath afterward so it stays clean and does not crowd the floor permanently. Maintain a predictable cycle of daytime light and nighttime darkness.
4. Inspect the finished setup before arrival
Before bringing your degus home, inspect every shelf, ramp, wheel mount, and door latch for sharp wire edges, splinters, or gaps that could cause injury or escape (RSPCA environment guide), and replace any damaged piece immediately.