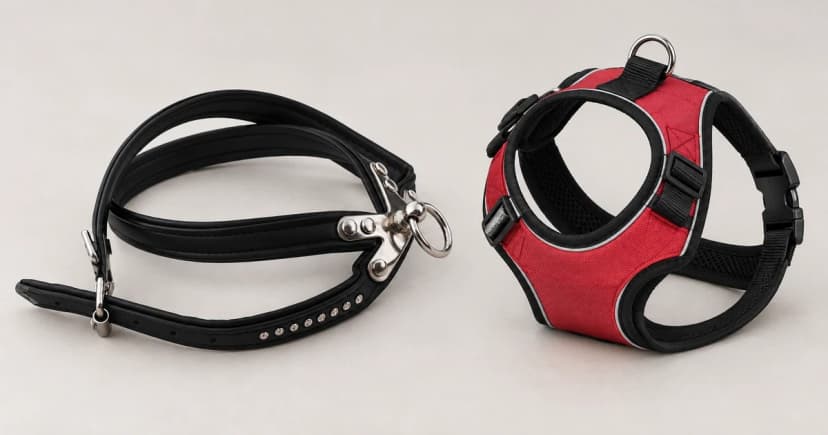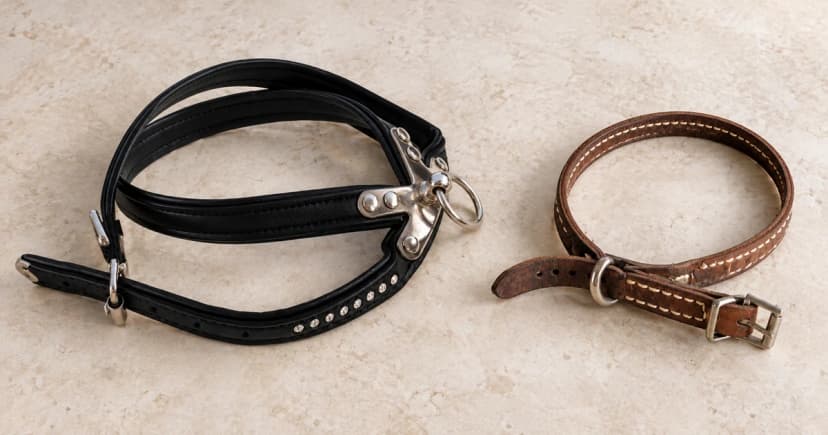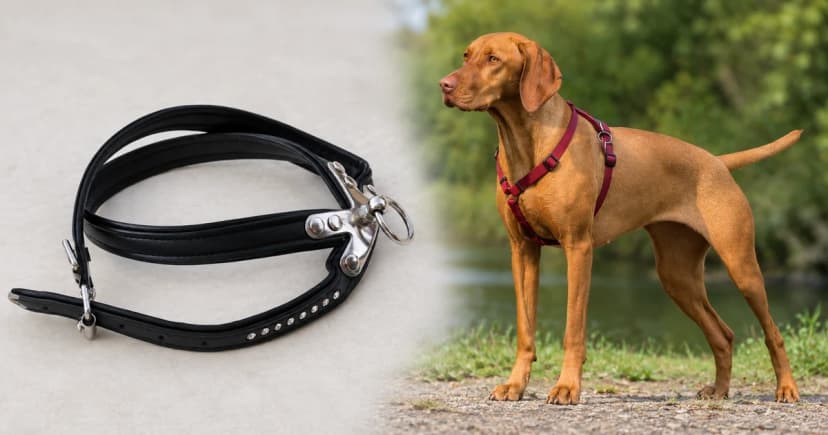
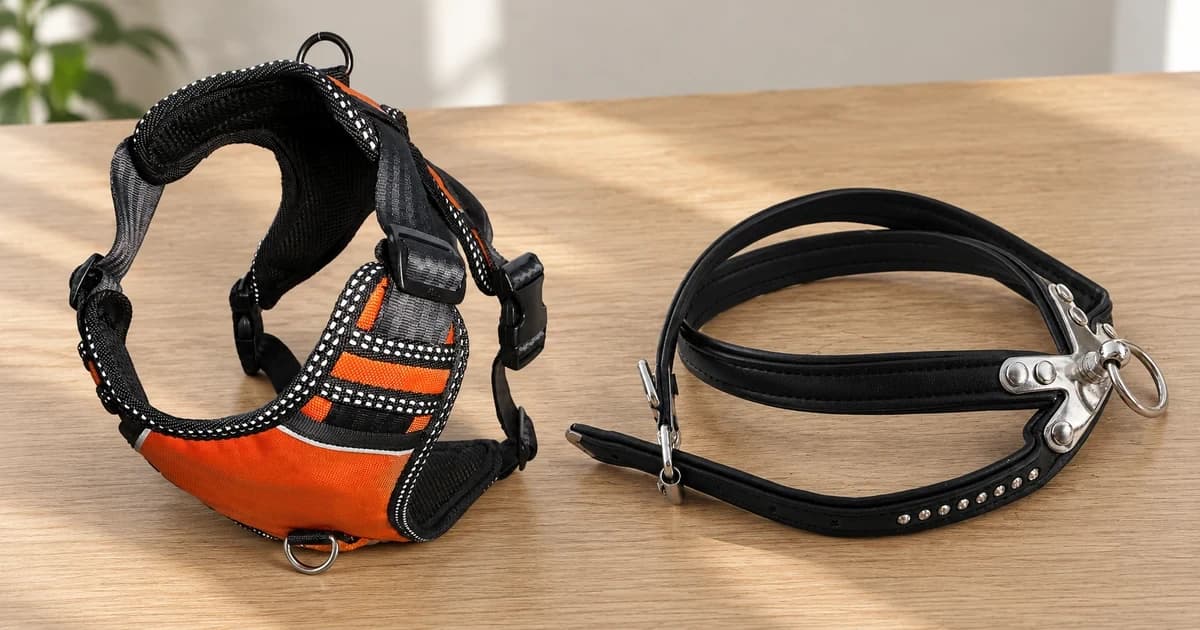
A front-clip no-pull harness changes where the leash connects: the attachment sits on the dog's chest rather than only on the back. Gentle guidance from that point can turn the dog toward the handler instead of simply following a straight-ahead pull. It is a walking aid, not a promise that pulling will disappear. The connection needs to belong to that harness's approved design, and the dog still needs to learn what happens when the leash becomes loose.
Three details matter more than the name on the package: where the walking attachment is, how the harness stays positioned, and how you handle the leash.
What the front connection changes
Picture the leash connected at the middle of the chest. The PetSafe Easy Walk manual describes gently guiding the leash to one side when the dog moves ahead, then releasing pressure when the dog stops pulling. The useful sequence is guidance, a change in position, and release. Holding a permanently tight leash misses that release.
A rear attachment puts the connection on the back. Several harnesses document a rear point for ordinary walking and a separate chest point for redirecting pulling. That difference does not prove that every rear connection encourages pulling or that every front connection stops it. The instructions identify a purpose; they do not tell you how an individual dog will respond.
A chest point also depends on the rest of the harness. If the assembly rotates, sags, or rides away from its intended position, the point is no longer where the fitting instructions place it. Recheck the harness rather than compensating with a harder pull. Our harness measurement and fit guide explains the separate task of matching body measurements and checking the worn fit.
Front-clip does not describe one tightening mechanism
Attachment location and strap construction are separate questions. Easy Walk has a chest martingale loop with a D-ring. Ruffwear's Front Range instead lists a reinforced webbing connection on the chest. A front-facing connection alone does not tell you that straps tighten, by how much they move, or what pressure they create.
Use the part diagram for the exact model. A light loop, ID pocket, lifting handle, or decorative ring is not automatically a leash connection. If the diagram does not identify the feature for walking, do not select it because the clasp happens to fit.
The following examples show why it helps to check the hardware and the authorized use together.
| Documented harness | Walking connection details | What to check before choosing a point |
|---|---|---|
| PetSafe Easy Walk | Leash D-ring on the chest martingale loop. | The manual centers the chest strap over the breastbone and calls for a light, sturdy clasp. Correct strap positioning supports the intended sideways guidance. |
| Ruffwear Front Range | Back aluminum V-ring and a reinforced chest webbing point. | The chest point is not an assumed metal ring. Identify the actual reinforced connection rather than the separate light loop or ID pocket. |
| Kurgo Tru-Fit Smart Dog Walking Harness, K01174 | Documented front and rear leash attachments. | Match this quick-release walking version to its own instructions; the name does not authorize another model's uses. |
| PetSafe 3 in 1 | Rear D-ring for everyday walking; chest D-ring for its no-pull walking mode. | The guide assigns running to the rear connection and warns that a front-connected leash can trip the dog during running. |
See the Front Range product details, K01174 walking-harness description, and 3 in 1 fitting and use guide for those distinctions. The 3 in 1 document carries a 2016 copyright date; check the instructions supplied with your current harness if its design or labeling differs.
Check the complete connection before the walk
Start with the harness fitted according to its own diagram, then identify the walking point you plan to use. Check that the leash clasp closes completely around that point. Keep the connection clear of a twisted strap or another accessory that prevents closure; a clasp resting against a ring is not the same as a closed connection.
Choose the leash the maker specifies. Both of the PetSafe manuals here describe a 4–6-foot leash for their front-connection use, and both discourage retractable leads in that mode. Easy Walk also explains that a heavy clasp can pull its chest strap downward. These are instructions for those designs, not a universal maximum weight or leash-length rule.
In a quiet place, let the dog stand and move a short distance while you watch the equipment. Does the chest point stay in its intended position? Does the lead remain clear of the legs? Does the clasp stay closed? These observations help you spot a setup problem before a longer walk; they are not a strength test or proof of escape resistance.
If the lead loops around a leg, stop and clear the route before continuing. If the harness shifts, return to its fitting instructions. Do not add a second improvised connection to a handle or attach a clasp across unrelated pieces to make the arrangement feel more secure.
Release matters; harder pulling is not the next step
The PetSafe guidance uses gentle redirection followed by releasing tension. Its 3 in 1 guide specifically rejects jerking or yanking and acknowledges that dogs can still pull while wearing the harness. An unchanged pull is therefore not evidence that you should increase the force or keep shortening the leash.
Follow the model's guidance for rewarding the loose-leash moment; Easy Walk includes praise and petting among its examples. A harness helps arrange that moment, but it does not explain the full process of teaching leash walking. If you need a training plan beyond the equipment instructions, seek help appropriate to that task rather than expecting a different clip to do the teaching.
Stop using a damaged assembly. The manuals call for inspection of wear, chewing, and fraying; the Easy Walk guide also says to discontinue use at the first sign of discomfort or chafing. A cleaning session or a visibly closed clasp does not resolve damaged webbing or hardware.
Keep walking permissions separate from other uses
Front-clip walking does not establish permission for running, tethering, unattended wear, or car restraint. The named 3 in 1 running restriction is especially useful: a connection that the maker assigns to one activity may be unsuitable for another.
The K01174 product description says its included seatbelt tether is not crash-tested, and the 3 in 1 guide also states that its harness is not crash-tested. Neither a chest ring nor an included tether establishes collision protection. Assess vehicle equipment through its own documentation rather than extending this walking comparison.
Write down the connection you actually use
A short equipment note makes the setup repeatable: record the exact model and instruction version, the authorized walking point, the leash and clasp you selected, and whether the point and leash path stayed correctly positioned during the initial observation. Add the reason for any stop, such as shifting straps, an obstructed clasp, or visible wear.
When comparing walking-harness structures and leash designs, look for instructions that identify those details. The useful question is which documented connection works with your setup, rather than whether a product name guarantees a pull-free walk. Our editorial policy explains the difference between documentation-based guidance and hands-on testing.