To set up a wire dog crate, match the exact model to its instructions, identify the supplied parts and follow that model's assembly drawings through the final connection and pan checks. The starting mechanism matters: separate panels joined by corner rods are different from a connected frame that unfolds.
This guide compares three documented designs to help you recognize which instructions belong to your crate. Keep the crate empty while working. If the parts and drawings do not match, resolve that mismatch before continuing with a different manufacturer's sequence.
Match the document before moving the panels
Find the manufacturer and model information supplied with the unit. Compare it with the model printed in the instructions, then compare the pictured parts with the contents in front of you. A similar door count, black finish or rectangular outline does not establish the same construction.
Save the exact instruction link with the model details. When comparing wire crate listings, look for the actual instructions rather than assuming a listing photograph supplies them. If a number in a download address differs from the models printed inside, use the document's stated scope and ask the issuer about an unresolved match.
Make room for the parts and the working space that the particular manual requires. Check whether it calls for another person. Do not assume every wire crate is a one-person, tool-free or quick-fold design.
MidWest Solutions SL54: separate panels and corner rods
The SL54 assembly instructions call for two people and a large workspace. Their parts list identifies the panels, four corner rods and a plastic pan. The pan-stop end of the bottom panel identifies the front. The drawings show specific side-wire and hook relationships, rods passing downward through aligned corner loops, and top-panel hooks and L-wires. Those orientations belong to this model. A box containing these separate components should not be treated as a connected frame that simply unfolds. This document supplies assembly instructions, without an express reverse-folding procedure.
For this kind of parts comparison, count the separate rods and identify the pictured panel features before starting. Keep the letters used in the manual with your notes. A partly assembled rectangle can conceal an incorrectly identified panel; its overall shape does not answer whether the labelled connections match.
Frisco multi-stage models: floor grid, folded frame and clips
The Frisco instructions for models 247915, 247916 and 247917 identify a folded crate, plastic pan, divider and floor grid. The assembly sequence includes setting the floor grid aside, unfolding the frame like a book and lifting the top, followed by the illustrated panel and clip connections. Door-handle operation is a separate detail. The document's parts and directions call the pan plastic, while a warning calls the tray metal. That discrepancy remains unresolved; confirm the exact version and component with the issuer rather than silently choosing one description.
Here, an additional grid is an identified component rather than an unexplained extra panel. Check its place in the actual instructions. A divider or grid from another crate should not be substituted because its outline looks similar. The catalogue number in the PDF address is not permission to extend the printed three-model scope.
Petmate PET9958: collapsed frame with a lock wire
The English pages of Petmate's PET9958 document describe a collapsed, locked crate with the plastic pan installed. Its drawings begin with the lock wire facing upward, unlocking it downward and folding out the top before the overhanging panel is lifted and swung into the main structure. The end panels then follow their own illustrated connections. Its pan and retaining device must be in place for use. The document carries a 2016 copyright; its exact current retail-model match is unconfirmed. It does not expressly provide a reverse-folding procedure.
The useful identifying feature in this example is the supplied lock-wire arrangement. It is not the same instruction as removing SL54 corner rods or handling Frisco's floor grid. If your starting frame does not match the drawing, stop at identification rather than deciding which loose wire might serve the same purpose.
Keep a parts-to-drawing record
Record what you can see, which instruction page you are using and what remains unclear. This is more useful than describing the crate as simply “the folding type.”
| Check | Record from your unit and its document | Question to resolve |
|---|---|---|
| Identity | Maker, exact model and instruction link | Does the document explicitly cover this unit? |
| Supplied parts | Panels, rods, pan, grid or divider listed by the maker | Is anything missing, damaged or unexplained? |
| Starting arrangement | The first drawing that matches the supplied components | Does the depicted mechanism match before movement begins? |
| Completion | The connections and pan-retaining details shown at the end | Can each required connection be identified on the assembled unit? |
Use the model's completion checks
Work through the entire matching sequence, including the final panel, hook, rod, clip and pan details that it actually specifies. Do not stop because the crate looks upright. For example, SL54's top-panel connections and corner rods remain part of its assembly even after the outline resembles a crate.
Do not improvise a replacement rod, clip or repair. Petmate's warnings exclude use with missing or broken structural parts and unauthorized modifications; follow the applicable warnings supplied with your own model.
Finishing assembly also leaves separate decisions: whether the usable interior suits your dog and how the dog will be introduced to the space. Our crate-size guide addresses the first. An upright frame is not evidence of correct sizing, successful training or tested containment.
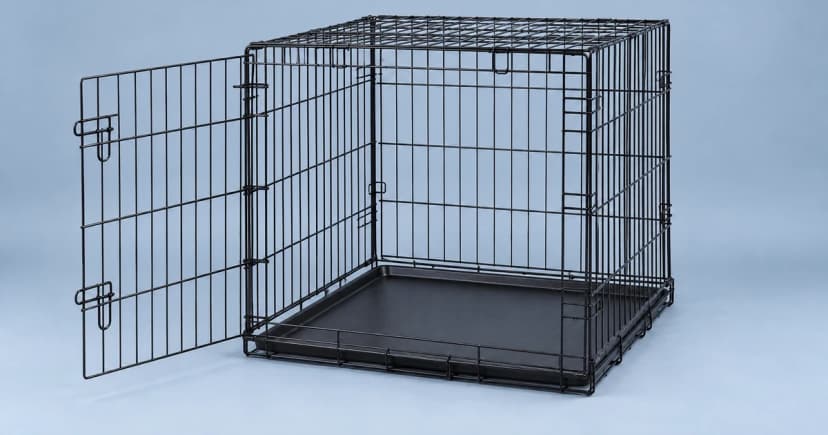
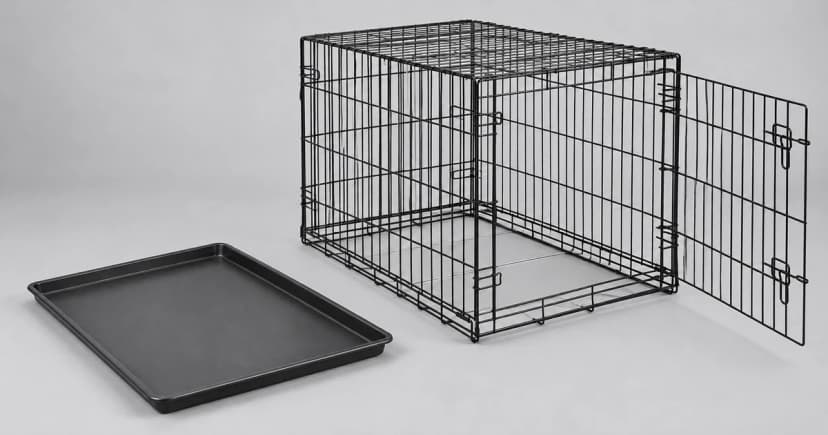
The edited empty-crate illustration reconstructs generic equipment from licensed photographs; it is not one of these models or a panel, rod or locking demonstration. See our editorial policy.