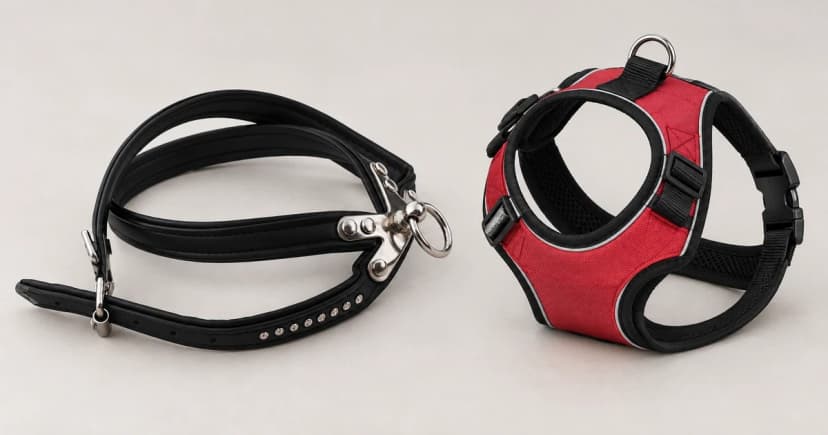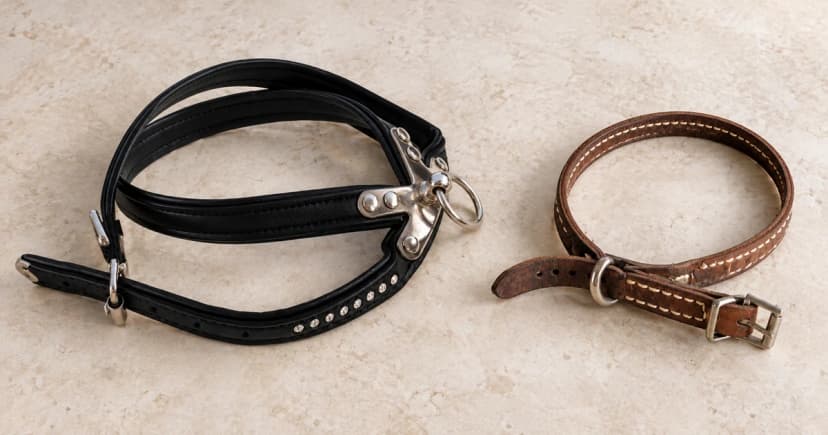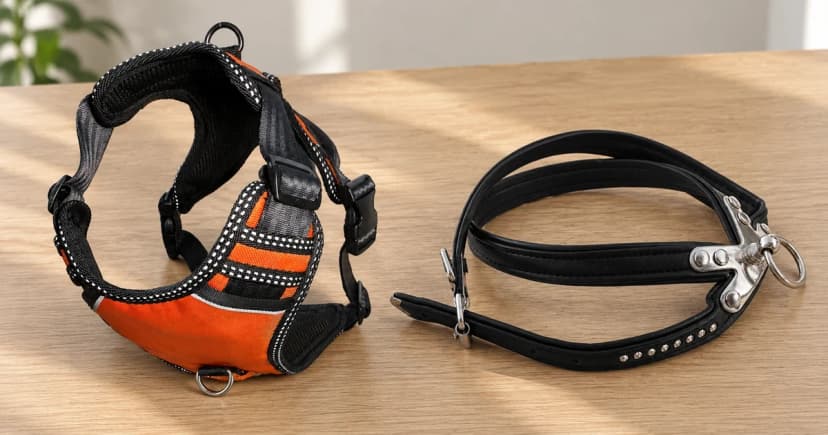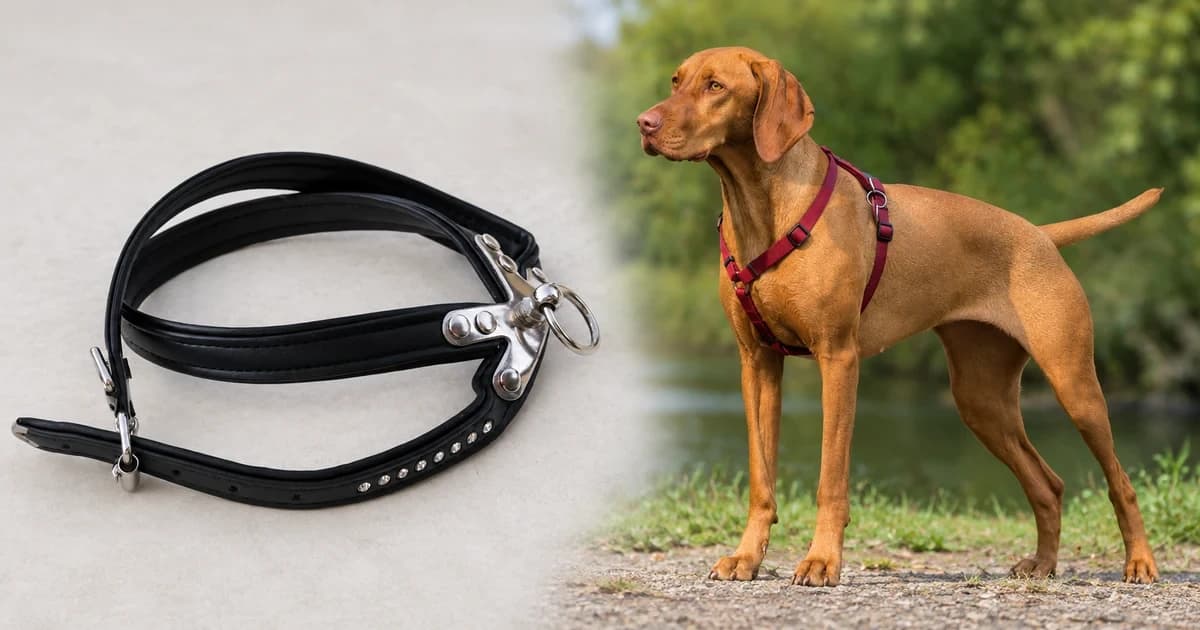
To understand how to put on a dog harness—whether it is a step-in or overhead design—first work out which openings are meant for the head and front legs while the harness is off your dog. Open the buckles, lay the webbing flat, and follow the route for that exact structure: slip the neck opening over the head and buckle the girth straps behind the front legs on an overhead model (or use its neck buckle if fitted), or guide one front paw into each triangle of a step in dog harness and fasten it over the back. Close every required buckle before adjusting the fit and clipping the leash to the model's designated connection point.
The confusing part is often the first minute, when a dog harness looks like a bundle of straps. A front leash ring does not tell you how the harness goes on, and a padded vest is not automatically a step-in model. As shown in the flat-lay versus worn-position reference views at the top of this guide, sorting the openings before asking your dog to stand still prevents twisted straps and tangled legs.
Identify the route while the harness is off your dog
Find the exact model name on the tag, packaging or order record and open its fitting instructions. Use a photograph of the same model and version: two products can look similar while opening at different points. If you cannot identify which part opens, get the maker's instructions before trying to squeeze your dog through it.
| Named route / design type | Flat-lay openings & hardware landmarks | Worn position & closing points on the dog |
|---|---|---|
| Overhead route (e.g., Kurgo overhead harness diagram) | One dedicated top neck opening, a lower chest section/strap running down the middle, and left/right body buckles (side-release or Kurgo metal nesting buckles) opened on the sides. | Neck loop passes over the head to rest in front of the shoulders; lower chest strap runs cleanly between the front legs; side straps lift behind both front legs to buckle on the flanks. |
| Step-in route (e.g., Gooby Memory Foam Step-In diagram) | Laid completely flat and open on the floor, showing two separate left and right front-paw openings divided by the center chest bridge, with closure hardware at the top ends. | Left and right front paws step into their matching openings without crossing straps; both side panels wrap up behind the front legs and fasten together centered over the back. |
| Neck-buckle exception (model-specific) | A separate buckle on the neck loop in addition to the girth closures. | Follow the model's neck-buckle diagram rather than assuming the head must squeeze through a closed ring. |
The AKC's guide to putting on different harness designs explains that front-clip harnesses can share the construction of either an overhead or step-in harness. The leash attachment and the dressing route are separate features. Do not copy a left-shoulder label position or a particular loop shape from a guide for a different product.
Set the harness beside its instructions and identify three landmarks: the section intended for the front of the chest, the section intended for the back, and the closures you must open. Trace each strap with your fingers. If a loose strap disappears under a panel, turn the equipment over rather than guessing that it is a leg opening. This is an equipment check, not something to troubleshoot while your dog is tangled in it.
Put on a common overhead harness
Kurgo's overhead-harness instructions show a neck opening going over the head, lower straps between the front legs, and body buckles closing behind those legs. Use that sequence only when it matches your harness. Some simpler loop designs require a front leg to pass through a separate opening; other chest-panel models fasten around both legs without that extra step.
- Open the required body closures and loosen the relevant straps. Arrange the equipment right way up using its diagram. Start with a calm dog in a secure indoor space.
- Pass the intended neck opening over the head. Give the ears and muzzle room rather than forcing a tight opening. If the model has a neck buckle, use its instructions instead.
- Position the chest section. Route the lower section between the front legs only as illustrated. Check that neither leg is caught on the wrong side of a strap.
- Bring the body straps into place and close every required buckle. Keep fur clear of the closing parts. If a buckle will not reach, stop and check the routing and adjustment instead of pulling the ends together around the dog.
- Adjust with the dog standing. Keep the intended chest and back sections centered. Use the maker's fit checks, then attach the leash where that model permits.
Hardware matters. Kurgo's diagram distinguishes ordinary quick-release buckles from its metal nesting buckles. A nesting buckle is threaded and laid flat according to its instructions; it is not fastened by the same action as a plastic side-release buckle. If the mechanism on your harness differs from the diagram, pause and find the correct instructions.
Put on a common step-in harness
A step-in design starts with the front feet, not the head. For example, the Gooby Memory Foam Step-In Harness instructions describe laying it out, locating the two leg holes, bringing it up behind the front legs, and fastening it over the back. That describes this model's construction, not every vest sold as a harness.
- Lay the open harness on a level surface. Straighten the webbing so you can see both intended paw openings. Use the maker's diagram to orient the chest and back sections.
- Guide one front paw into each opening. Let the dog settle between placements. If both feet end up in one opening, start again while the equipment is still open.
- Lift the sides into their closing position. Look at the straps behind both front legs: neither should be crossed or wound around a leg.
- Fasten the closures and complete the adjustment. Follow any additional closure instructions for that specific vest or harness. Check the designated leash attachment before clipping on.
If your dog repeatedly moves away from the equipment, break the attempt into smaller, calm stages. Give them time to investigate it; stop instead of lifting a resisting leg or rushing the fastening. A different opening design may be easier to handle, but changing designs does not remove the need for correct fit.
Use a final check to catch routing mistakes
Before leaving, look from the front, side and above. Is the chest section where the model's diagram places it? Are the straps flat? Are all required closures fully engaged? Does the equipment stay in its intended position when the dog takes a few ordinary steps? Stop and reset it if a strap changes route, a closure opens, or the dog cannot move comfortably.
Check the actual leash connection, too. The Ruffwear Front Range Harness, for example, has a back aluminum V-ring and a reinforced webbing connection at the chest. That is a useful reminder that a permitted leash attachment need not always be a metal ring, and other loops on a harness may serve different purposes. Use the connection identified by your model's maker.
A harness can be correctly oriented and still be the wrong size or shape—whether you are fitting a small puppy design or a dog harness big enough for a deep-chested adult. If the chest section shifts or the straps reach their adjustment limits, use our dog harness measuring and fit guide to address that separate problem. Do not treat a finger-gap check or an attractive photograph as proof that a dog cannot escape.
For the next walk, save a photograph of your own harness lying open beside its correct instructions. Note which closures you open for removal. This gives everyone who walks the dog the same starting point without having to remember a generic diagram.
When comparing dog walking harness designs, look for clear opening, closure and leash-attachment information before choosing by appearance. This guide covers ordinary walking equipment; it does not establish car-restraint, lifting or tie-out suitability. Our editorial policy explains how we use published instructions and distinguish researched guidance from product testing.