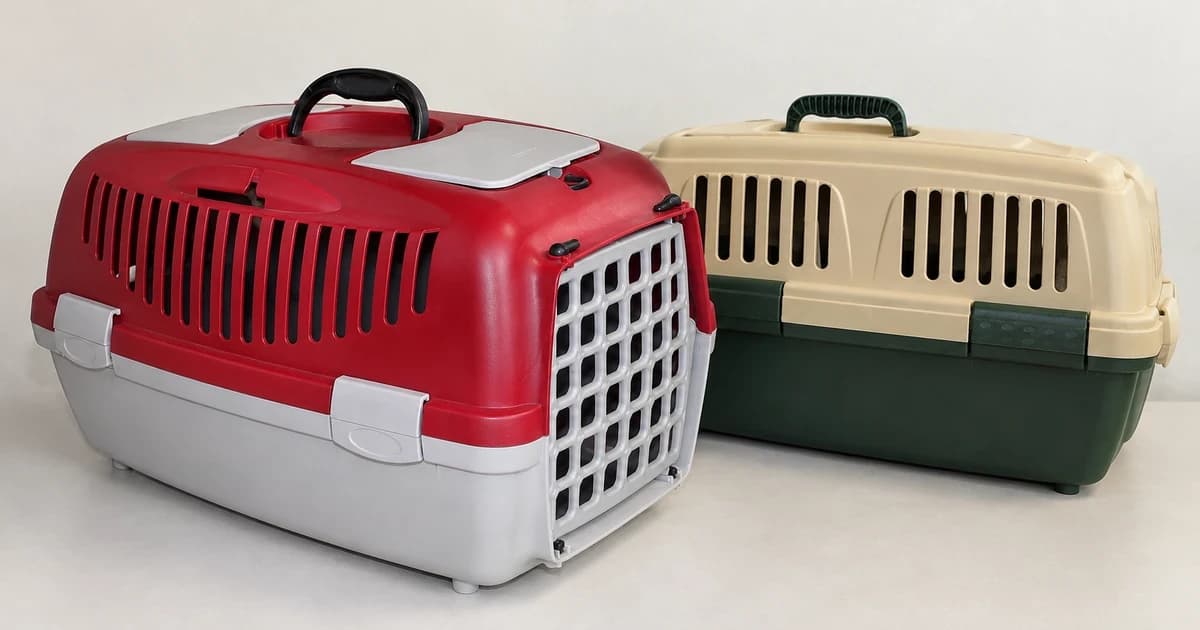
Reassemble a hard-sided pet carrier using the instructions for its exact model and version, then check the empty carrier before putting the pet inside. Treat the shell connections, door hinges and door latch as separate jobs. A door that looks closed does not tell you whether every hidden fitting is correctly seated.
Start with the pet elsewhere and the empty parts on a stable surface. This guide explains how to match parts and instructions, using three named examples.
Find the model before choosing an assembly method
Look for the maker, model name, product code and size on the carrier or its retained packaging. Keep that information beside the assembly guide. Check that the guide shows the same openings, shell joints and hardware as your actual item.
If a carrier came apart for storage, do not assume that all loose pieces belong in the same position. Keep them together while identifying their roles. A similar color, a remembered brand or a photograph of another carrier cannot establish which fitting belongs on which side.
Where the guide lists a model code beside only one illustration, keep that restriction with the illustration. A top-opening lid and a removable upper shell can require different steps even within one product family.
Separate the shell joint from the door mechanism
Identify which parts join the upper and lower shell. Then find the parts that support the door as it opens, and the controls that hold it closed. Write the names used in your own guide rather than treating every visible catch as the same component.
This distinction helps with a common assembly question: has the door been positioned correctly before the shell is joined? Tightening the shell connections does not, by itself, answer that question. Trace the door's fittings against the actual diagram; do not dismantle an unidentified mechanism simply to see inside it.
The Petmate Sky Kennel / Vari Kennel instruction sheet 470524, copyright 2013, illustrates upper and lower shell sections, a steel door, and a wingnut-and-bolt package. Its assembly directions seat the lower and upper ends of the hinge and latch rods in the illustrated holes. The bolts enter from beneath the rim, and its specially designed wingnuts are tightened by hand only. Its cautions also call for checking the shell for cracks and checking fasteners periodically, especially before moving the animal.
Those are directions from that dated document, not a universal procedure for every current Petmate carrier.
Keep different makers' fittings in their own scope
Ferplast's two-page Atlas DeLuxe guide 982247-1 identifies codes 730328, 730348, 730388 and 730408. Its drawings distinguish fittings marked SX and DX and show the door hardware's illustrated locking positions. Some handle and top-opening panels specifically name 730328 and 730348. Match the code and the relevant panel before following it; the drawings do not authorize a universal fitting count or turning direction.
The current Petmate E-Z Load Top Load Cat Kennel listing, SKU 41455, describes screw-and-hex-nut assembly and says it requires a screwdriver. That differs from the hand-tight wingnuts in the older instruction sheet. The listing identifies a hardware arrangement; it does not supply a complete assembly sequence or a torque specification.
These examples explain why choosing instructions by brand alone is insufficient. Do not combine the easiest-looking step from each source. A handed fitting, a wingnut and a screw may all be fasteners, but that does not make them interchangeable replacement parts.
Work through the matching guide while the carrier is empty
Follow your model's order and compare each completed stage with its diagram. Check that the intended shell joints meet and that each identified fitting is present in its specified position. Keep bedding or loose accessories from obscuring the area you need to inspect.
Operate the empty door using its documented controls and check the positions the guide identifies as closed. Look at both the hinge side and the latch side where accessible. A familiar sound or the door staying still for a moment is not a containment test.
If the gate catches, will not align, or requires lifting or twisting an unexplained part, stop and resolve that mismatch with the maker. Do not use extra force, drill another hole or add tape, glue or a cable tie to make an unidentified assembly appear complete. An accessory mentioned for a different journey or model is not a repair instruction.
Resolve missing parts before returning the carrier to use
Record the model and guide version, the fitting's name or diagram reference, where it belongs, and the mismatch you actually observed. A photograph of the empty problem area can help you explain it to the maker.
Keep a carrier with missing hardware, visible cracks or an unresolved door problem out of use while obtaining advice. Repeating an ordinary opening-and-closing check does not establish that a damaged structure has regained its original performance.
Use hard-sided dog carriers and cat carriers to compare documented construction and available instructions. Category names do not identify the photographed models or prove stock, strength or secure containment.
Once the assembly question is resolved, usable carrier space and the operating airline's carrier requirements remain separate checks. Neither a fit record nor a flight comparison replaces matching the actual door and shell hardware to their own instructions.