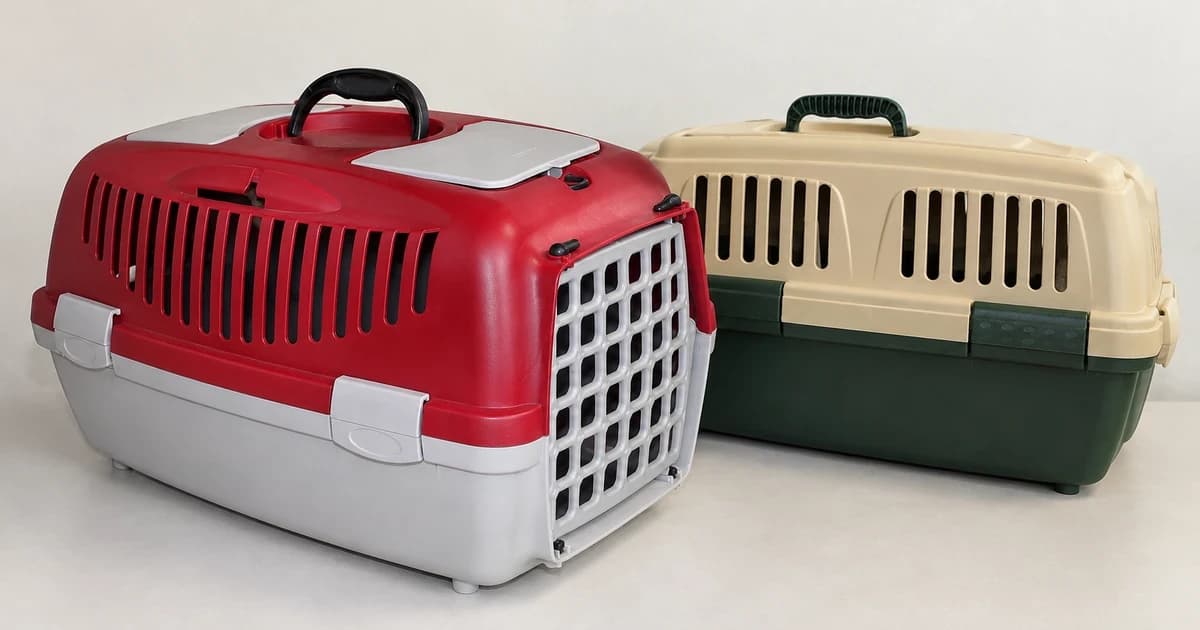
To learn how to reassemble and check a hard-sided pet carrier safely, match the carrier to the assembly sheet for its exact model code and production version, then inspect the empty carrier before bringing your pet near it. Treat the upper-and-lower shell fasteners, the door hinge pins, and the door latch rods as three separate checks: a gate that swings shut on the outside does not prove that every hidden rod end or side clip is seated inside its moulded socket.
Work on a clear, flat table with your pet in another room. When checking how to reassemble a hard sided pet carrier after flat storage, this guide helps you locate the right diagram panels across three documented hardware examples without blending them into a single generic build.
Find the model code before choosing an assembly method
Check the moulded plastic stamp, sticker, or original box for the manufacturer name, model line, numeric product code, and size. Lay those details beside the instruction sheet and verify that the drawing shows the exact same top opening, rim seam, and fastener style as the parts in front of you.
When a carrier has been stored disassembled, sort all loose fasteners, clips, and grilles before tightening anything. Neither shell colour nor brand name alone tells you whether a clip is handed (left vs. right) or which direction a bolt enters the rim.
Index of documented manuals, model codes, and hardware panels
Use the index below to jump to the exact document and panel that matches your hardware, keeping each source's date or SKU scope intact:
| Document / SKU & date scope | Applicable model codes | Door hinge & latch seating to check | Shell joint fastener & boundary |
|---|---|---|---|
| Petmate Sky Kennel / Vari Kennel instruction sheet 470524 (2013 PDF) | Document 470524 (Sky Kennel / Vari Kennel two-page manufacturer sheet following the archive cover page). | Seat both the lower and upper ends of the steel door hinge and spring-latch rods into the illustrated rim holes when positioning the upper shell. | Bolts insert from underneath the rim into custom wingnuts tightened by hand only; check shell for cracks and recheck fasteners before each trip. |
| Ferplast Atlas DeLuxe 10 & 20 assembly diagrams 982247-1 (PDF 982247-1) | Codes 730328, 730348, 730388, and 730408 (with dedicated handle/top-opening panels for 730328 & 730348). | Match handed fittings stamped SX and DX to their diagram positions and verify the illustrated door-lock cam positions. | Follow only the panel marked with your exact 6-digit code; do not generalize clip counts or turn directions across codes. |
| Petmate E-Z Load Top Load Cat Kennel (current retail listing, SKU 41455) | SKU 41455 (top-load configuration). | Includes front door and top-load steel door; retail page does not supply a step-by-step rod-seating diagram. | Listing specifies screw-and-hex-nut assembly requiring a screwdriver (unlike the 2013 hand-tight wingnut sheet); provides hardware type only, not a full manual or torque spec. |
Separate the shell joint from the door mechanism
Identify which fasteners hold the top and bottom shell halves together, which sockets support the door's hinge side, and which holes receive the spring-latch rods when the door closes. A common reassembly mistake is bolting the two shell halves together first and discovering afterward that the upper hinge pin is sitting outside its rim hole.
In the Petmate Sky Kennel / Vari Kennel instruction sheet 470524 (copyright 2013), the steel door's lower and upper rod ends are guided into the moulded bottom and top holes as the shells meet. The rim bolts pass upward from beneath the seam and thread into hand-tightened wingnuts, accompanied by a caution to inspect the plastic shell for cracks and verify fastener tightness before moving an animal. (Note that the hosted PDF includes an archive cover page ahead of the two-page manufacturer sheet; always match the instructions to your exact kennel version.)
Keep different makers' fittings in their own scope
Ferplast's two-page Atlas DeLuxe diagram sheet 982247-1 covers product codes 730328, 730348, 730388, and 730408. Its illustrations mark left and right hardware pieces with SX and DX and depict how the front door retainers lock. Because several handle and top-hatch sub-panels apply only to codes 730328 and 730348, verify your six-digit code before following a drawing.
Meanwhile, the current Petmate E-Z Load Top Load Cat Kennel page (SKU 41455) states that assembly uses screws and hex nuts tightened with a screwdriver—showing that even within the Petmate brand, current models can use screwdriver hardware rather than the 2013 hand-tight wingnuts. Treat a store product page as an identifier of hardware type rather than a substitute for the box manual.
Never mix steps across these three documents or swap an approximate hardware-store bolt, wingnut, or side clip into an unverified rim hole.
Work through the matching guide while the carrier is empty
Assemble the empty shell in the order shown on your model's sheet, keeping bedding and bowls out so every interior seam and rod socket stays visible. Open and close the empty door using its normal latch and inspect both the hinge post and the top and bottom latch tips to confirm they seat fully into their holes.
If the door drags, misses a socket, or requires prying a plastic tab, pause immediately. Never drill new holes, force mismatched clips, or rely on cable ties, tape, or glue to hold a load-bearing joint together.
Resolve missing parts before returning the carrier to use
If a fastener is missing, a shell flange is cracked, or a door rod will not align, keep the carrier out of service and note the exact model code, diagram callout, and missing part so you can verify the proper OEM replacement procedure.
Browse our hard-sided dog carriers and cat carriers categories to compare carrier styles. Once your empty carrier is properly assembled and checked, review usable carrier space for sizing your pet and the operating airline's carrier requirements for air travel rules—remembering that this guide does not certify crash protection, structural strength, or airline approval.