If you are working out how to set up a hamster cage, complete the enclosure before bringing your hamster home. Choose its position, assemble the exact model, add the appropriate bedding and resting place, and arrange the wheel and water equipment. Finish with the lid, access routes and care supplies ready.
This sequence prepares a home for one hamster. Start with an enclosure whose space and bedding capacity you have already checked. Our hamster-cage dimensions guide covers that earlier decision; the steps below turn a chosen enclosure and its equipment into a prepared arrangement.
1. Choose the position before filling the enclosure
PDSA recommends a quiet, calm location away from noisy appliances, vibration, draughts and direct sunlight. Choose that position before adding the bedding and equipment.
The RSPCA's environment guide also calls for a dry indoor home where the hamster can rest undisturbed, with predictable room lighting. Its advice includes keeping the enclosure away from household equipment such as televisions and vacuum cleaners.
Leave access to the enclosure's intended openings and the items you will need to reach during ordinary care.
2. Assemble and check the empty enclosure
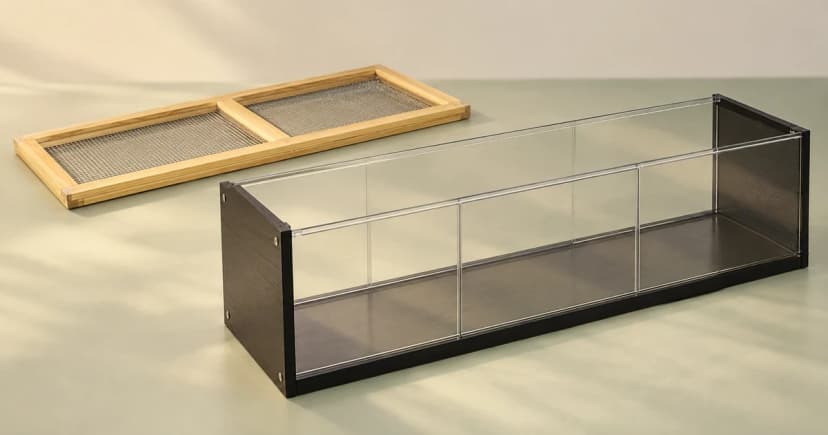
Lay out the supplied parts and compare them with the instructions for the exact model and version. Assemble the base, walls, lid and supplied fittings in the stated order. Check that the intended doors and lid open and close as instructed before filling the base.
If a required part or assembly instruction is missing, resolve it with the maker before move-in. Do not improvise a lid attachment, convert furniture or drill ventilation holes as a substitute. Equipment included in a starter bundle still needs its own size and use instructions checked.
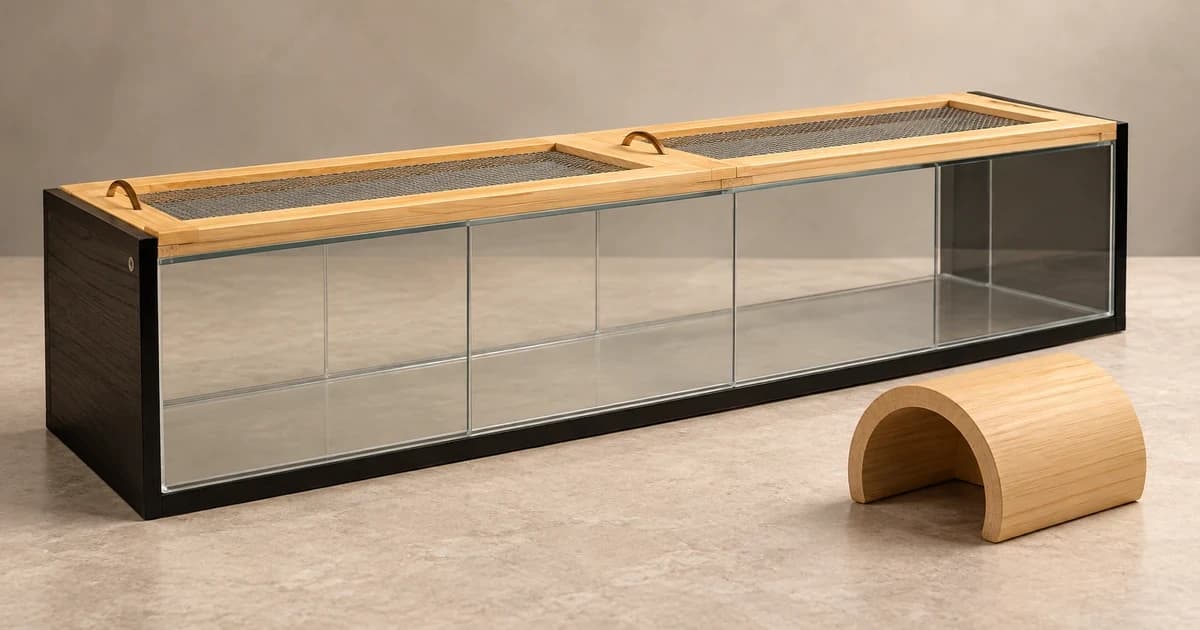
Blue Cross favors glass or tank-style accommodation with a mesh lid. The RSPCA page instead prefers barred or mesh sides. Those construction preferences differ; neither makes an unidentified enclosure suitable merely because it resembles a familiar design.
3. Add the burrowing bedding using a stated approach
Keep bedding for burrowing and loose nesting material identifiable in your preparation note. Check both the enclosure's permitted filling arrangement and the welfare guidance you are following before adding material.
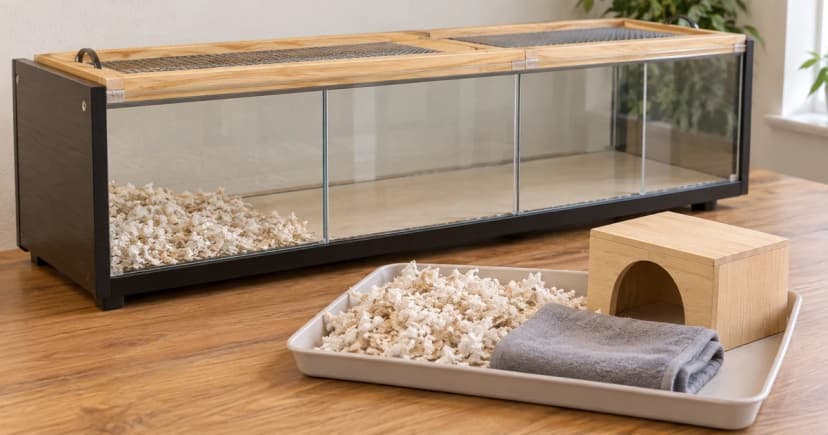
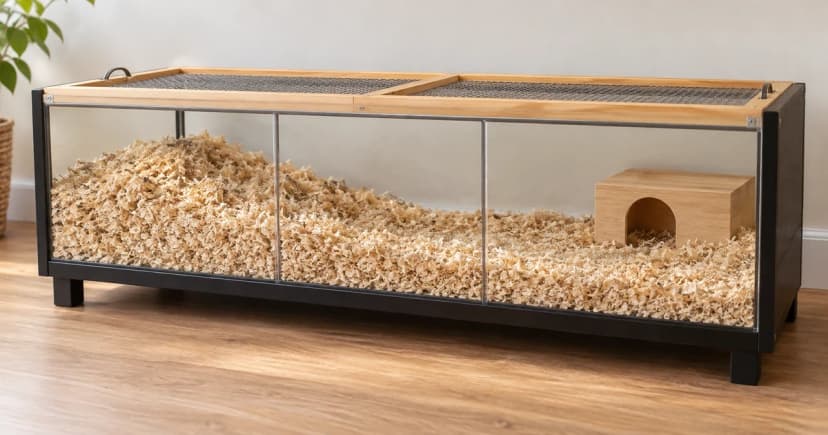
PDSA recommends at least 25 cm of bedding and names paper-based bedding as an option that can be used on its own. Its guide also calls for material that supports burrows. If following that approach, prepare the permitted bedding area to accommodate its stated depth, rather than adding a thin decorative covering.
Blue Cross gives a different minimum of 20 cm for digging bedding. It recommends dust-extracted choices, including paper-based, wood-pulp and hemp bedding. Keep its recommendation attributed to Blue Cross; do not average 20 and 25 cm into another depth or transfer either number to the RSPCA.
If the enclosure cannot accommodate the chosen guidance alongside the equipment, revisit the enclosure and layout before proceeding. Do not conceal that mismatch by filling over an access opening or reducing the bedding without acknowledging the change.
4. Establish the resting place and an accessible route
The RSPCA calls for a suitable dark shelter with room to rest and move around. Position the nesting box away from the water equipment so a leaking bottle does not flood it. Keep its entrance accessible within the arrangement.
For its nesting approach, PDSA advises putting nesting material outside the box so the hamster can arrange it. Provide a hidden resting place and the appropriate material without treating every discarded box or unidentified wooden object as an approved substitute.
Set out the chosen hide and other equipment according to their placement instructions. Keep a route between the resting place, wheel and water equipment. Our hamster enrichment guide covers later choices to explore; fill the initial arrangement with purpose rather than adding every accessory at once.
5. Fit the wheel and prepare the water equipment
Blue Cross recommends an upright wheel with a solid running surface and cautions that a wheel supplied with a cage may be unsuitable. Select the actual wheel before finalizing its position. Our wheel-sizing guide covers diameter and ordinary running posture.
Install the wheel's stand or attachment according to its maker, retaining access around it. Check its intended movement without the animal inside. Do not invent a platform or support arrangement when the equipment's instructions leave that unresolved.
PDSA specifies a metal-spout bottle for constant access to fresh water.
Blue Cross allows a water bottle or small water bowl and advises changing the water daily.
Prepare the chosen water equipment as instructed, fill it and check its operation before arrival.
6. Complete the pre-arrival check
Close the enclosure as instructed after the equipment is in place. Confirm that the planned bedding and furnishings leave the access openings usable. Keep this short record with the enclosure instructions:
- Exact enclosure and equipment models, with assembly completed and missing parts resolved.
- Bedding material, chosen guidance and its stated depth, alongside the enclosure's filling permission.
- Resting place, clear route, installed wheel and prepared water equipment.
- Lid and door closure, remaining questions and the supplies needed for ordinary care.
Have the adopter's feeding instructions and supplies ready as part of collection preparations. Follow the agreed arrival routine once the equipment is ready. Later maintenance belongs in our hamster-cage cleaning guide.
For equipment still needed, compare the documented details in hamster habitats. PDSA's cited guide is dated December 2024; Blue Cross displays a March 2023 review and a March 2026 next-review date, which does not prove that a newer review occurred. Keep the exact equipment instructions and the guidance you used with your completed setup record.